
How to Make Journal Charms
Have you ever fallen in love with a new craft or hobby? That’s what happened to me this January. I discovered journal charms, and I haven’t looked back on making them.
Back in college I studied abroad in Costa Rica. I had the best host family ever, and I am so grateful to the Lord for placing me in their home. We are still friends to this day, and they came to Oregon to visit! My host mom, Gueru, is into making jewelry. She wanted to go to Hobby Lobby when they were here. As we were wandering Hobby Lobby, I had the idea to make DIY journal charms. I did not really know how to make them, but I assumed my host mom could help. I thought it would be a fun activity for us to do together.
We had SUCH a blast making journal charms together. We also put some of them on paperclips to make bookmarks with charms. It set me off on a new adventure that I want to share with you, too!
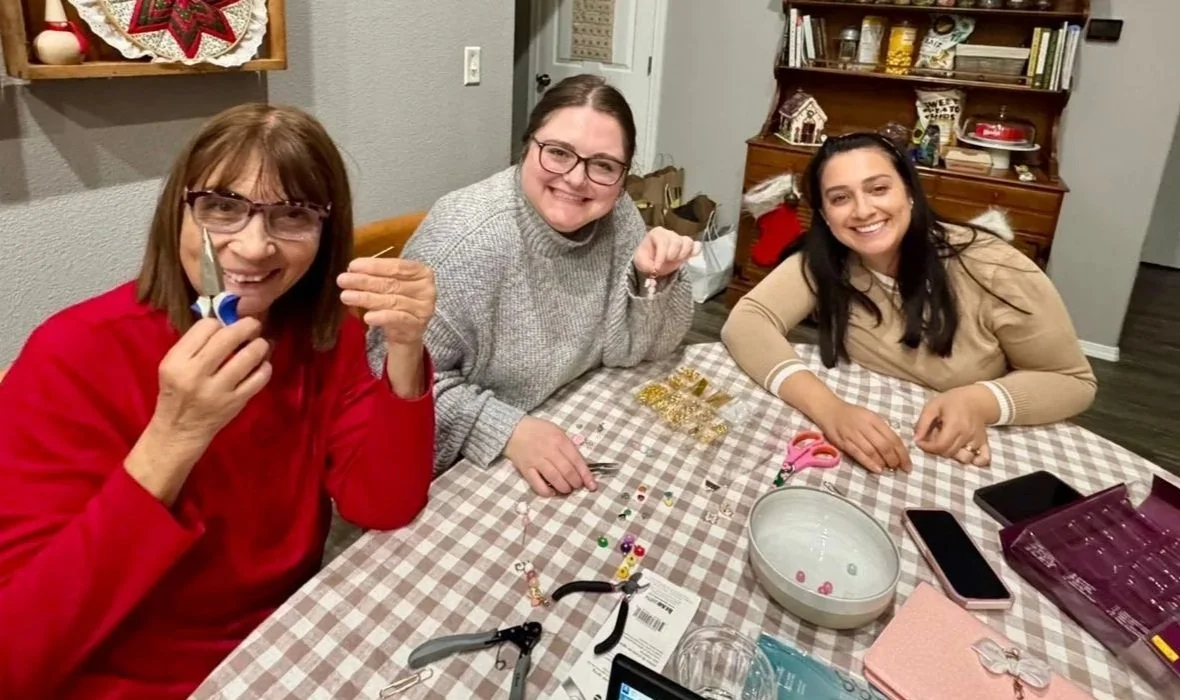
My host mom, host sister, and I making journal charms together in January. I studied abroad in Costa Rica back in 2011. I am so thankful to still be friends with and in contact with them today!
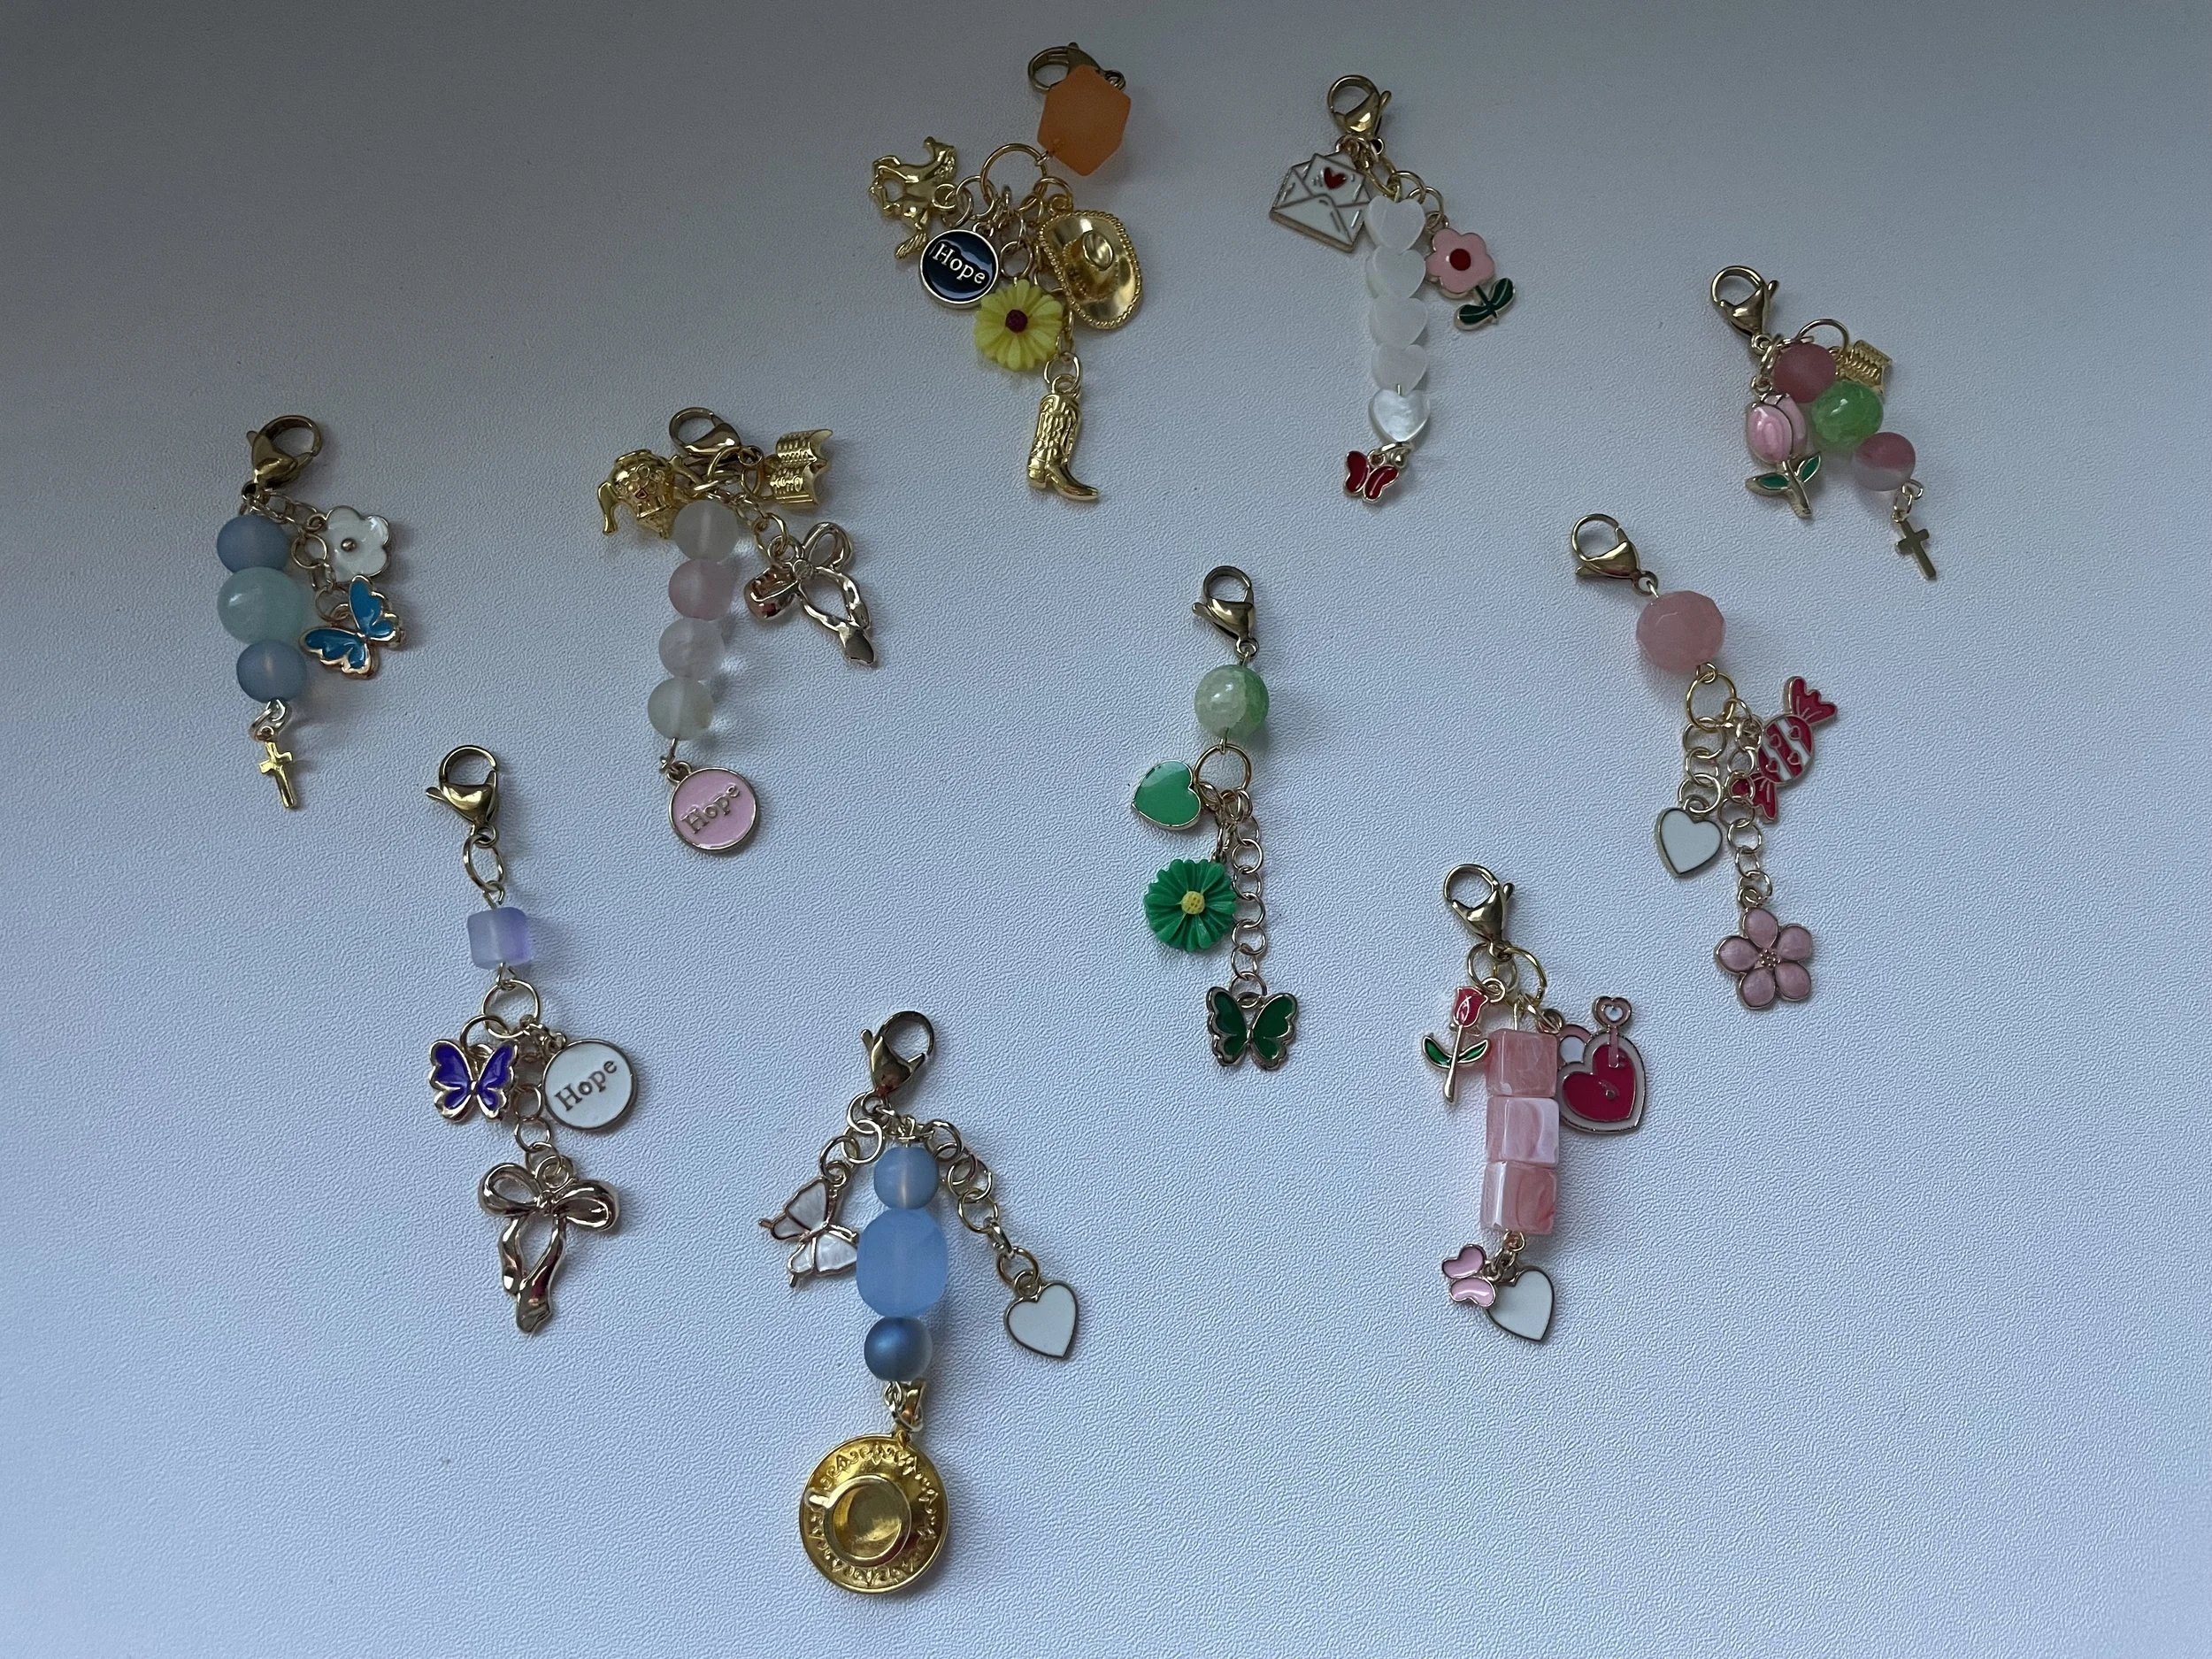
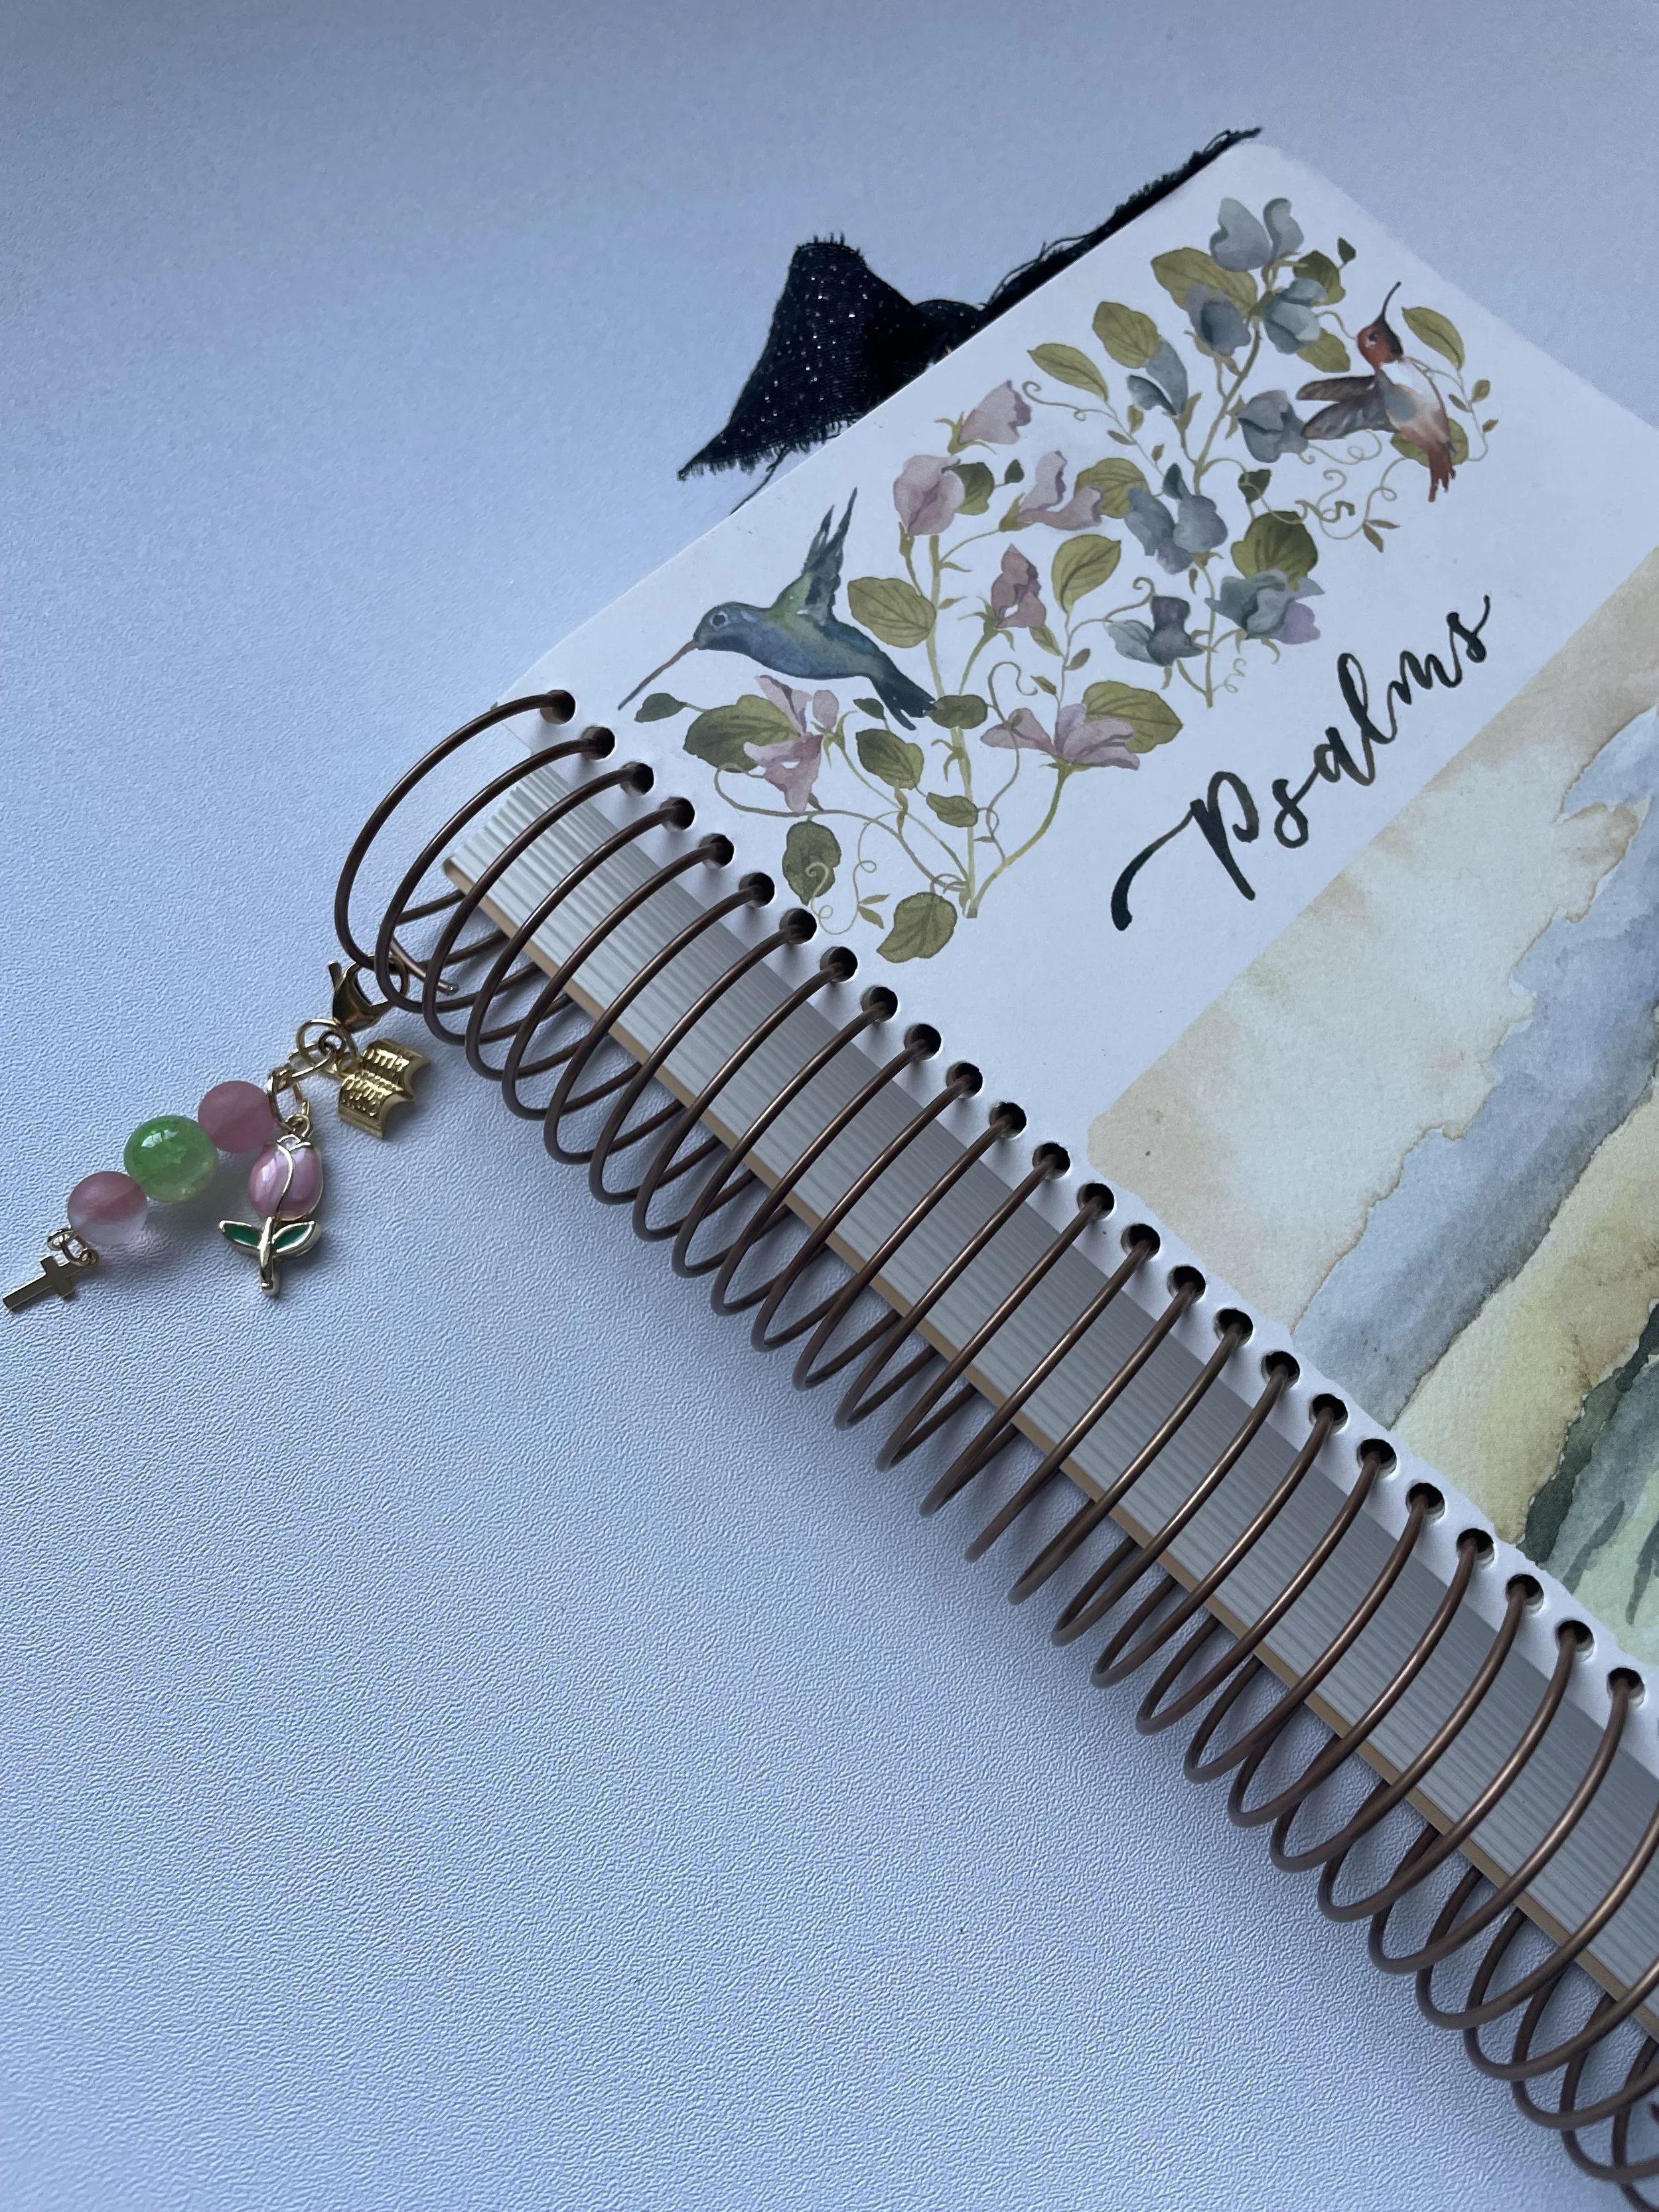
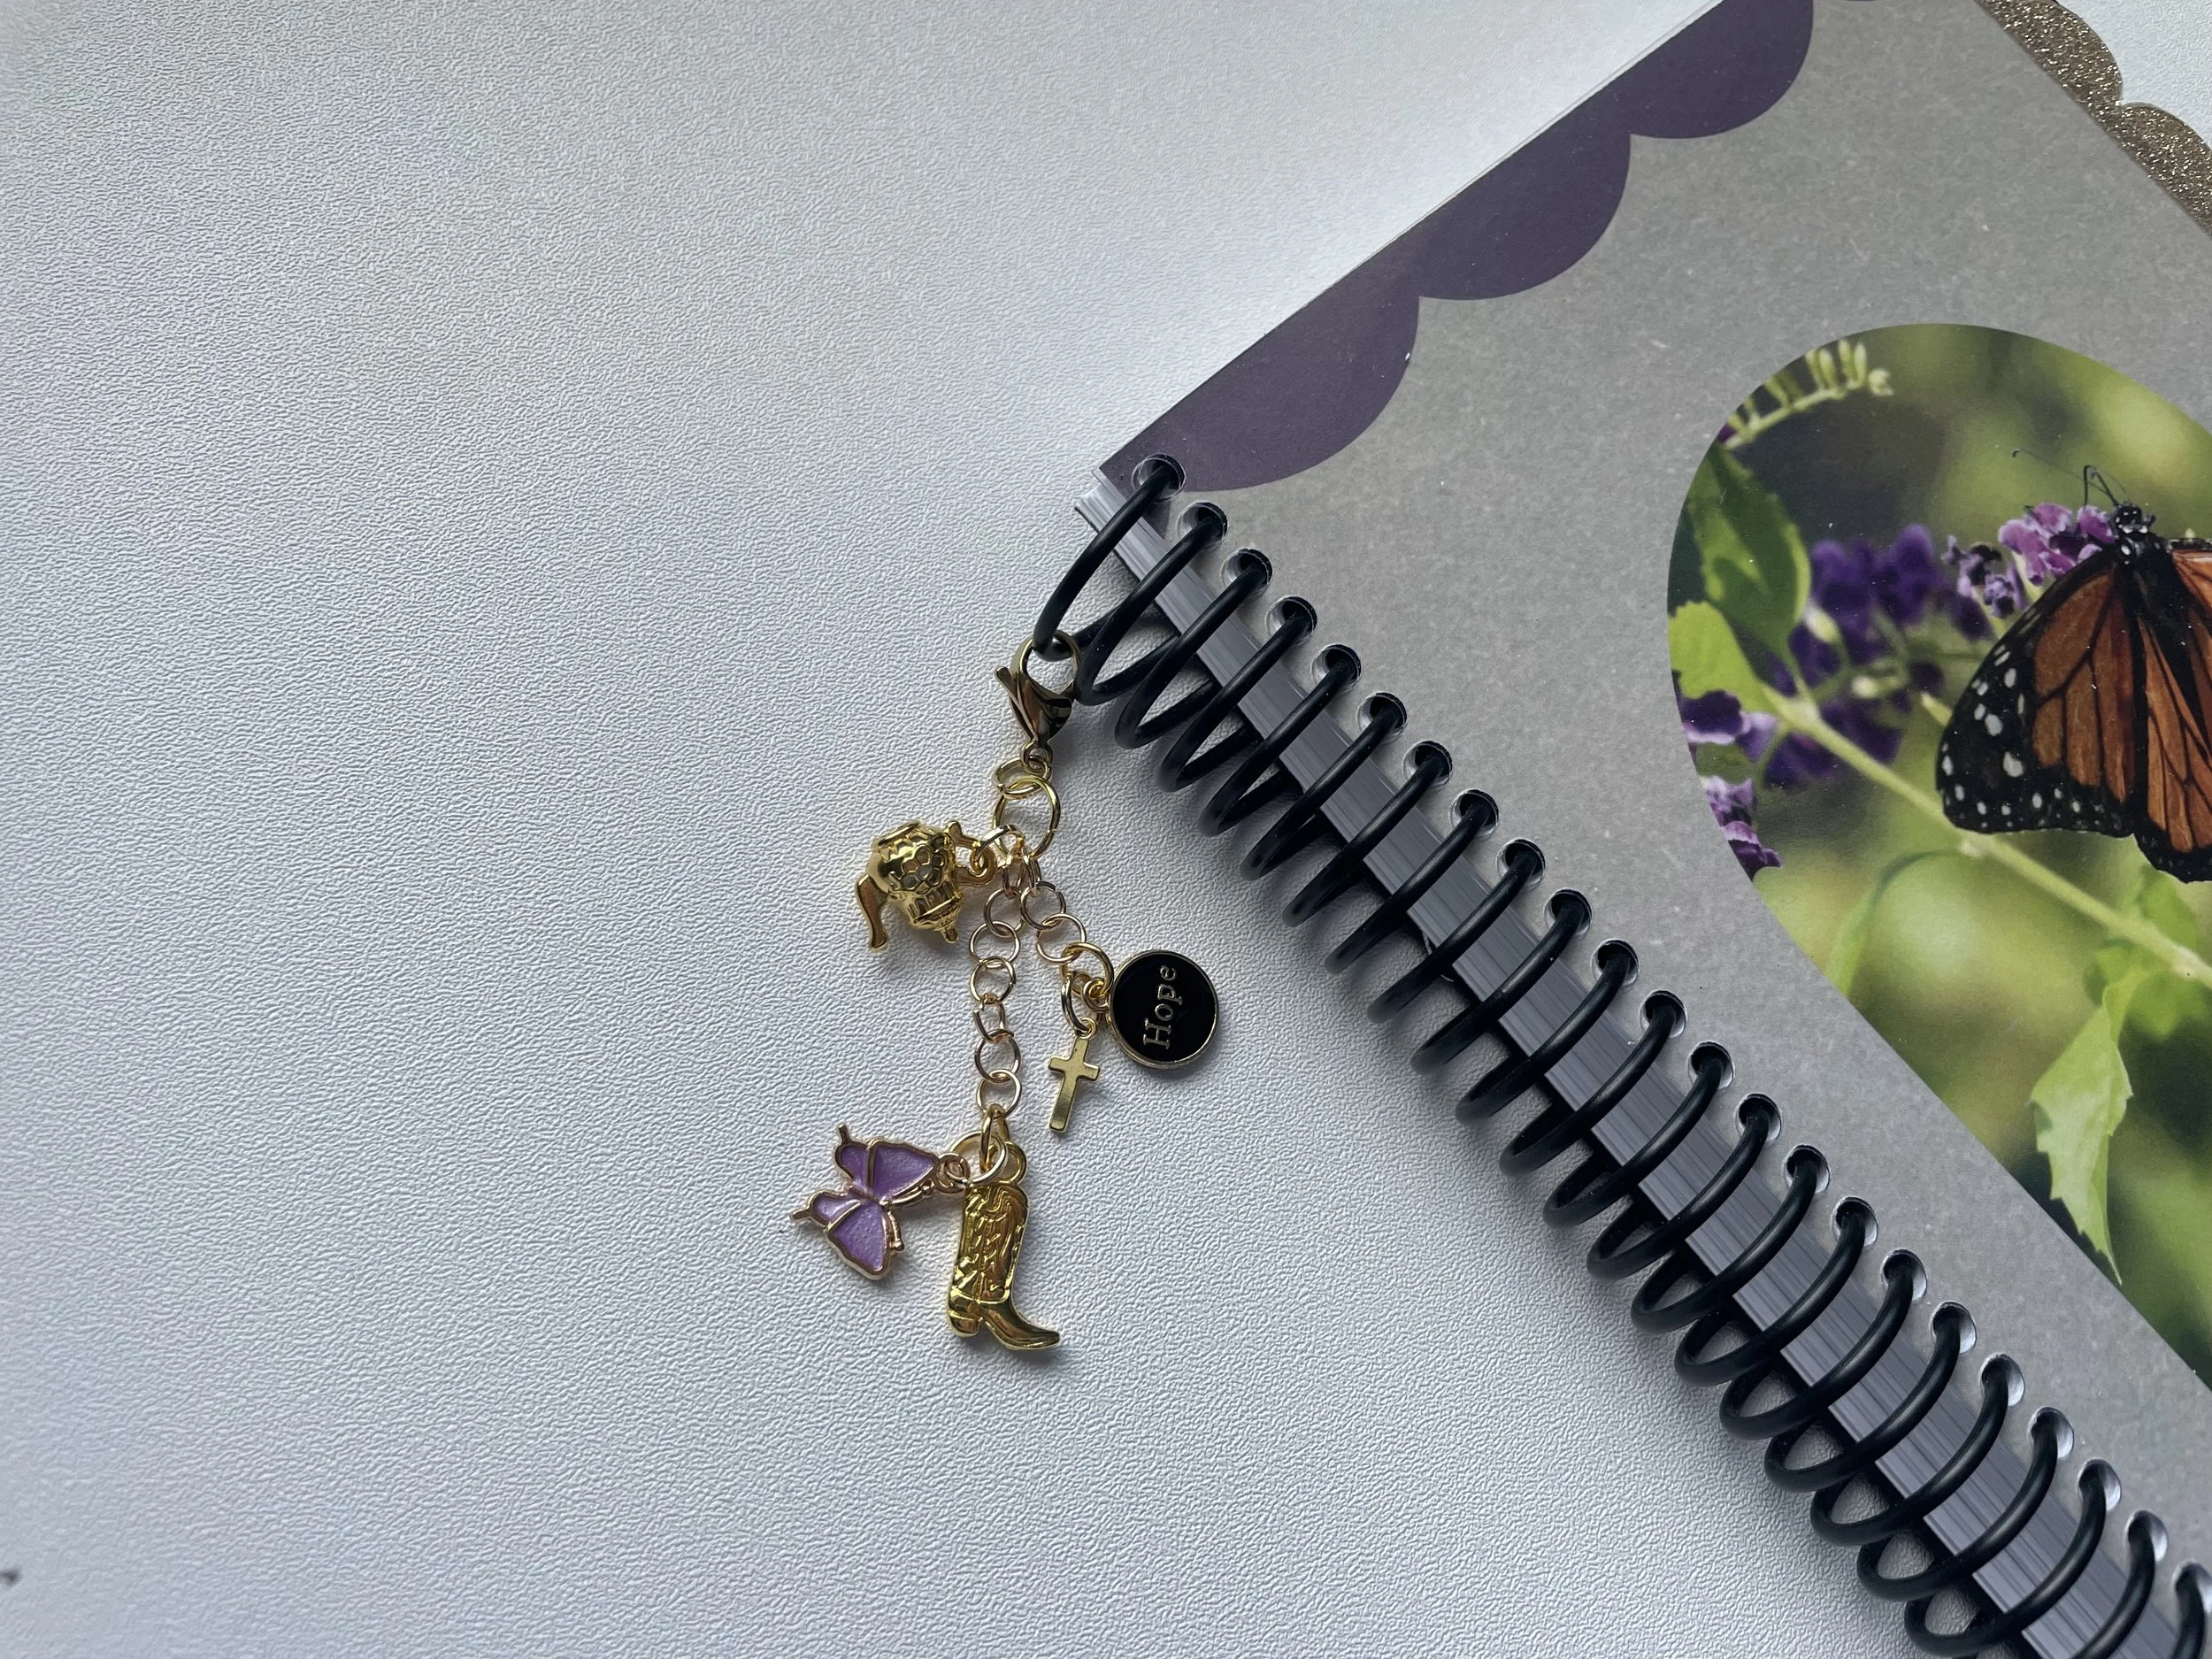
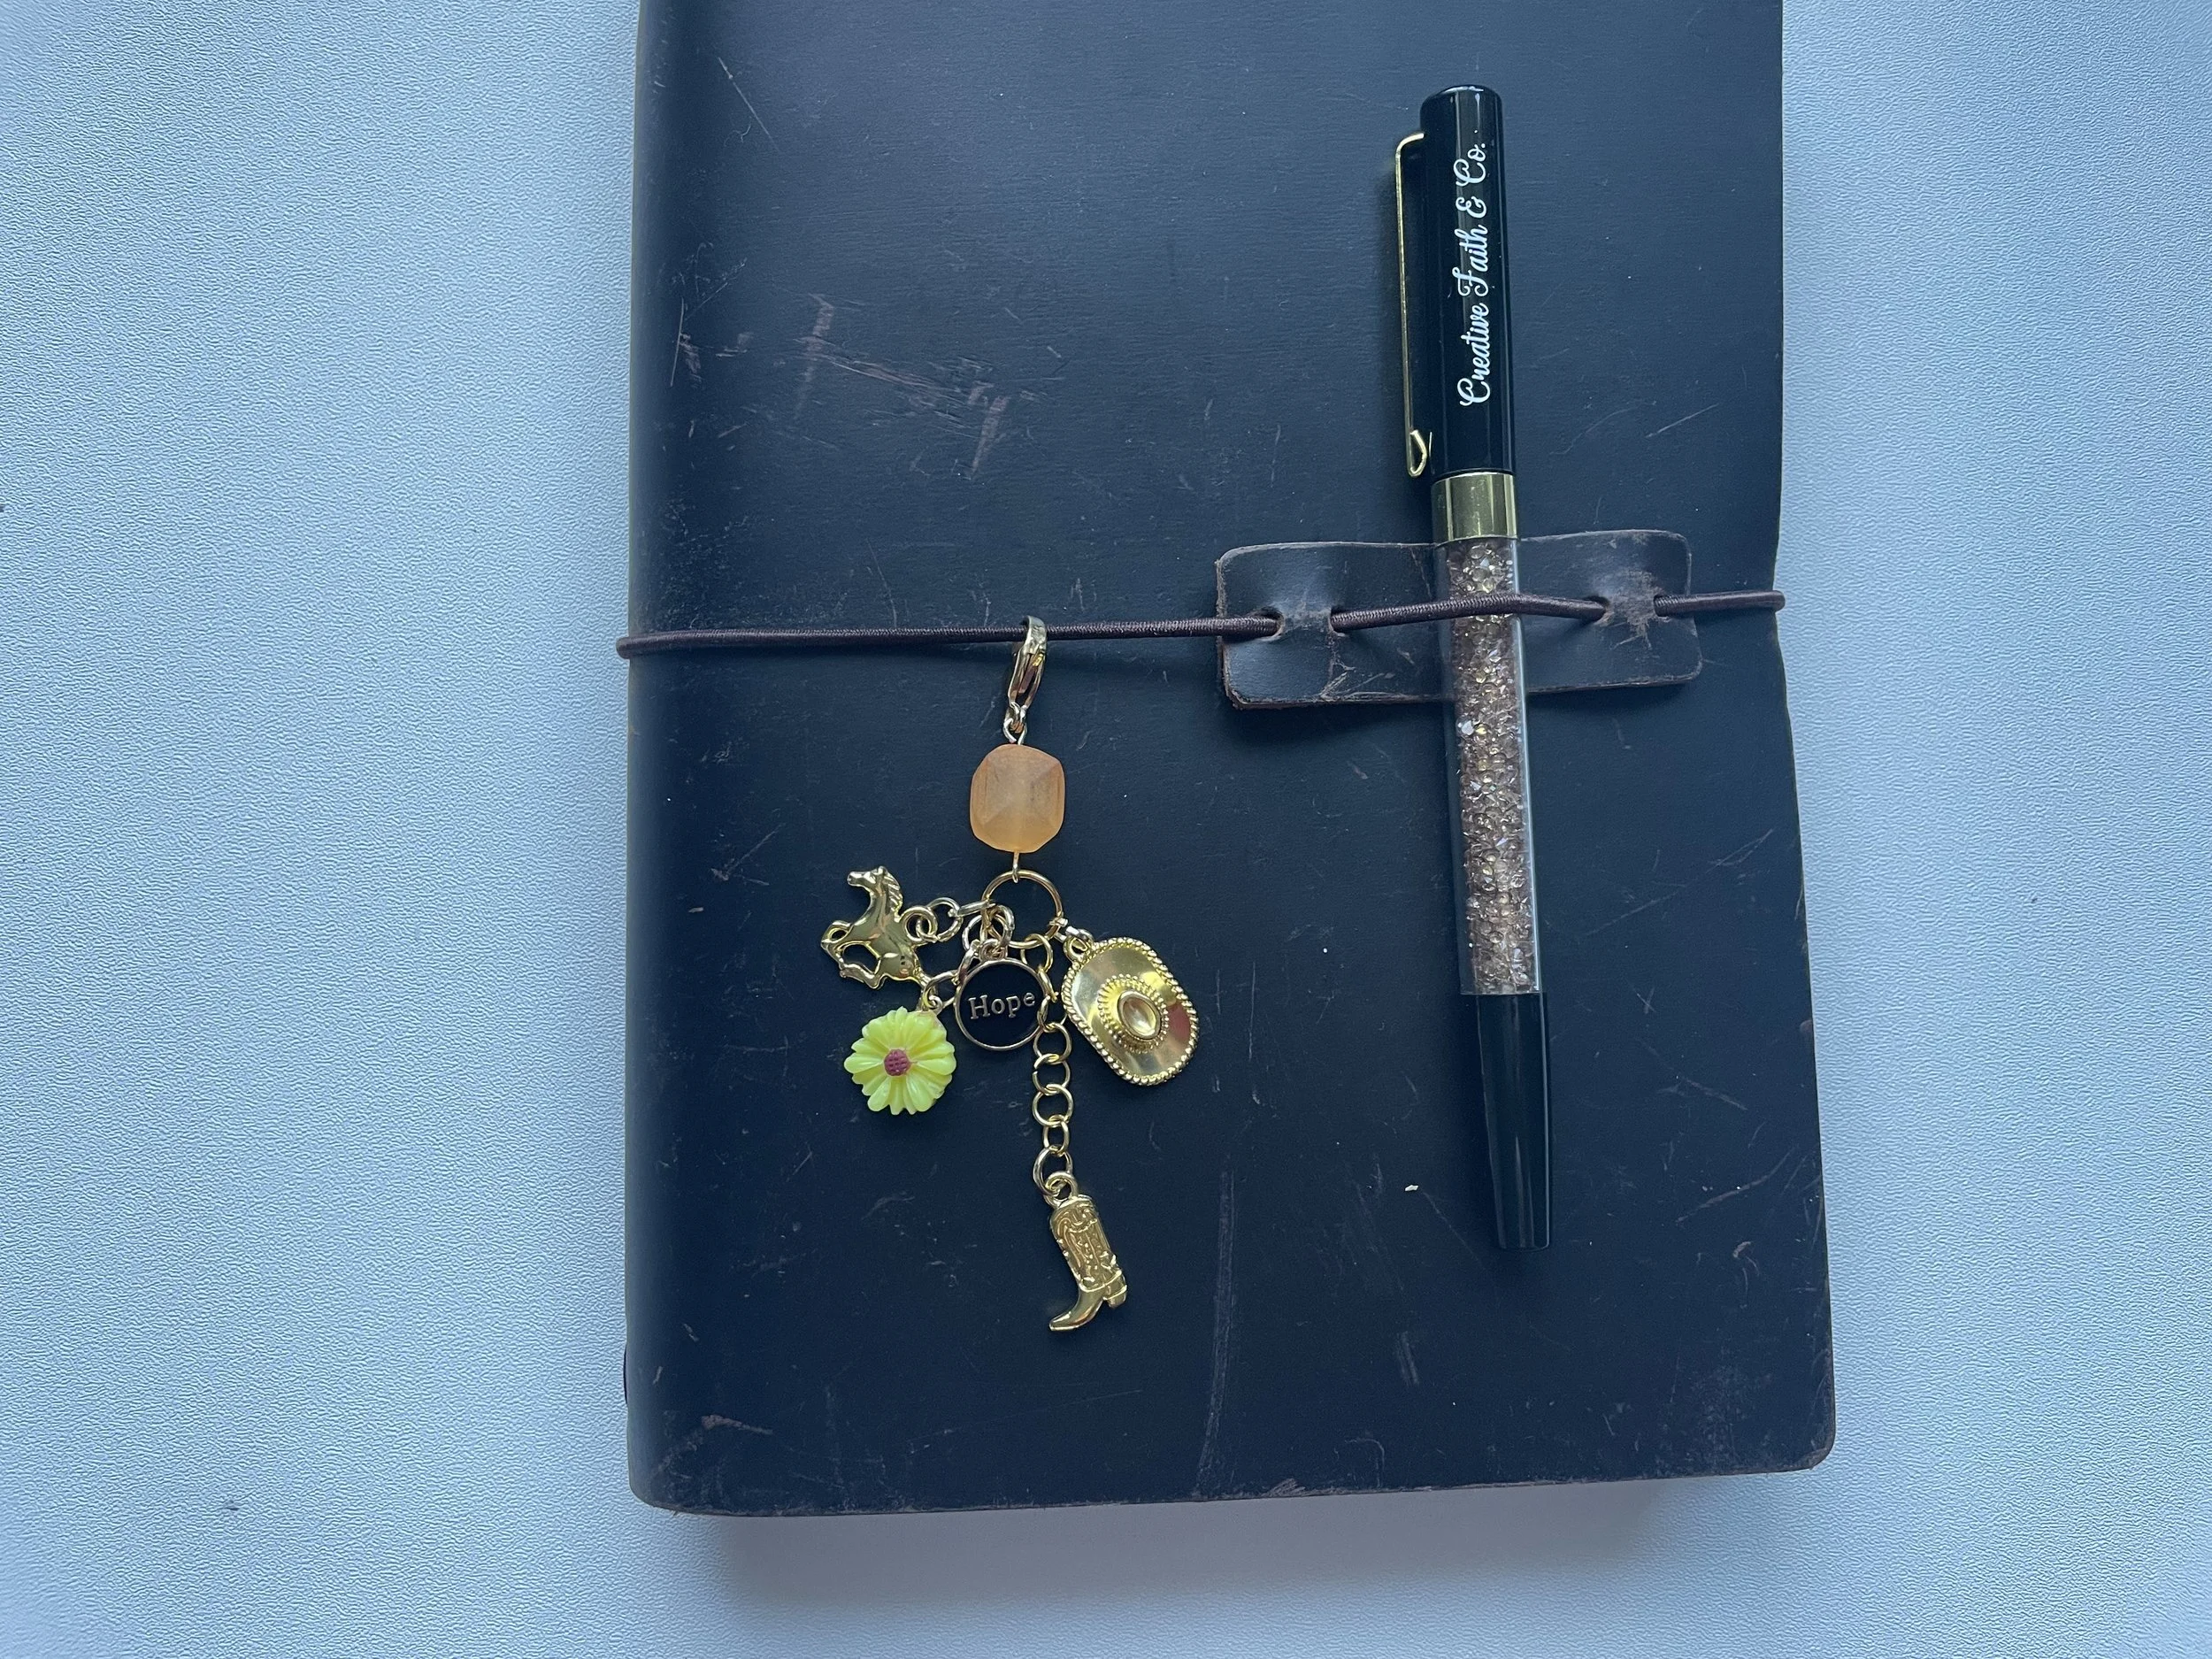
I am such a visual learner, which is why I love Bible journaling. With the journal charms, I get to pick little icons that represent different things. My word for 2026 is walk. I picked a charm with a cowgirl boot to represent walking with Jesus. I love the symbolism of butterflies and how they represent transformation. I love flower imagery to represent growing in my faith and flourishing in life. All these little charm icons remind me of different aspects of my faith.
I am excited to walk you through how to make journal charms!
If you don’t want to make them yourself, you’re in luck! I have a few that I made and listed in my Etsy shop. If you want a journal charm, but don’t want to invest in the time make one, click here to check out the listing in my Etsy shop. To start, I made 10 different designs. They are all one-of-a-kind, so if you see one you want, be sure to snag it as there will not be restocks in particular designs. They are all limited edition.

Where to put journal charms:
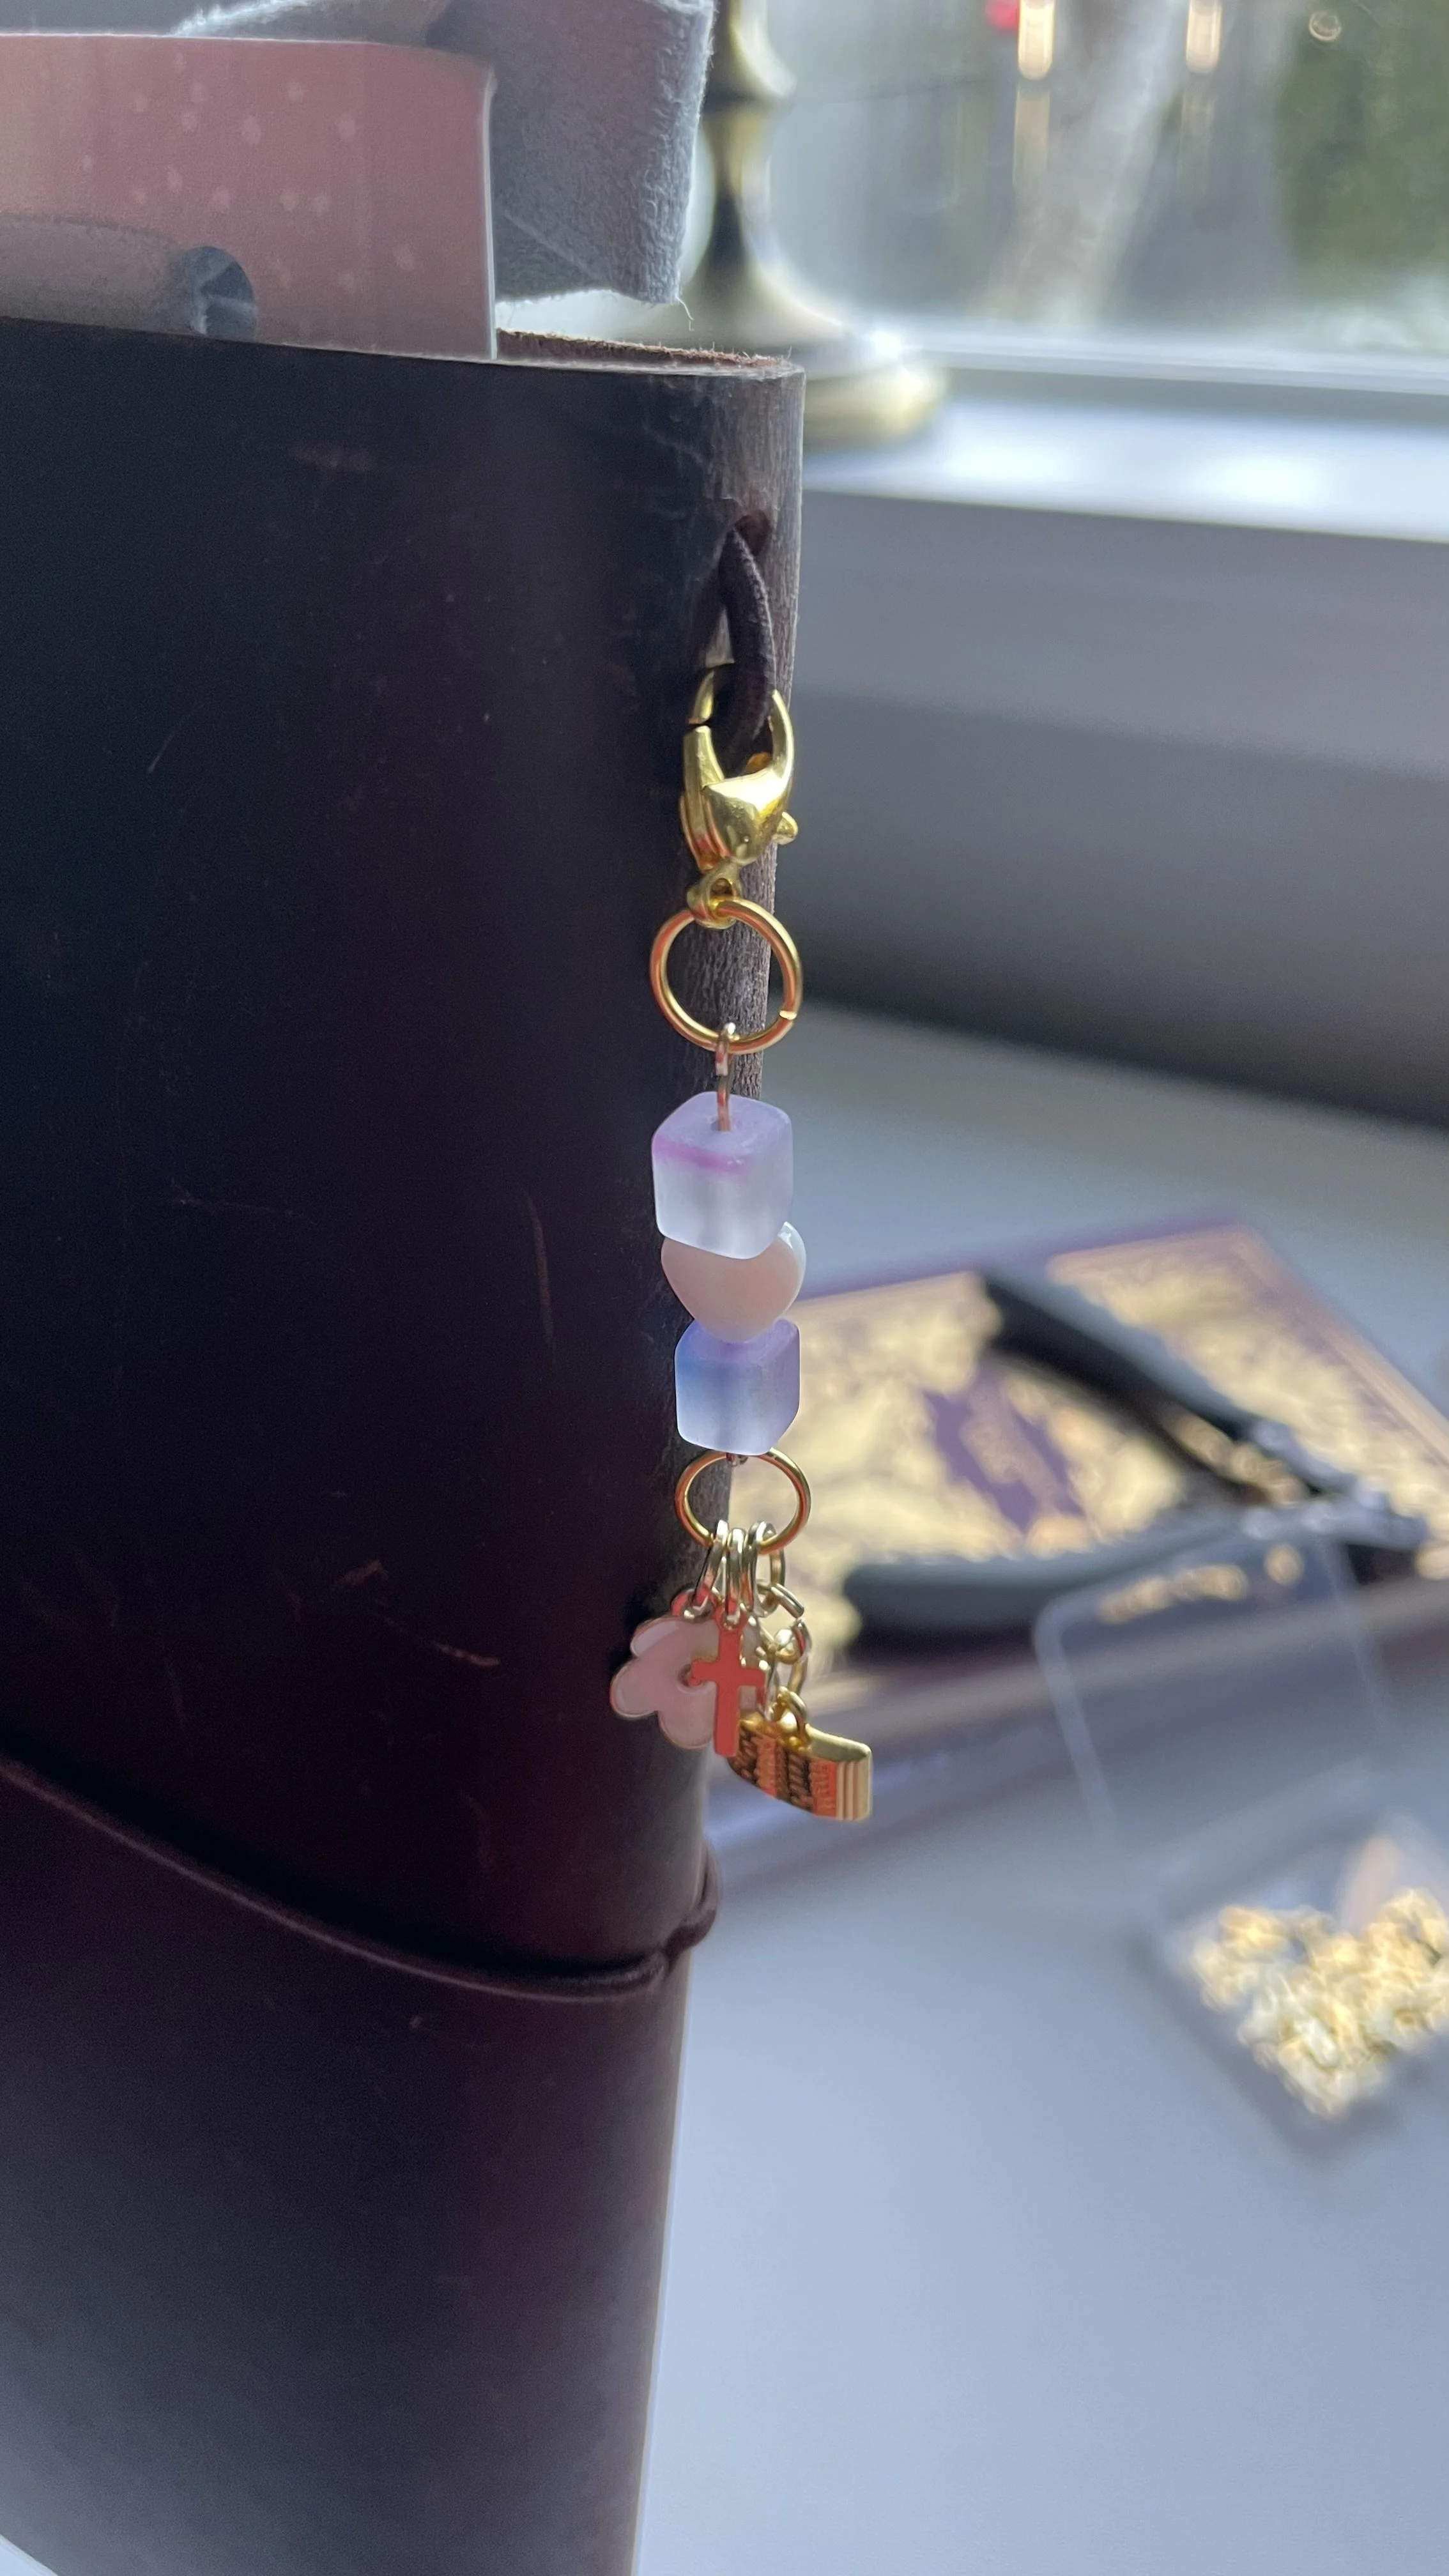
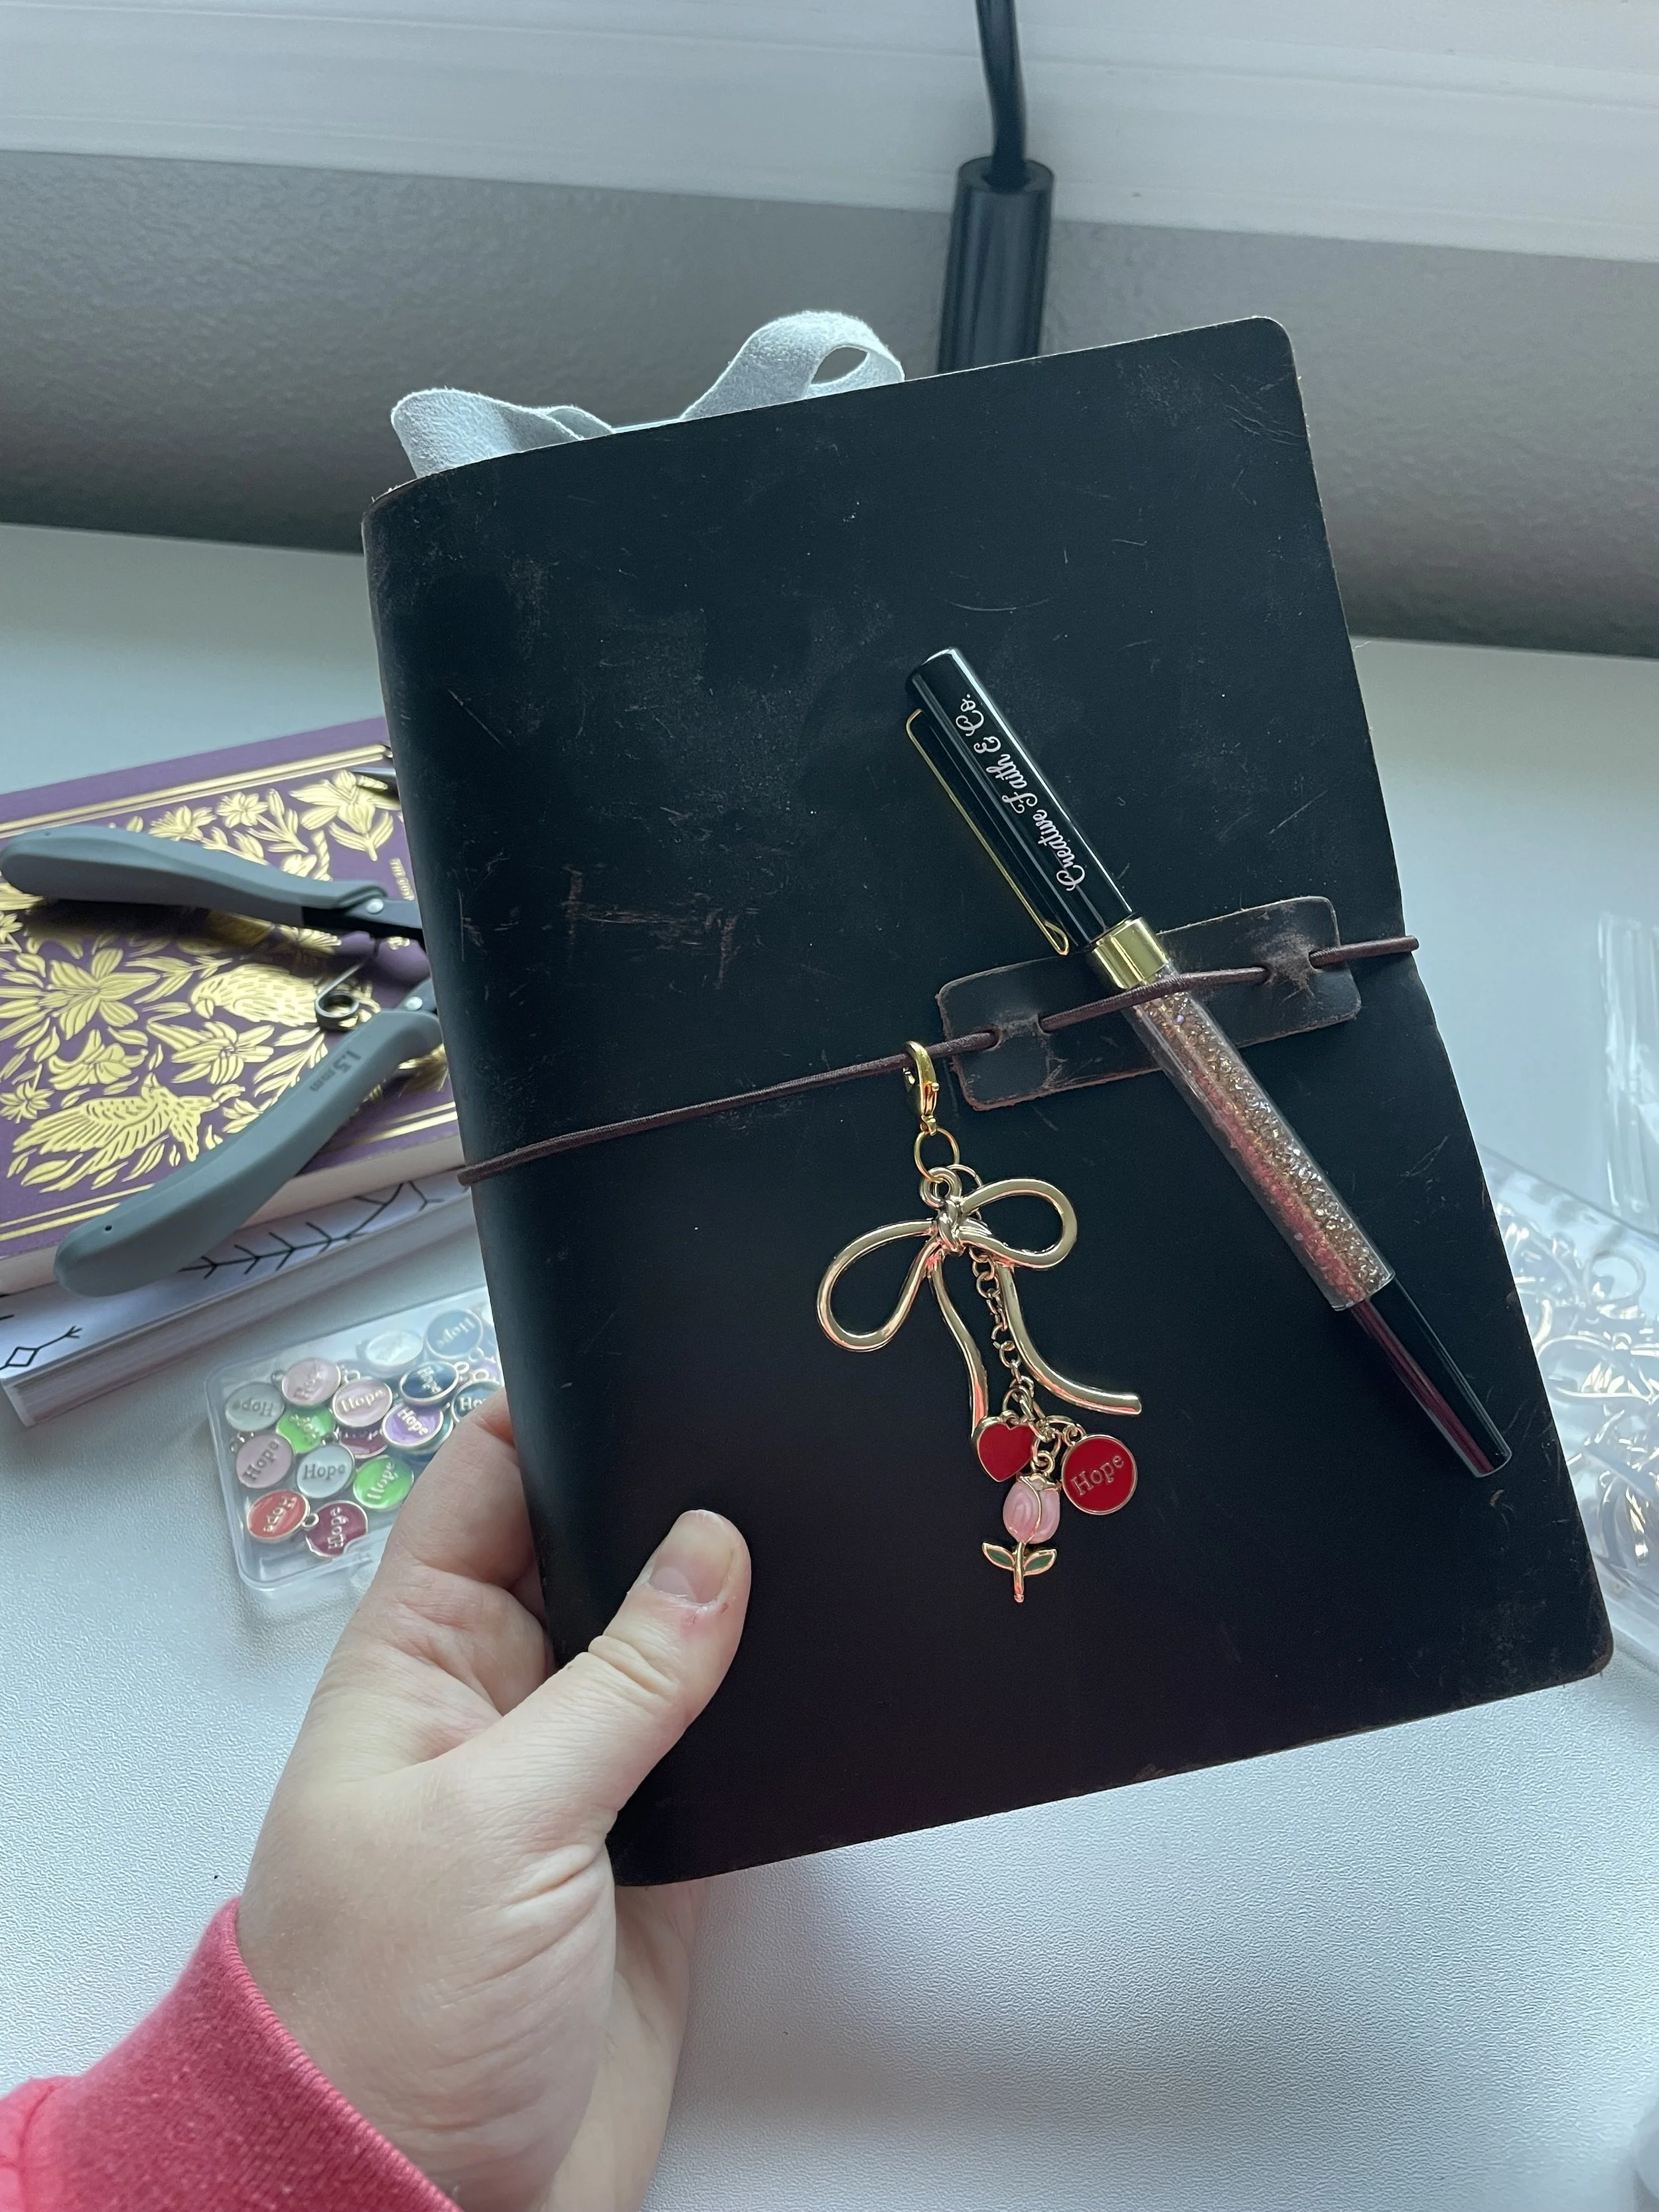
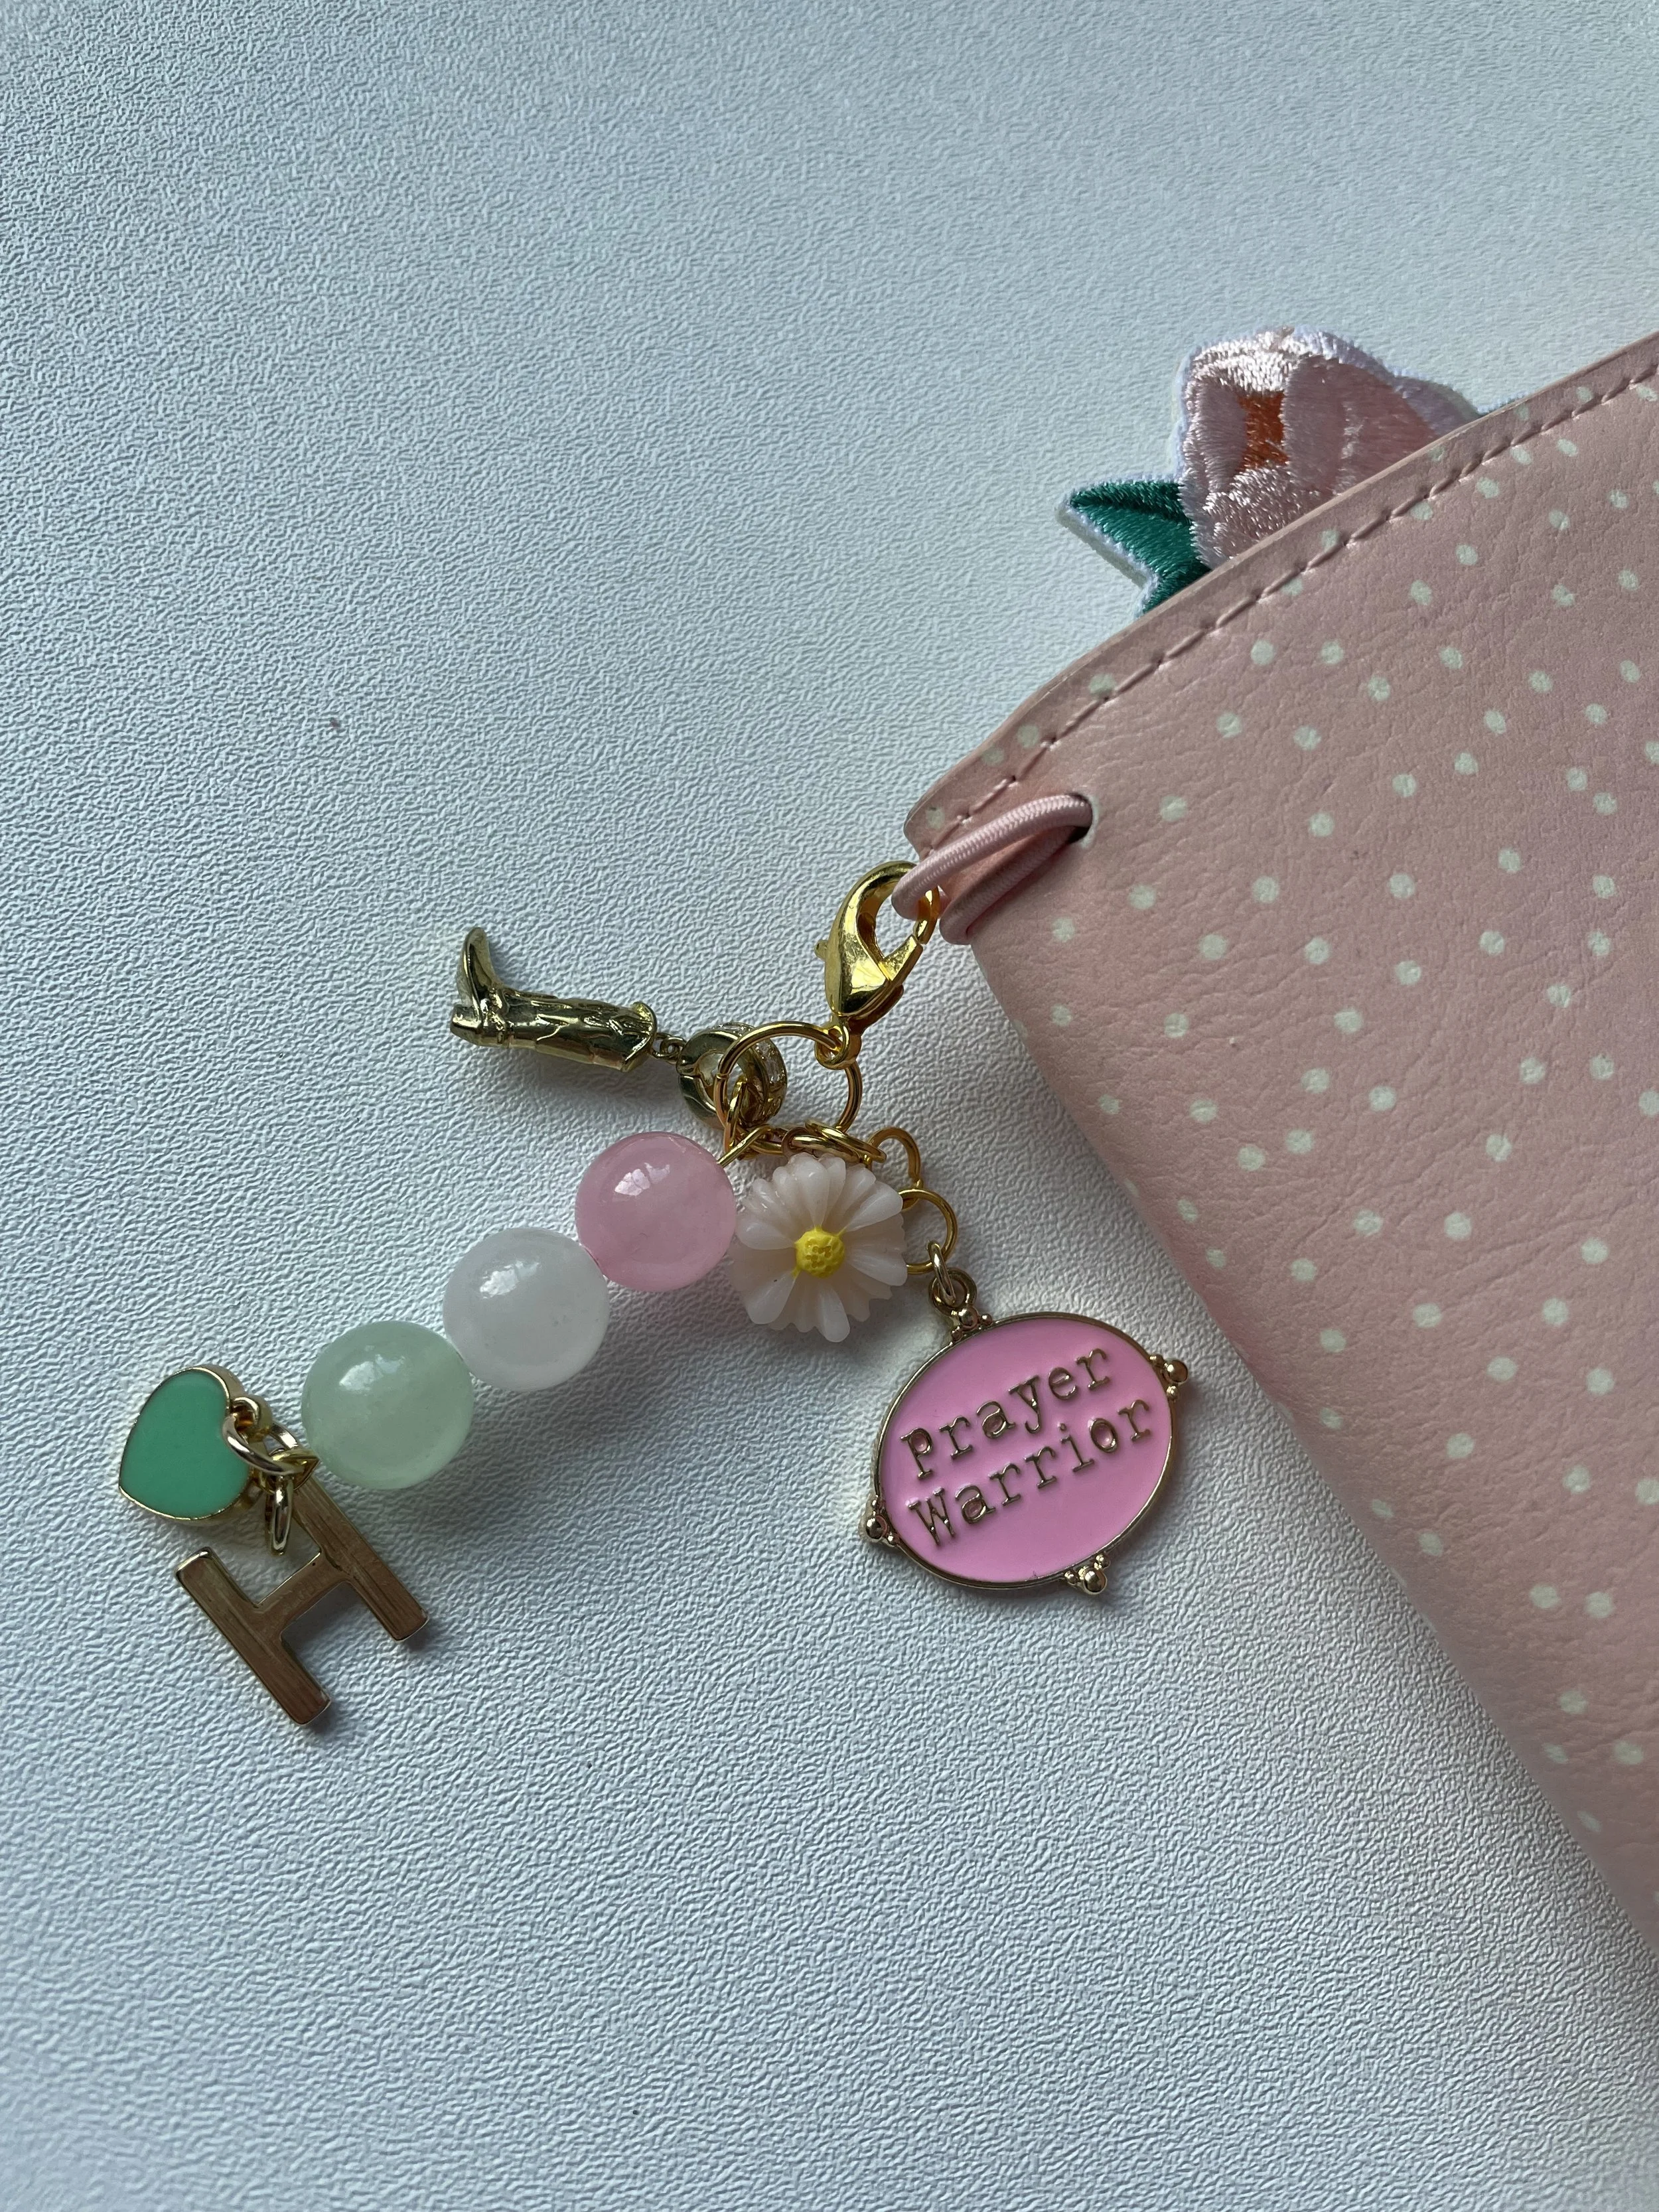
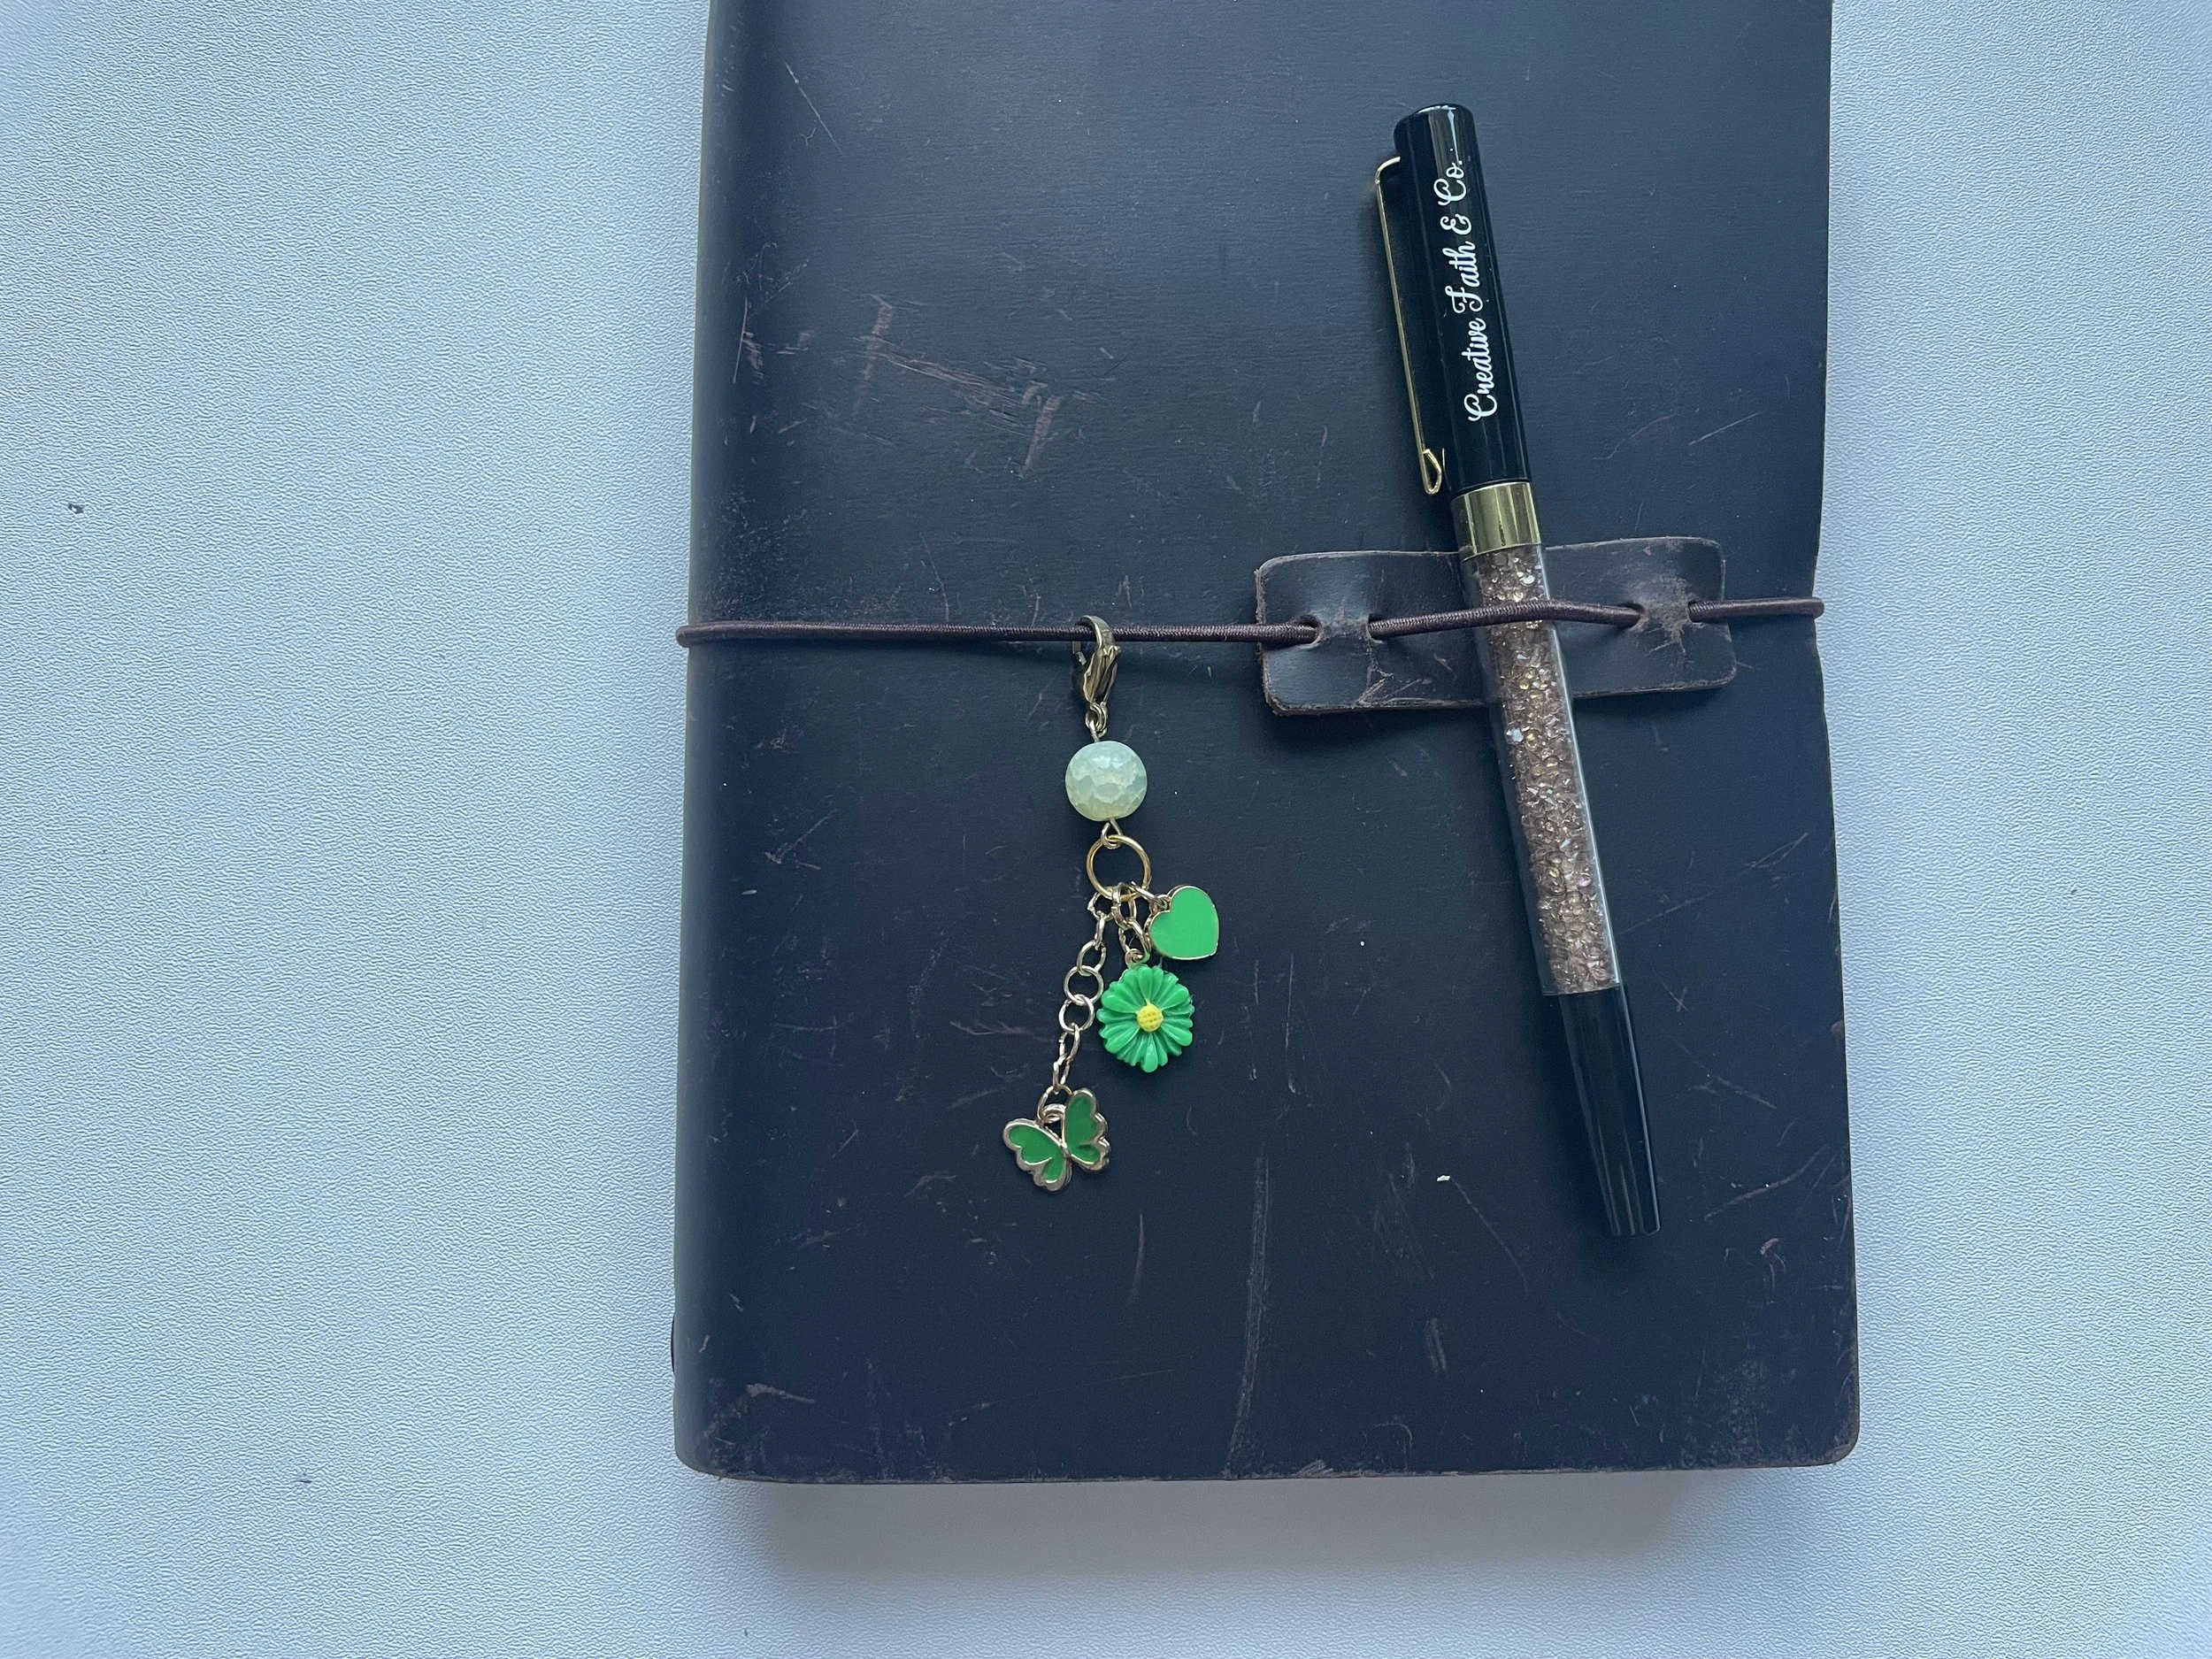
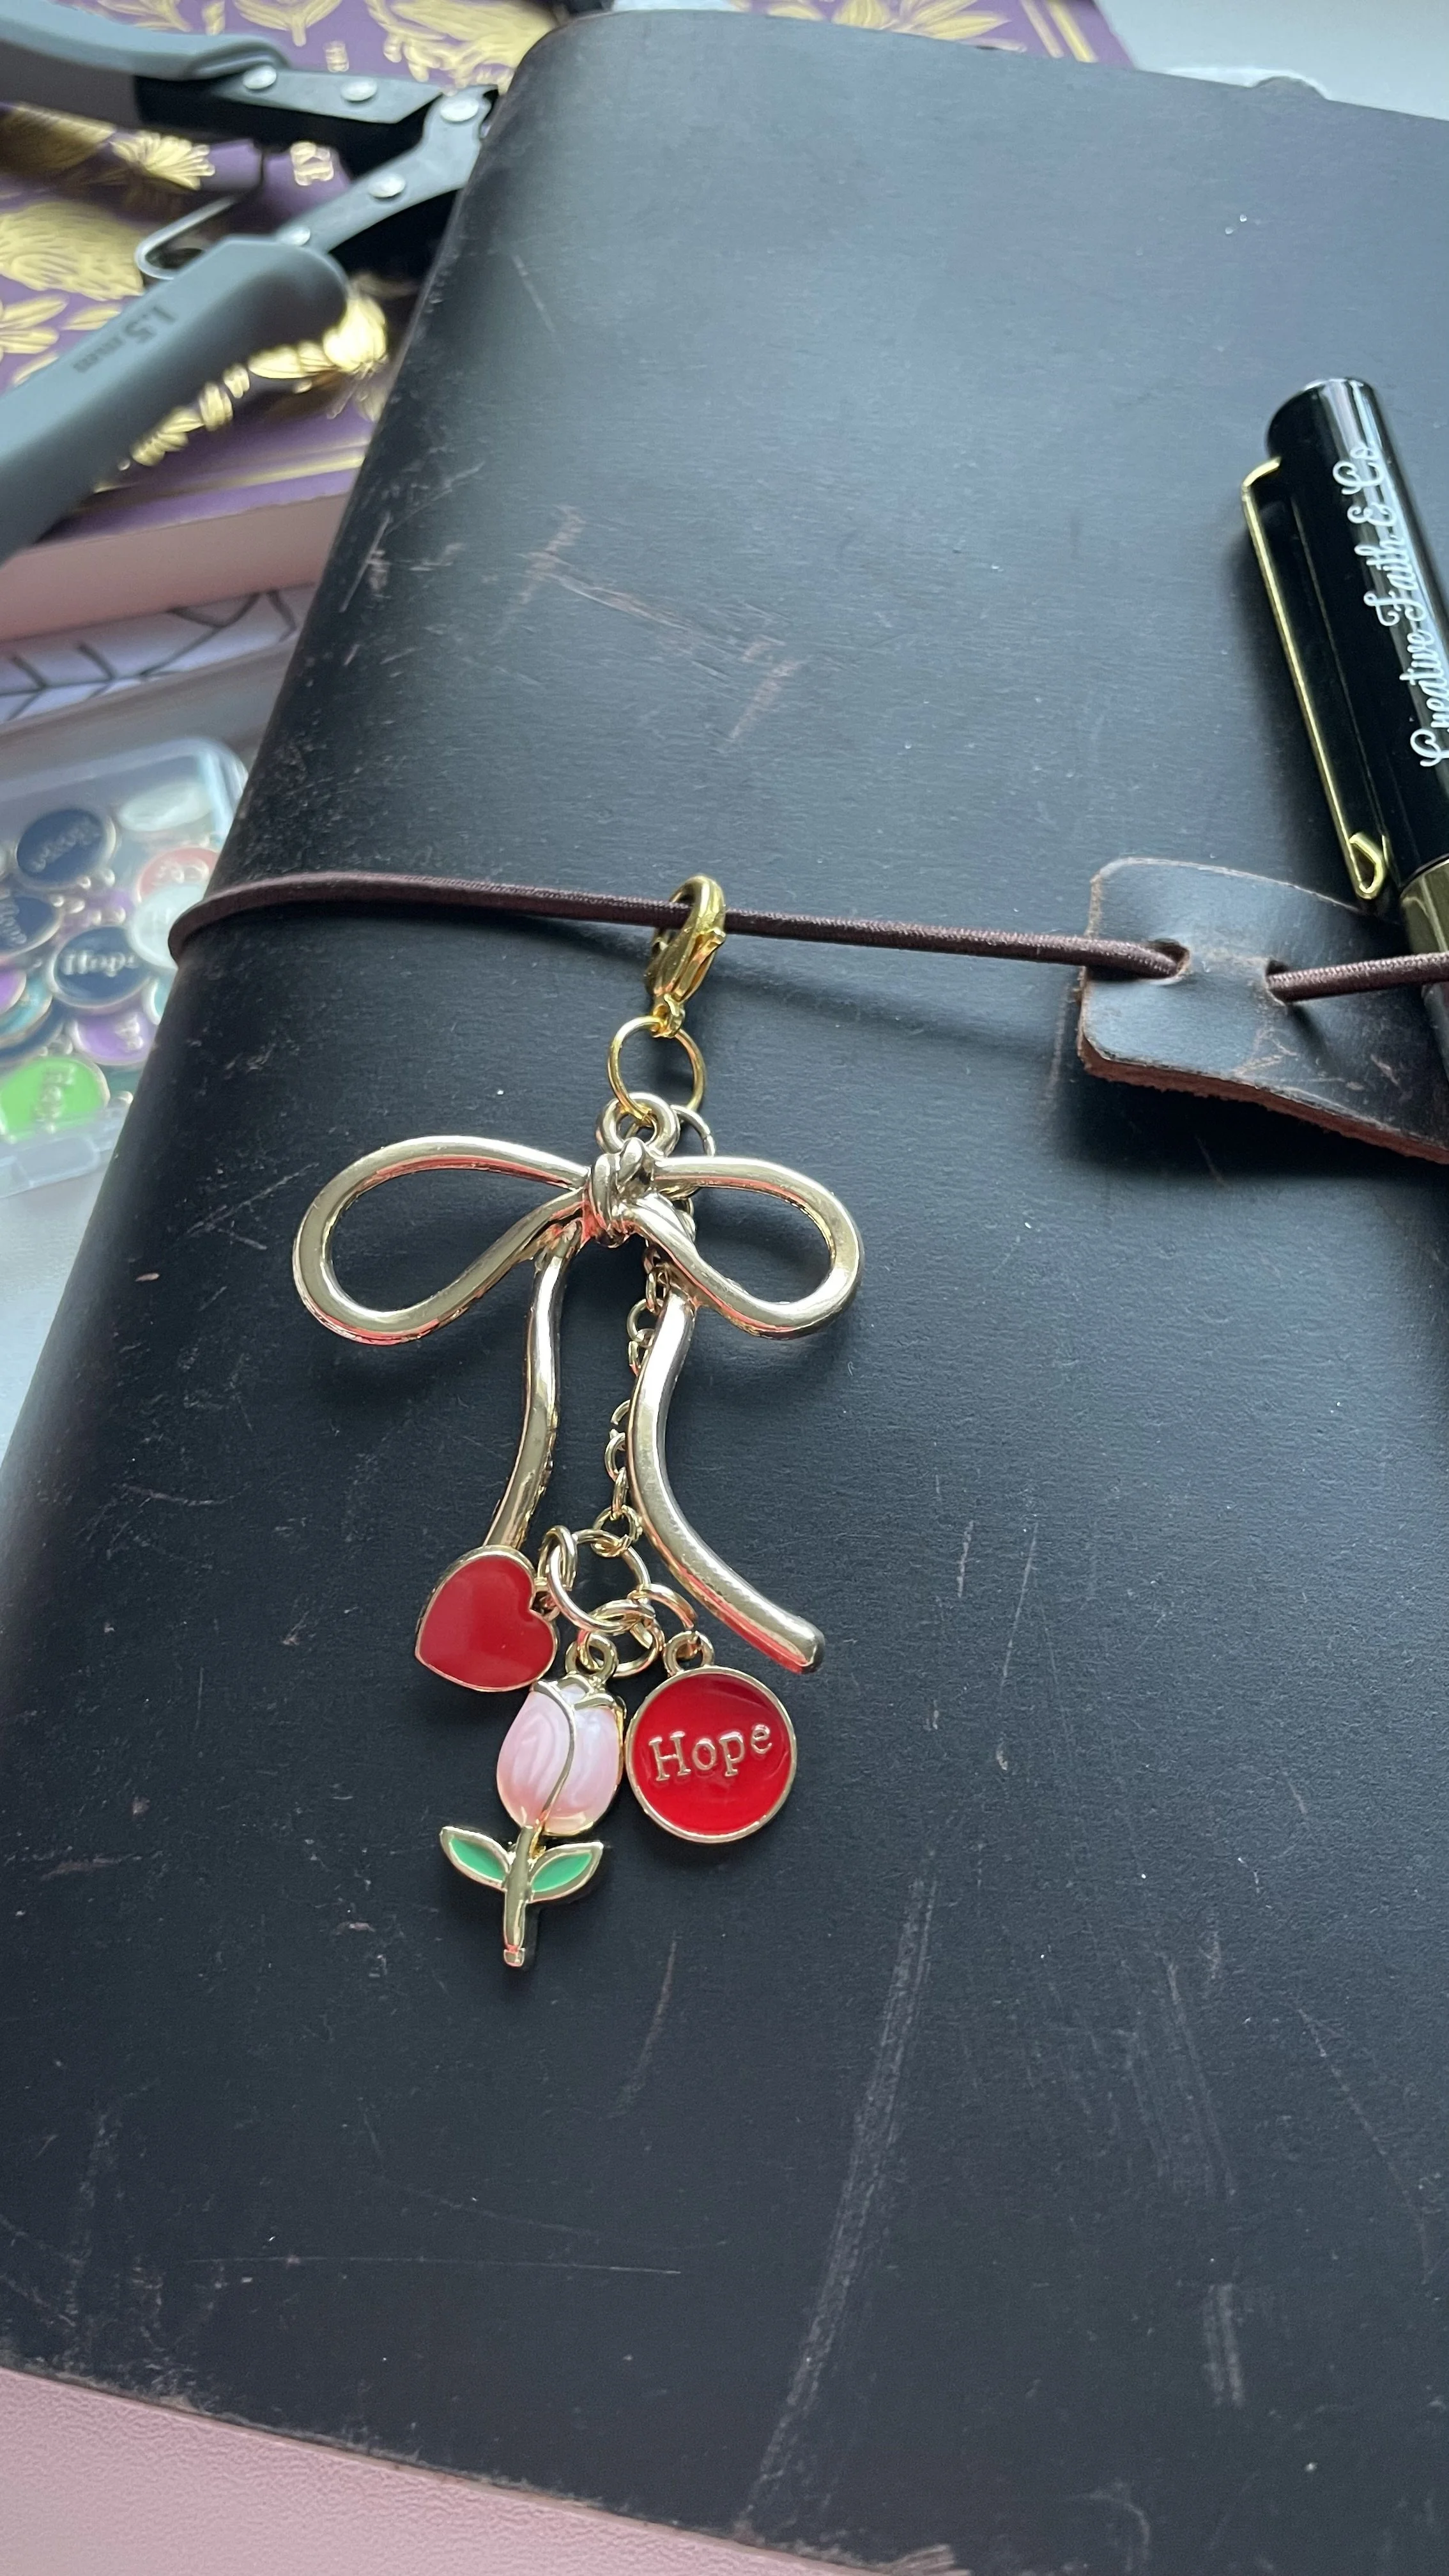
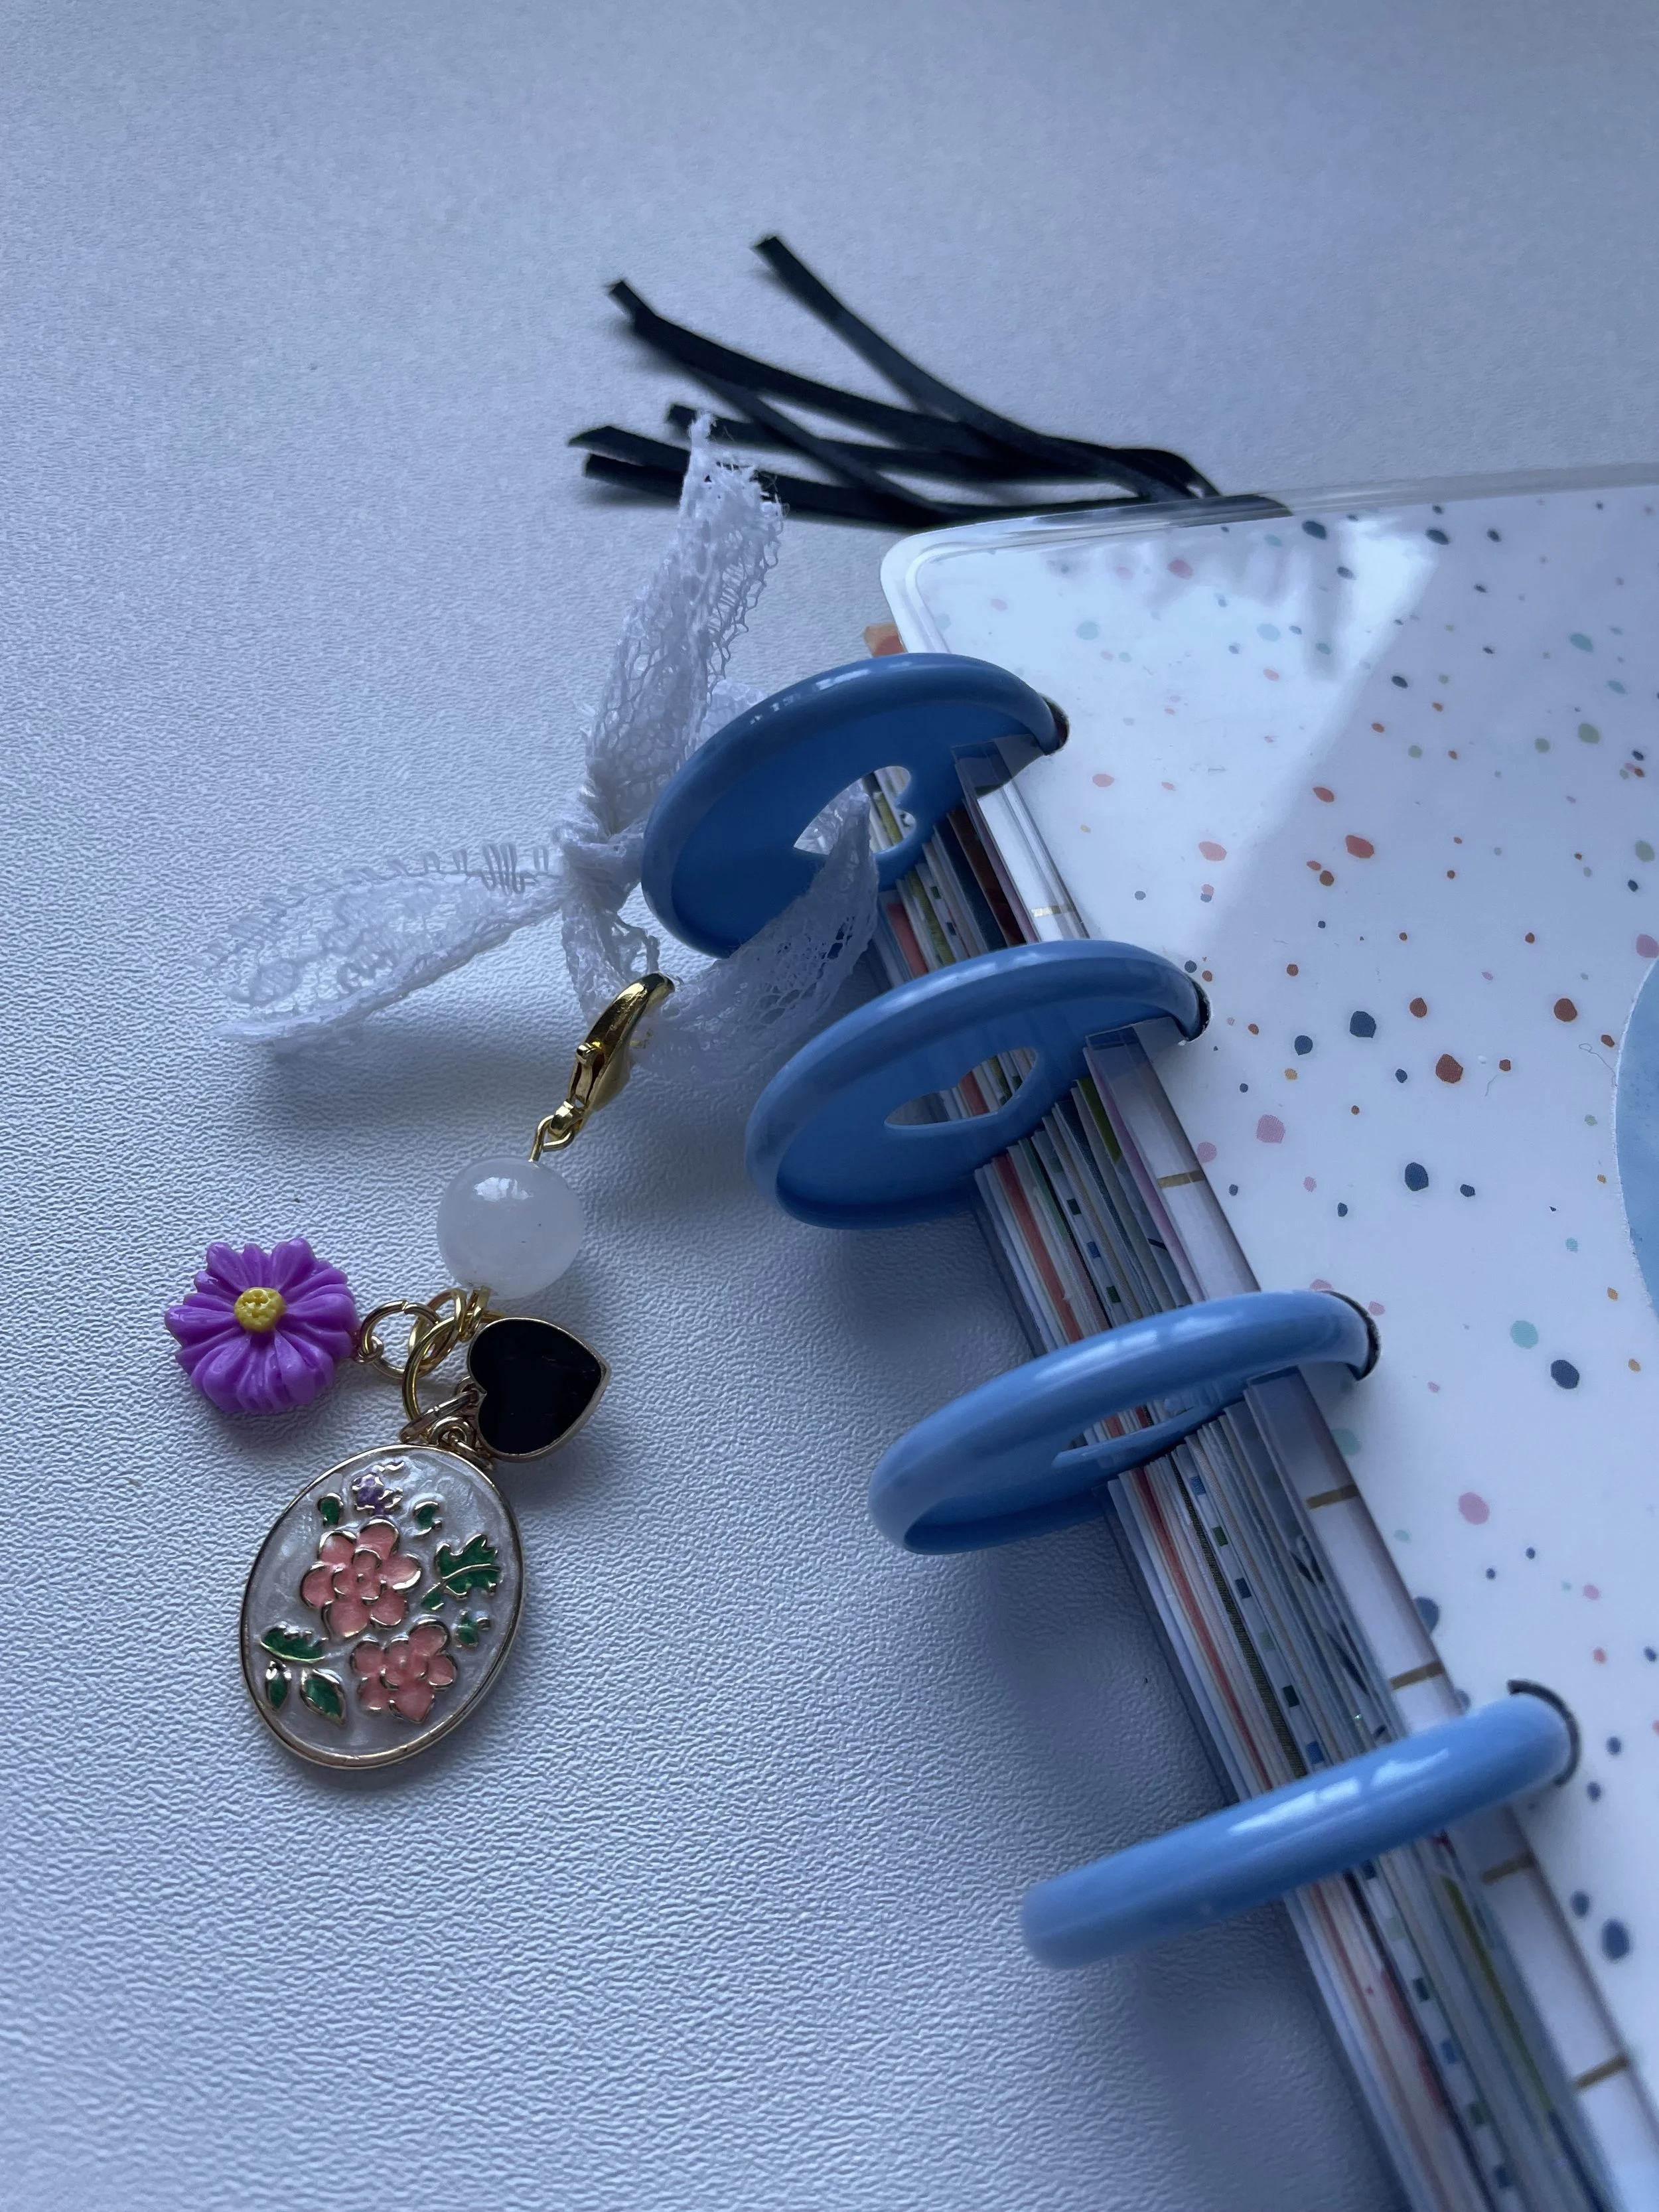
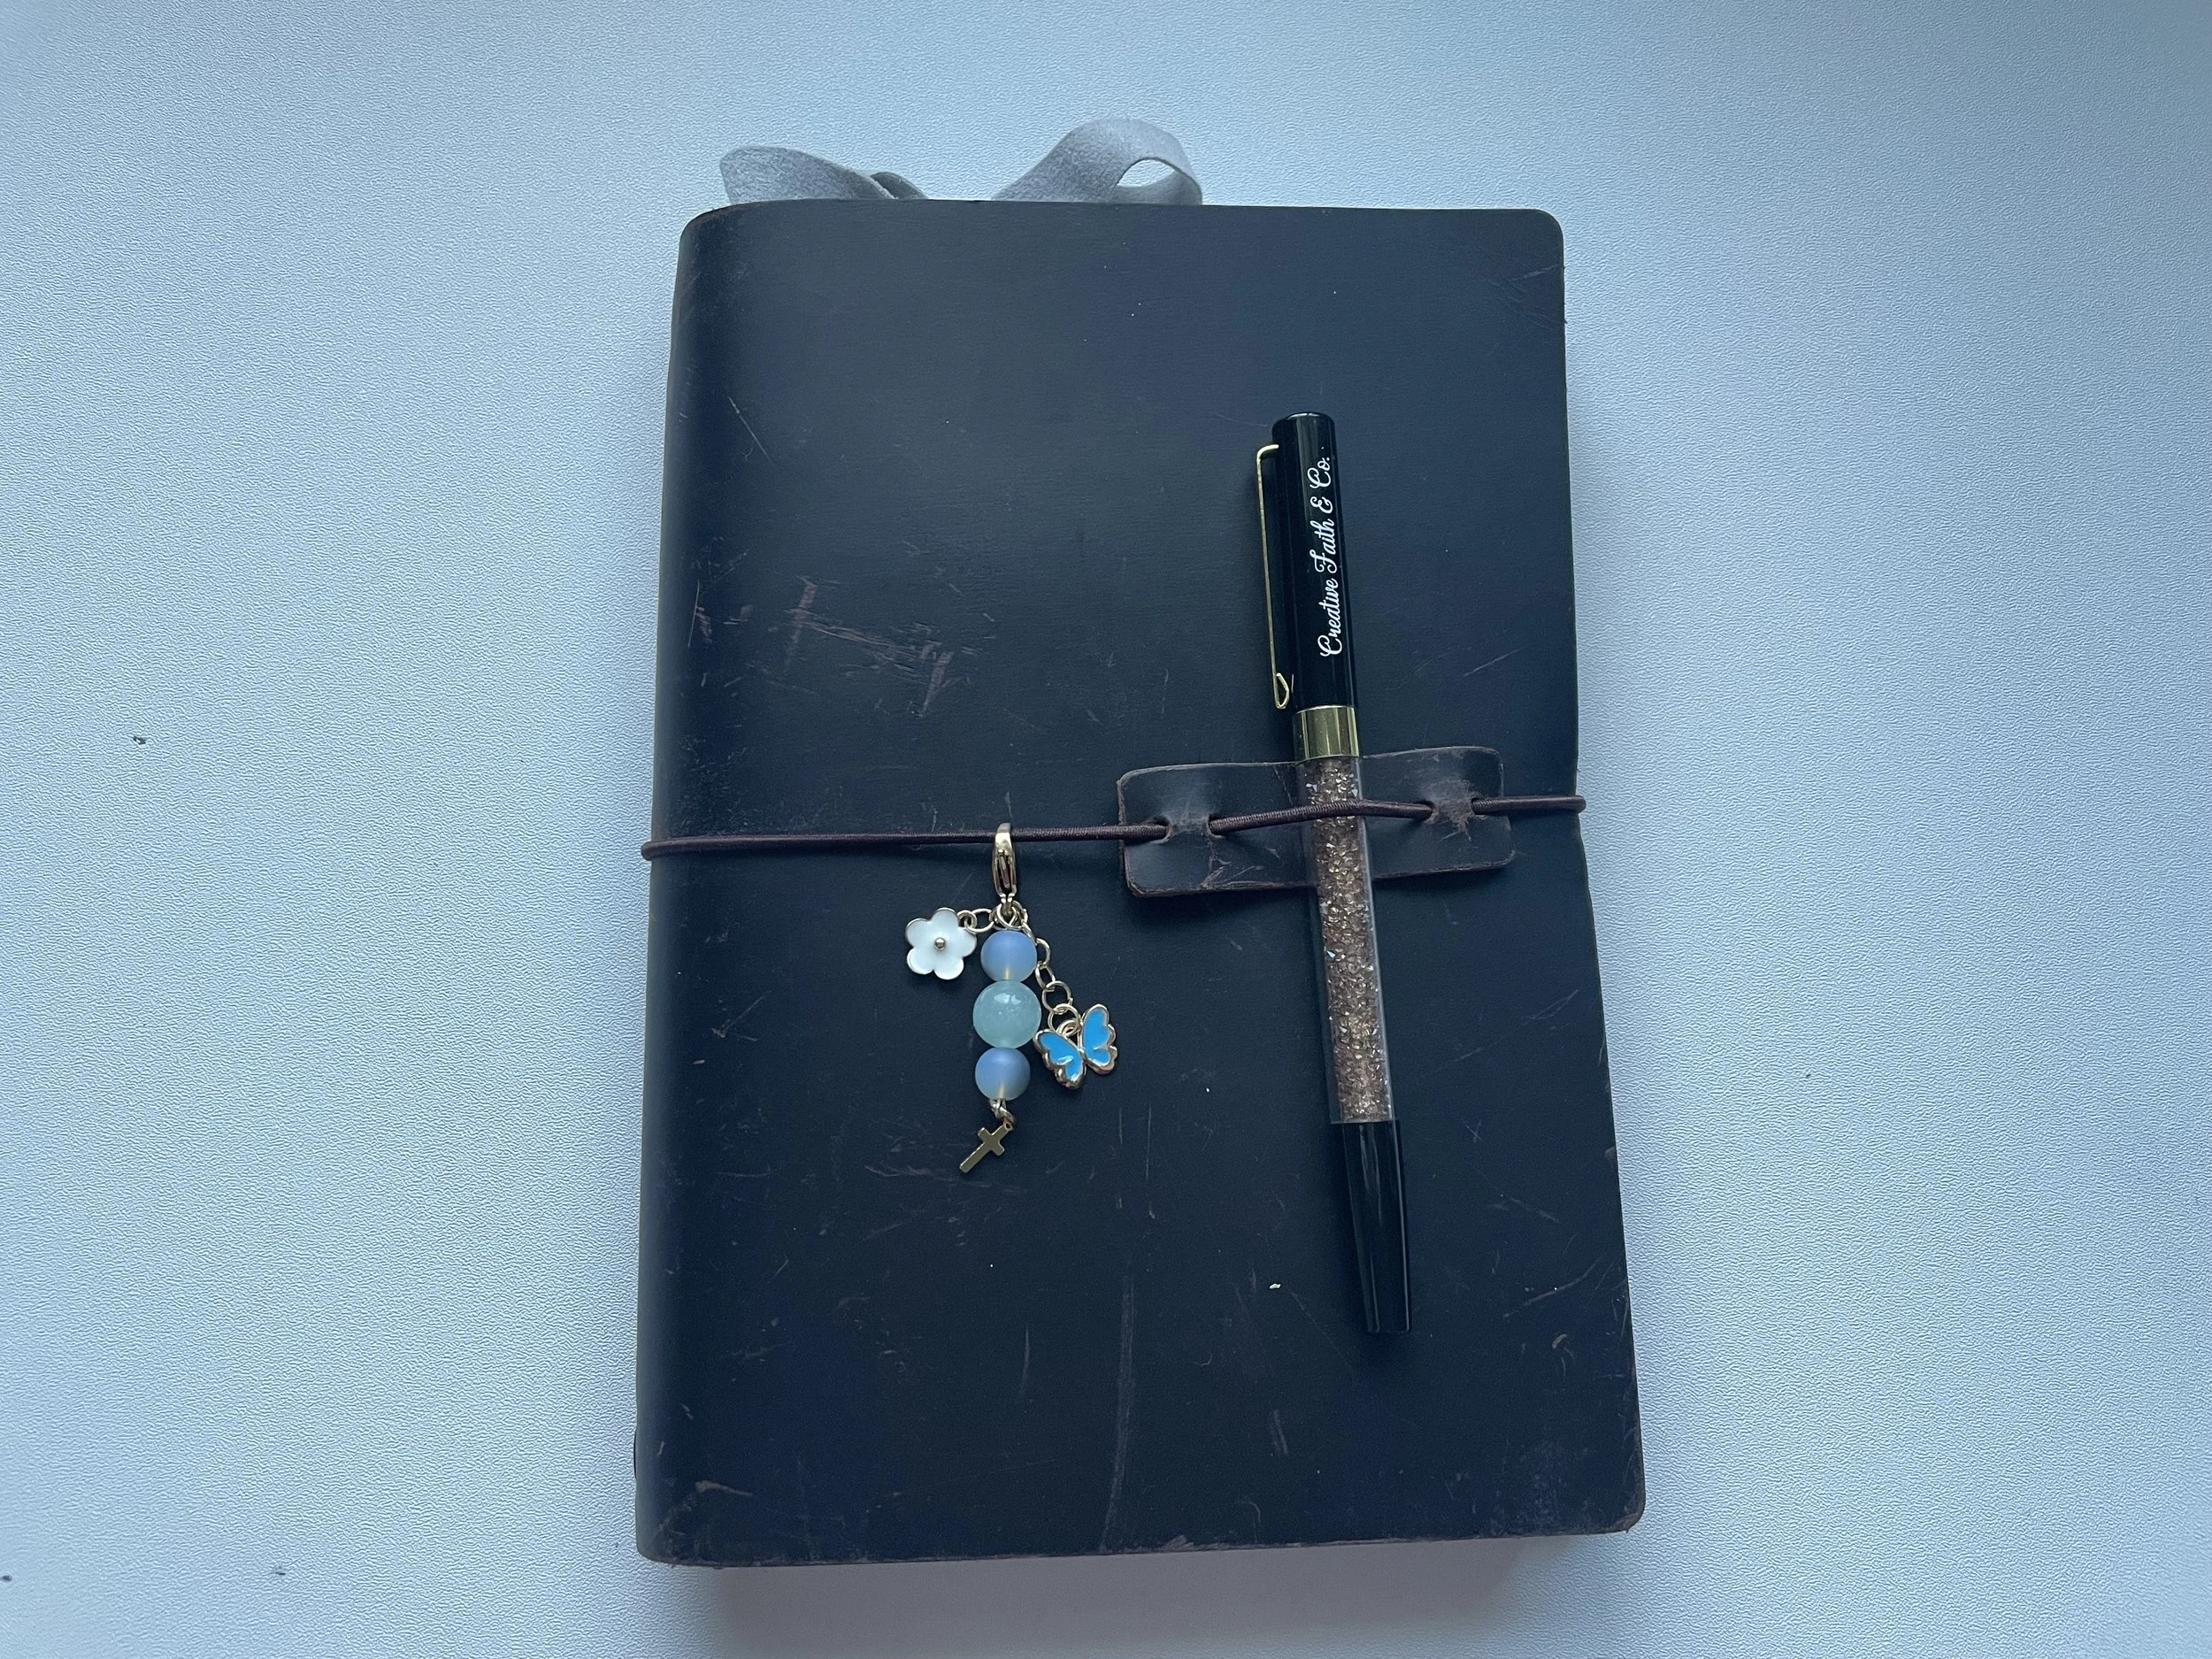
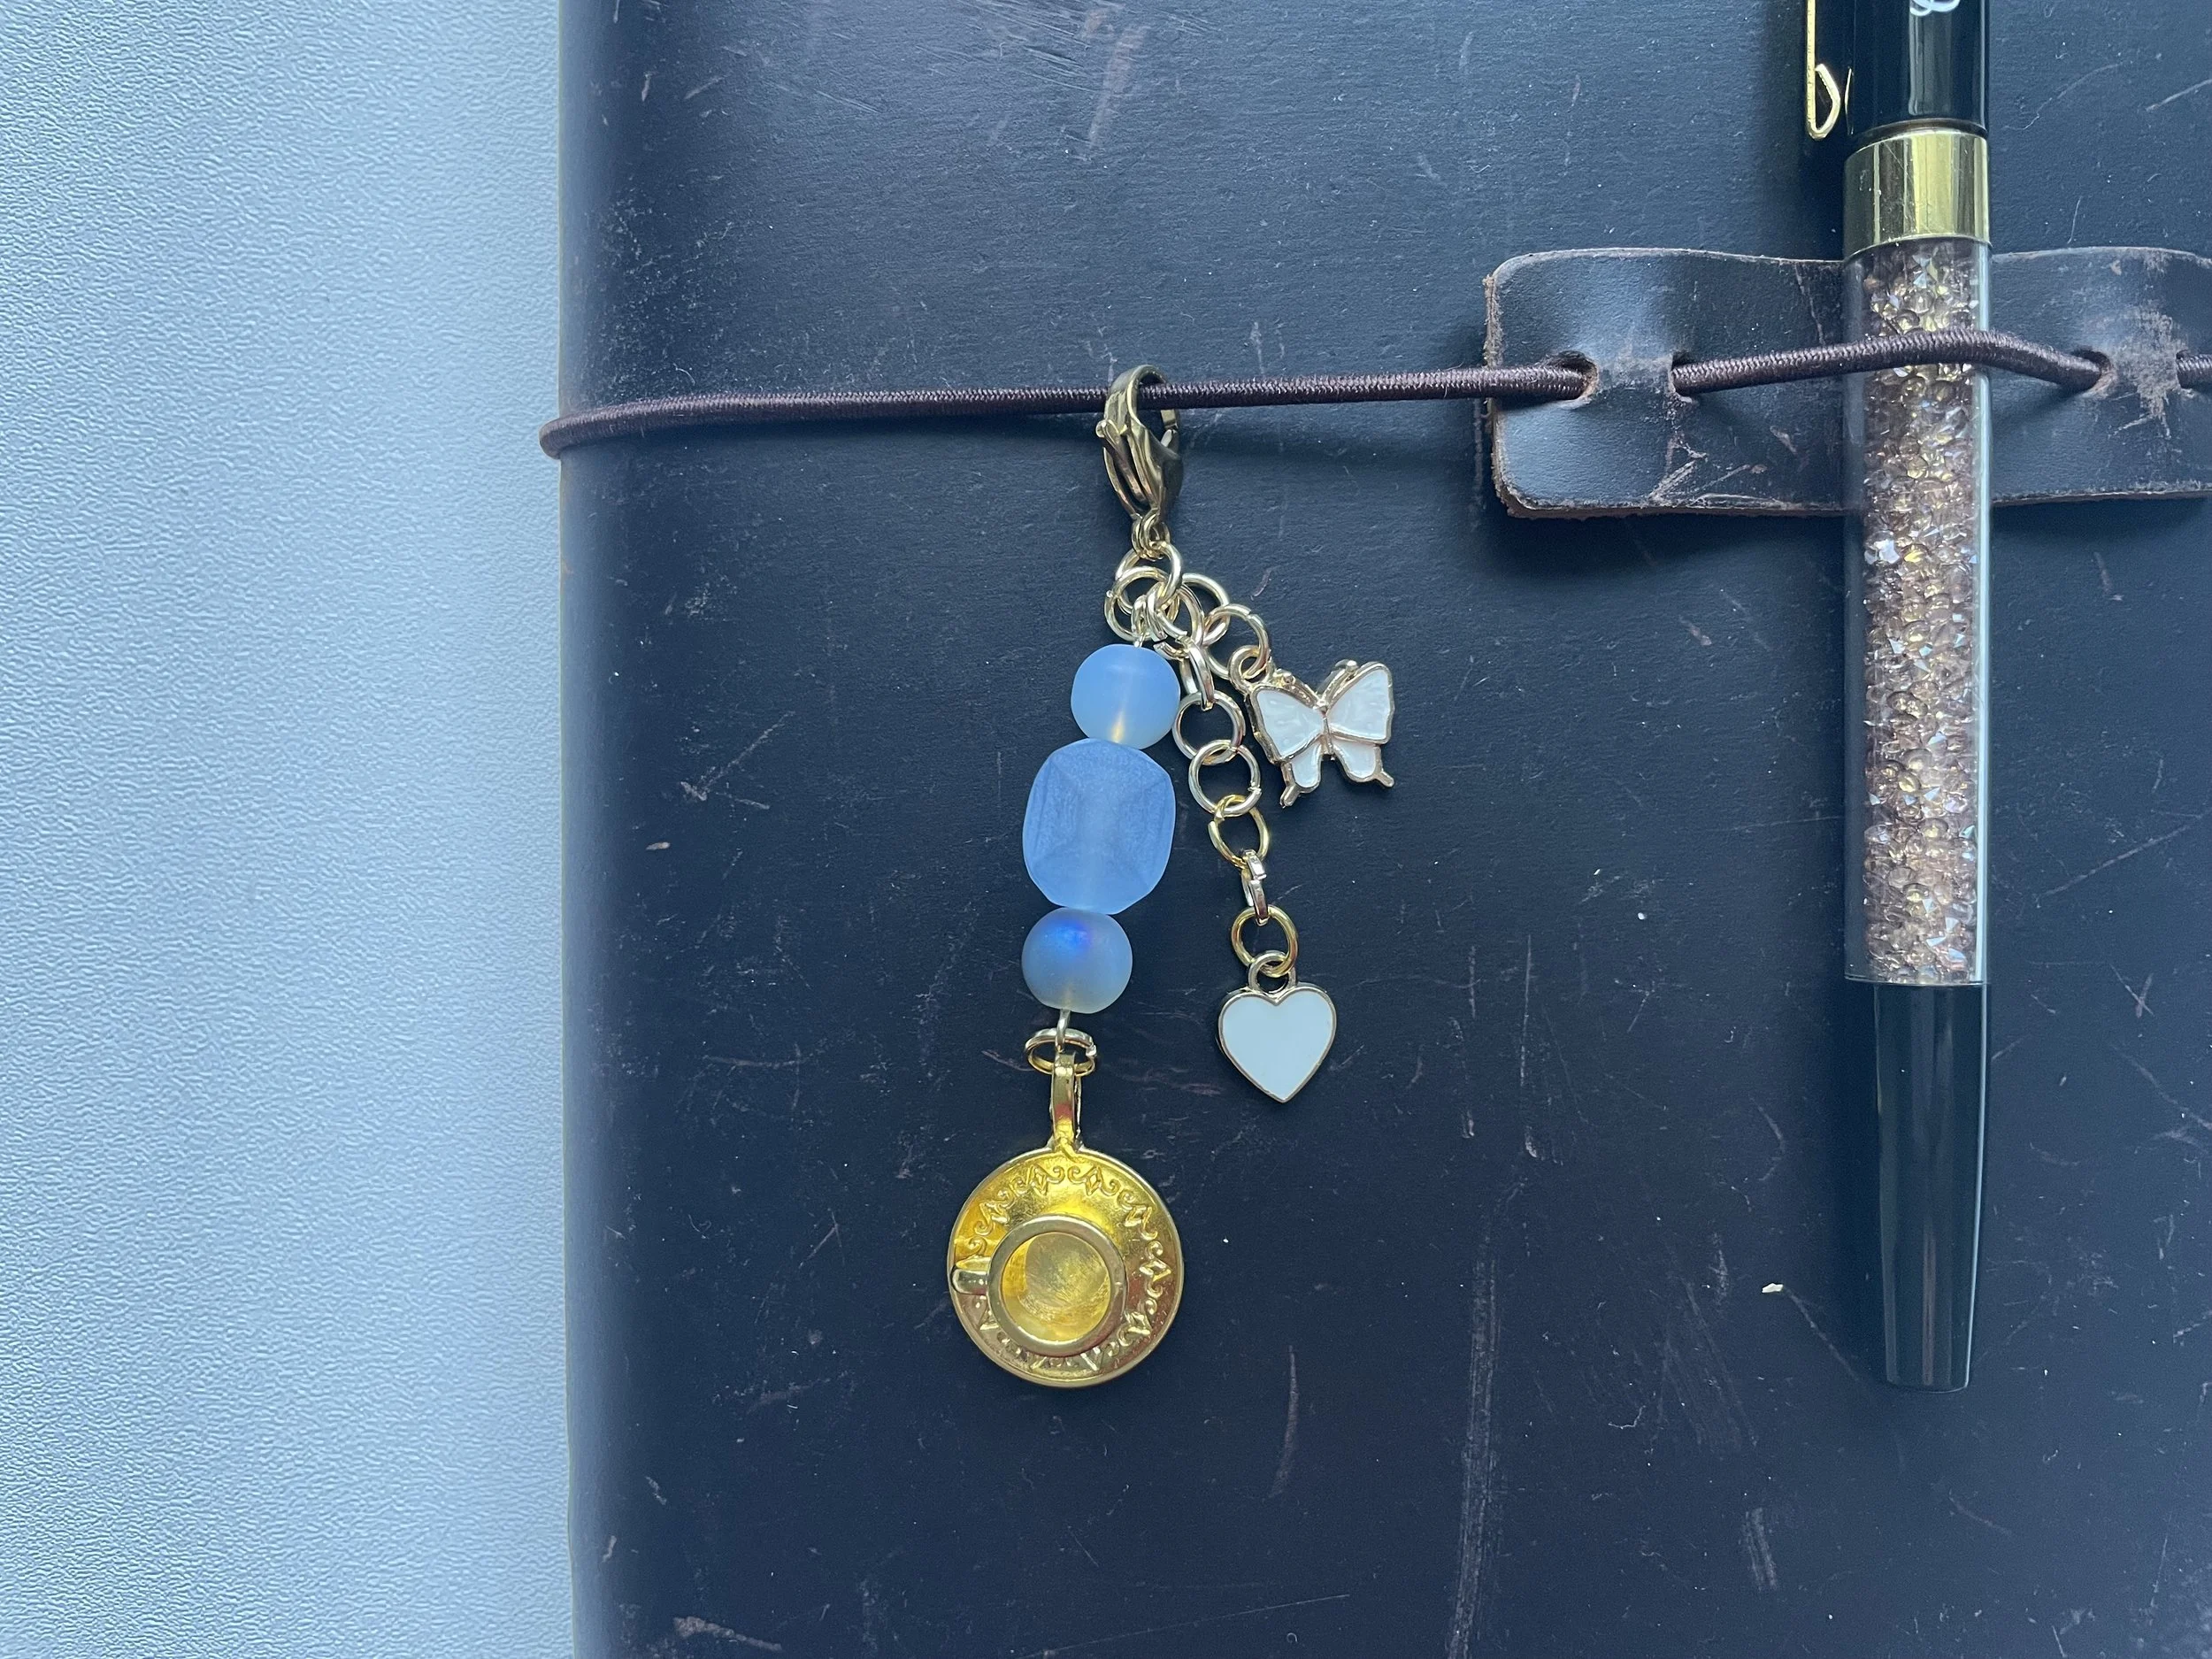
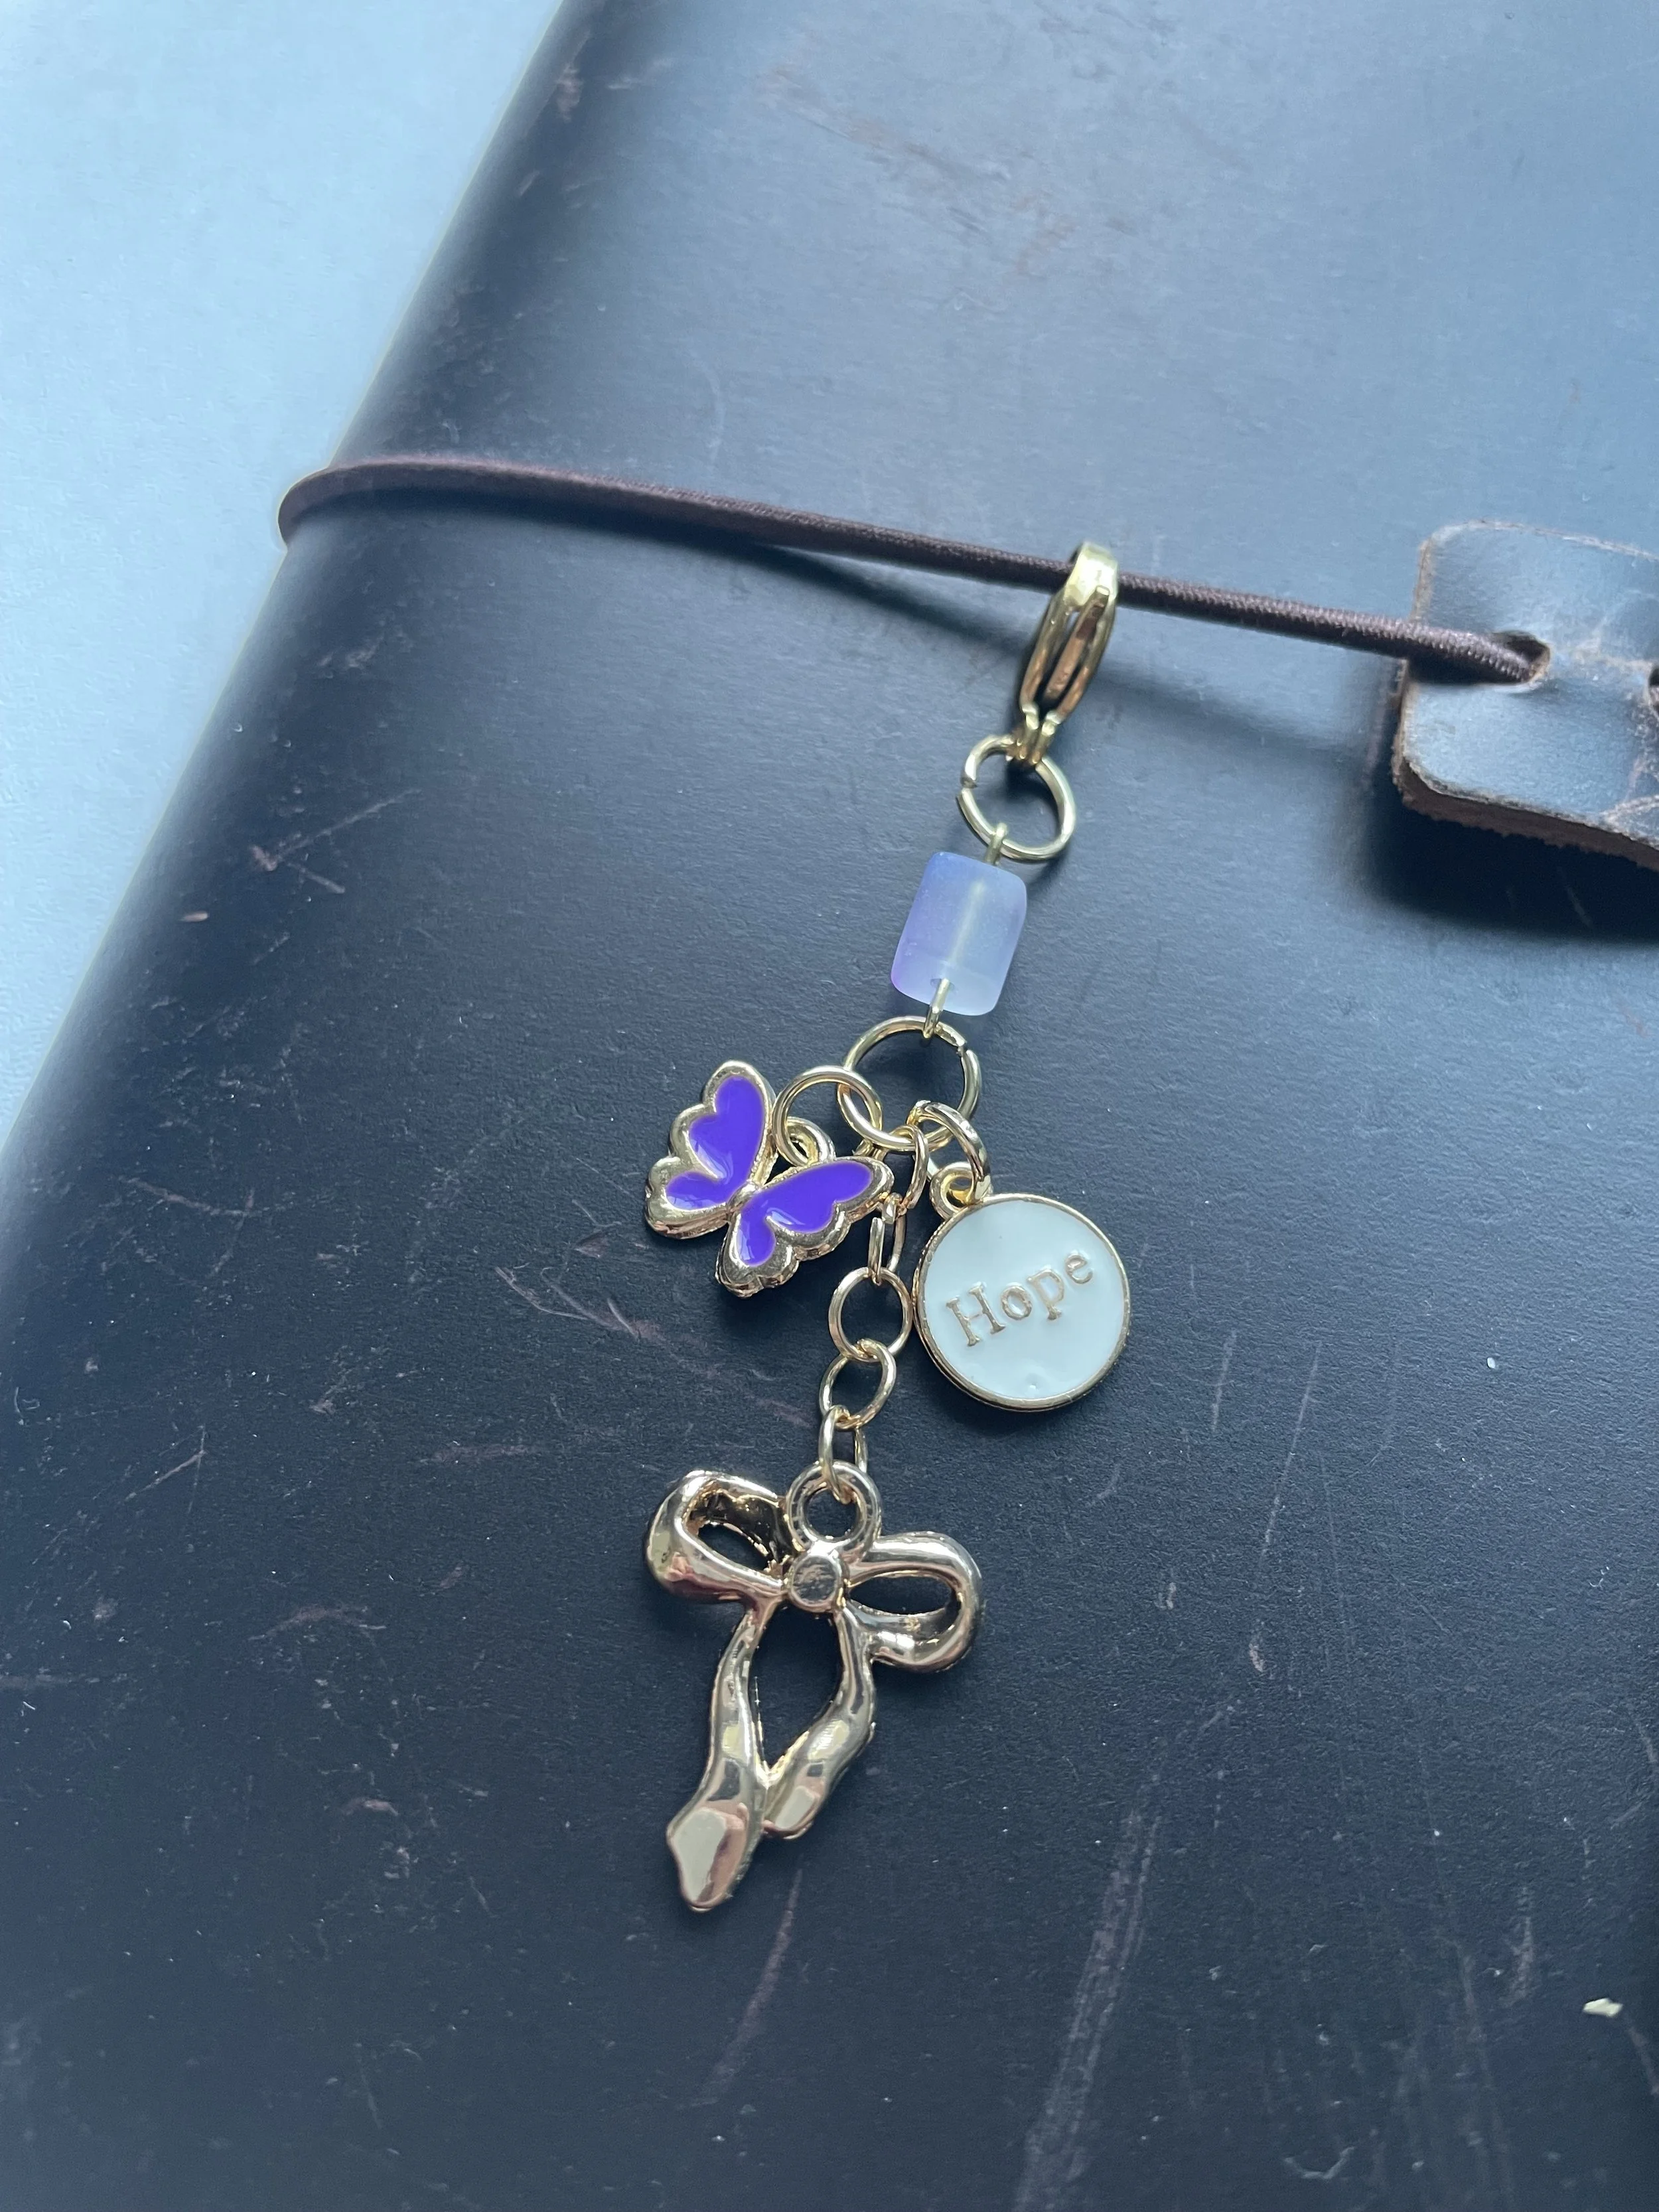
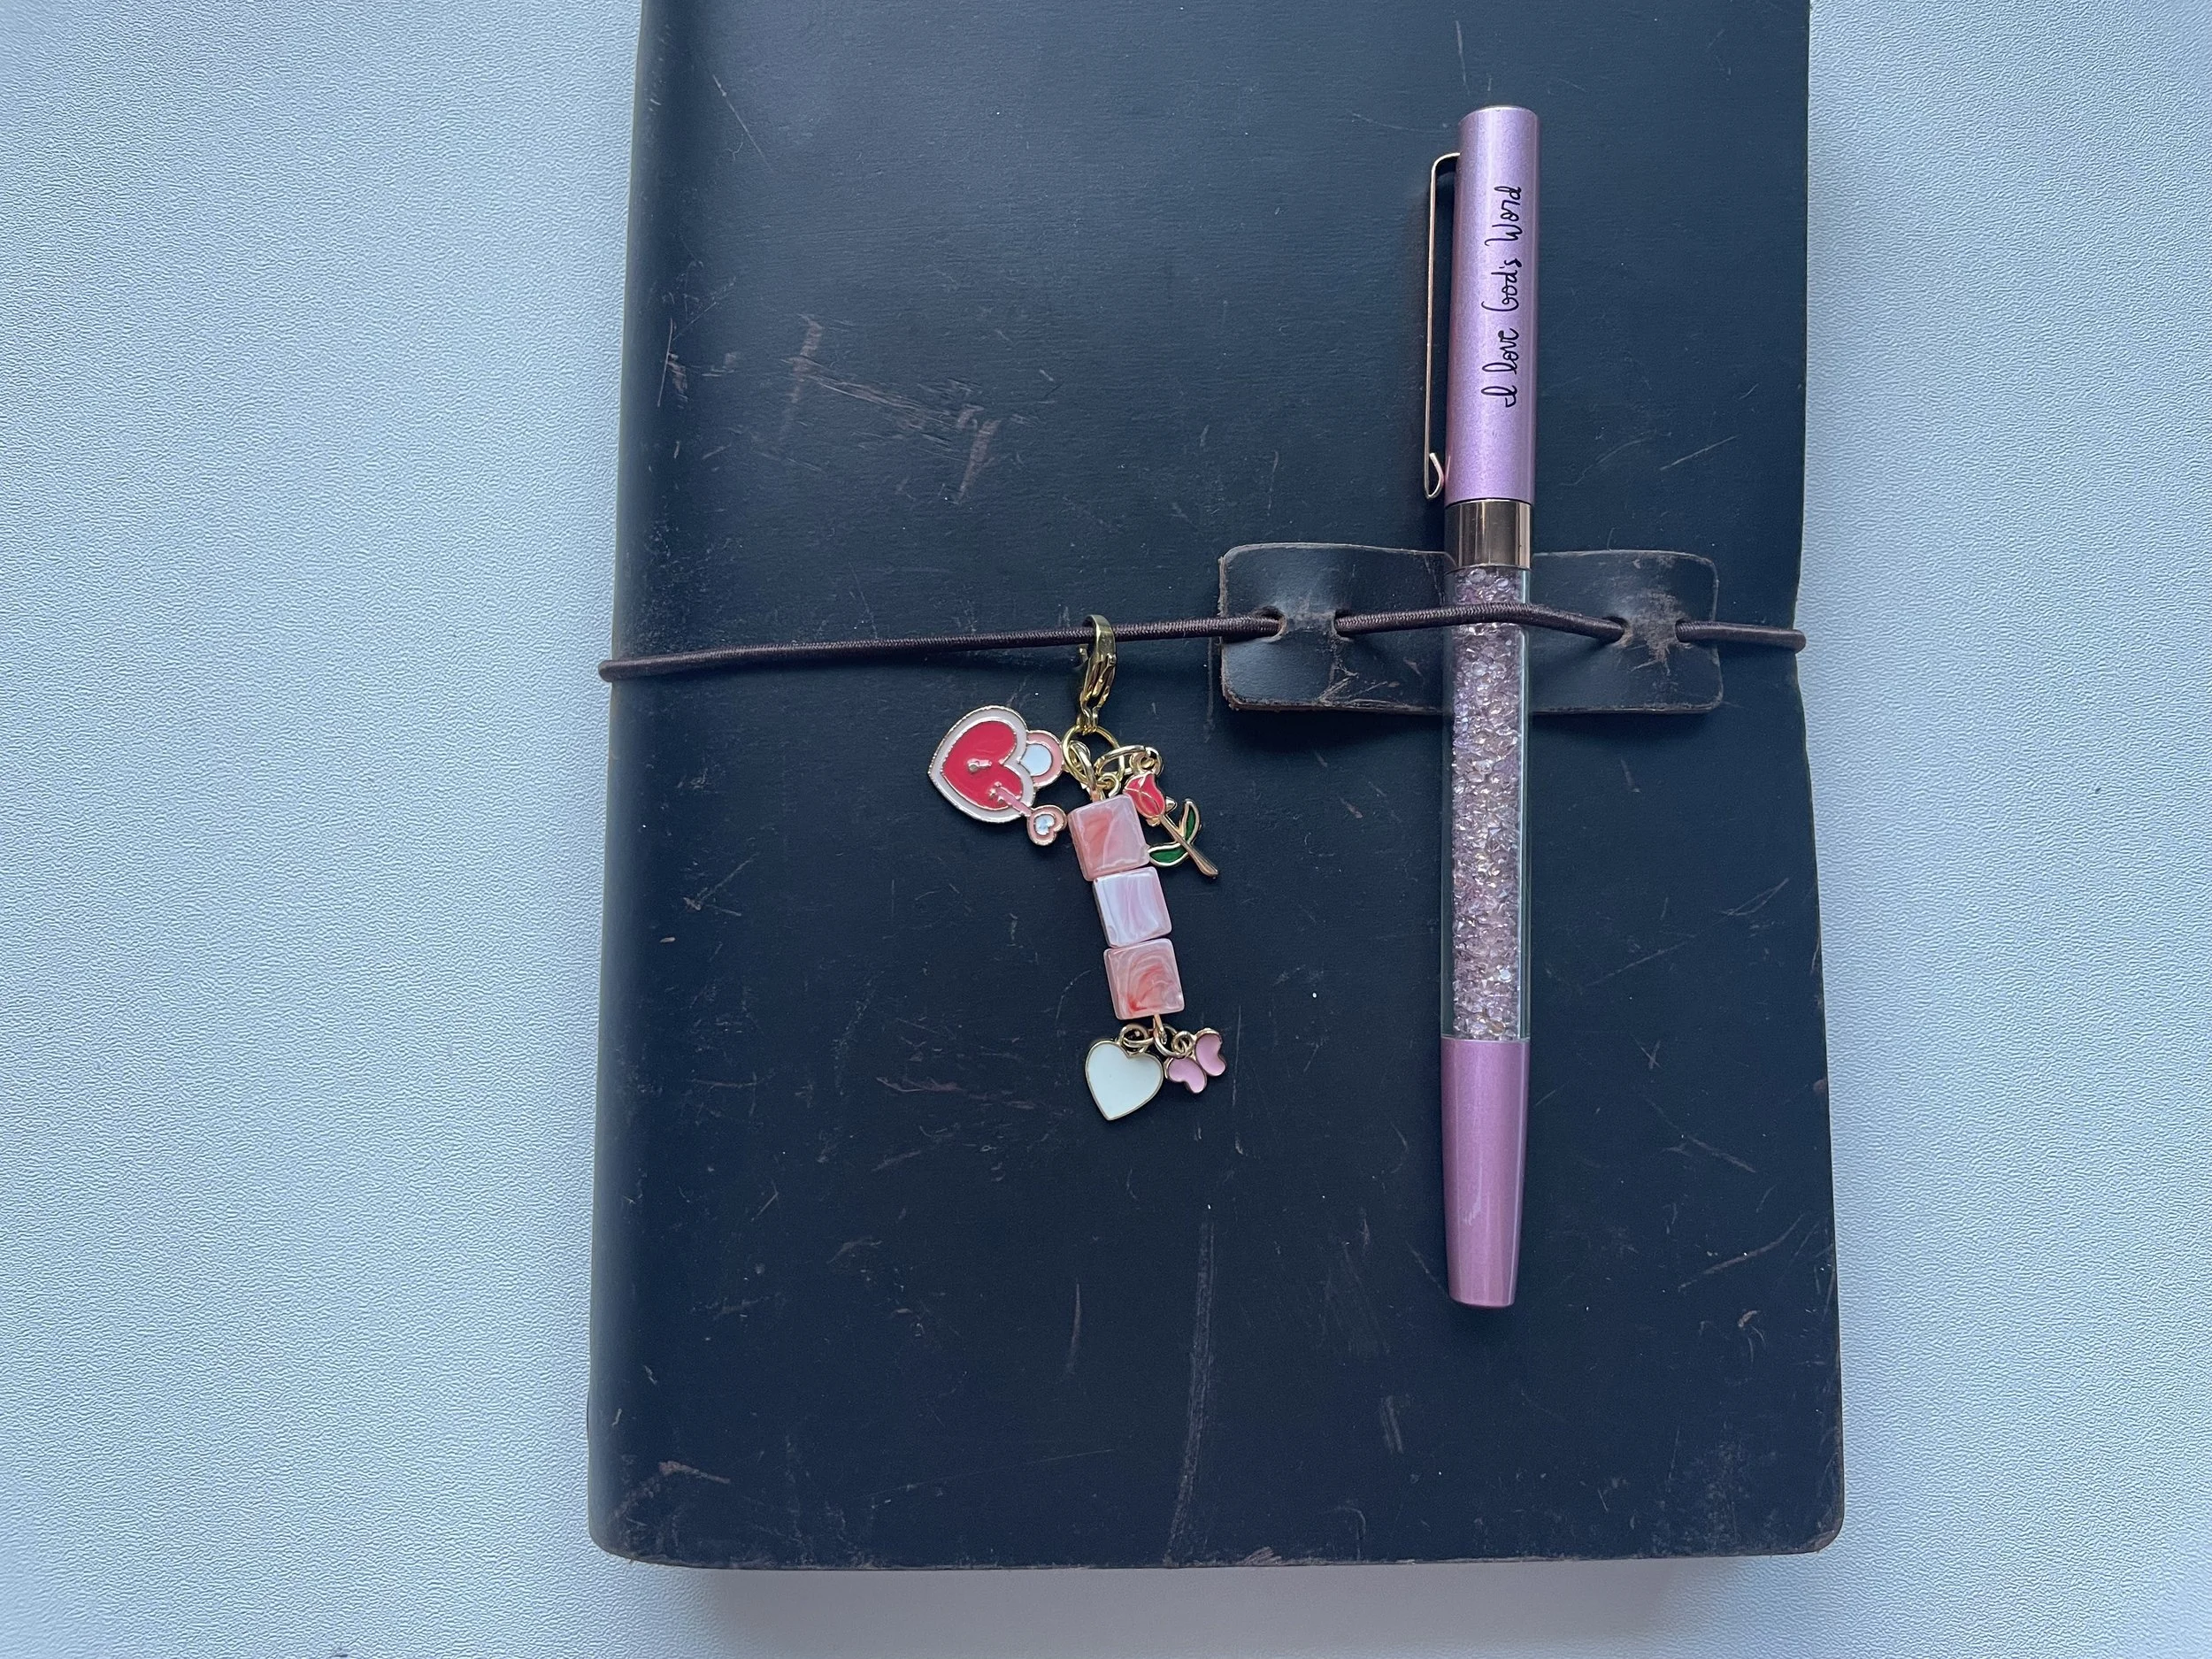
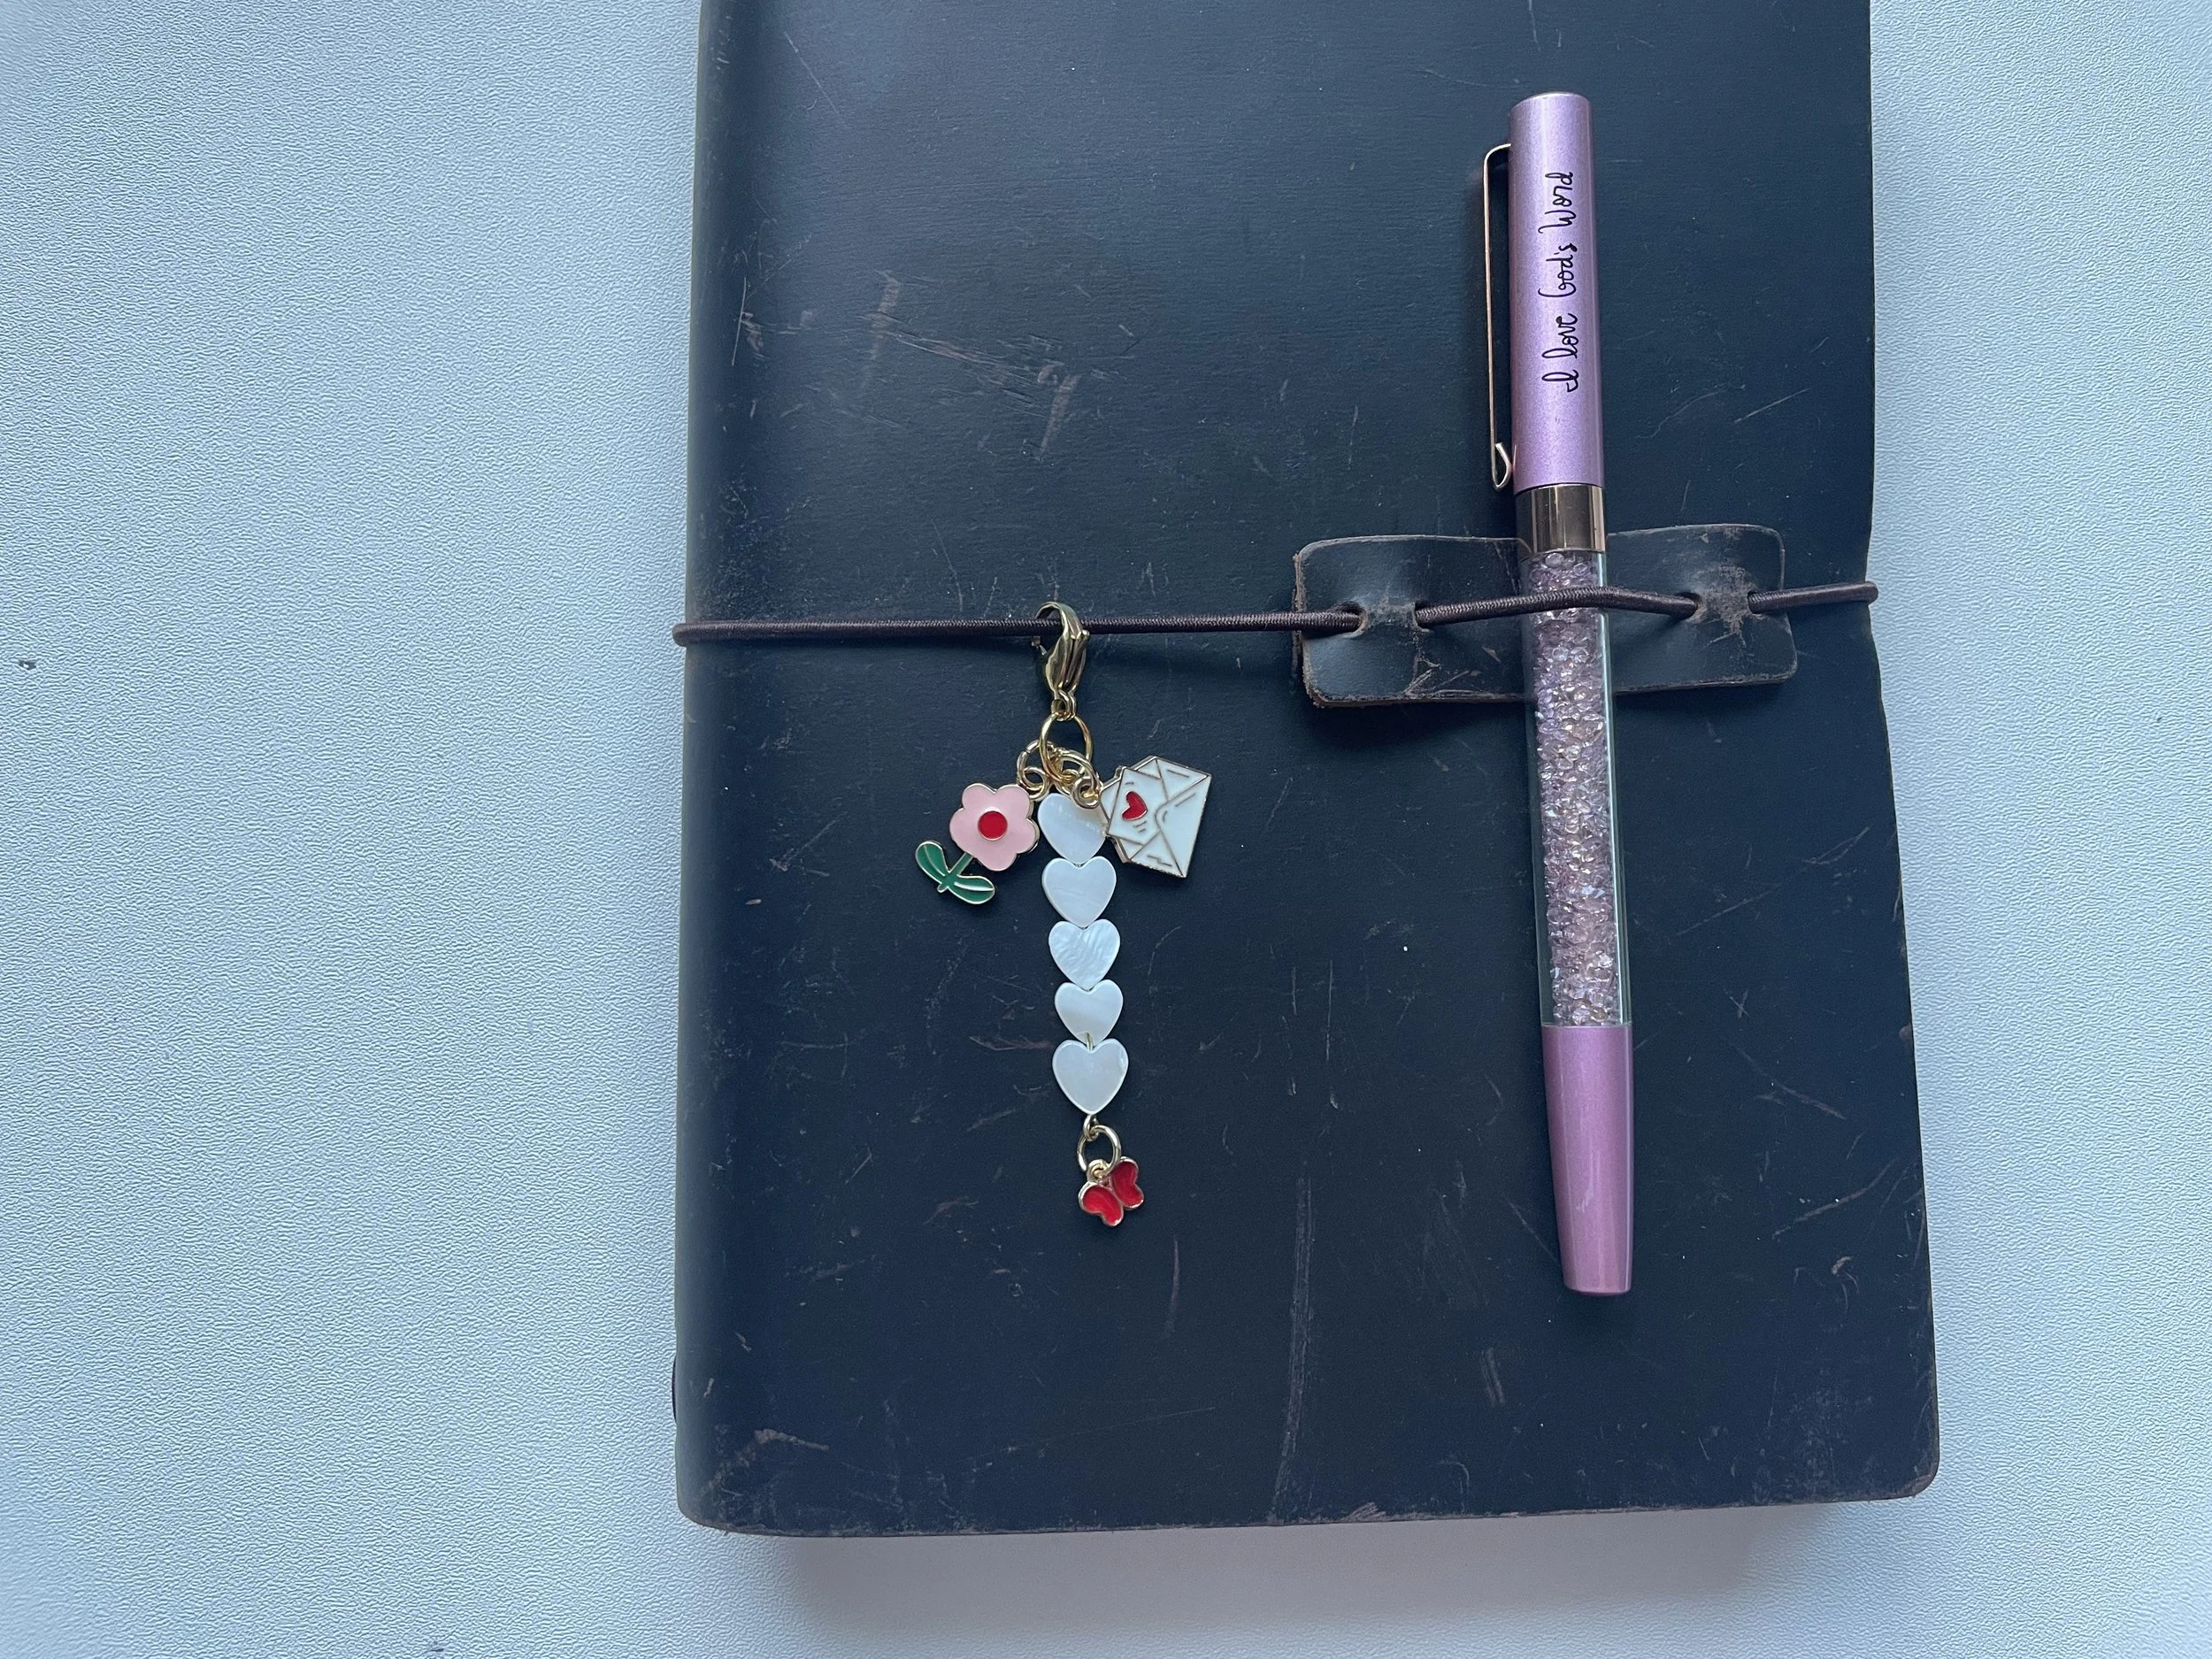
I love putting mine on the elastic on my traveler’s notebook covers. There’s elastic around the middle to keep it closed. There’s also elastic on the top spine where the inside elastics are held. I love setting up seasonal traveler’s notebooks, so I cannot wait to have a Valentine’s/love themed charm, spring charm, summer traveler’s notebook charm, etc.
On spiral planners
On spiral Bibles: I have the spiral Psalms interleaved Bible I am using this year for journaling. I cannot wait to attach a cute journal charm to it. The Illustrated Bible from Dayspring also has a great spiral that is perfect for adding a journal charm.
On Happy Planners: I add a piece of string/lace to the top disc on a Happy Planner and tie a short bow. Make sure the string/lace you’re going to use is thin enough for the lobster clasp to attach to, but strong enough to hold the charms.
I haven’t tried this yet, but I think I can use a grommet maker to make a hole in the top spine of my Bible. I can add a piece of string to the grommet hole and add a journal charm!
I don’t have a zippered Bible cover, but I also thought that would be a fun place to add journal charms.
Basic journal charm making - supplies:
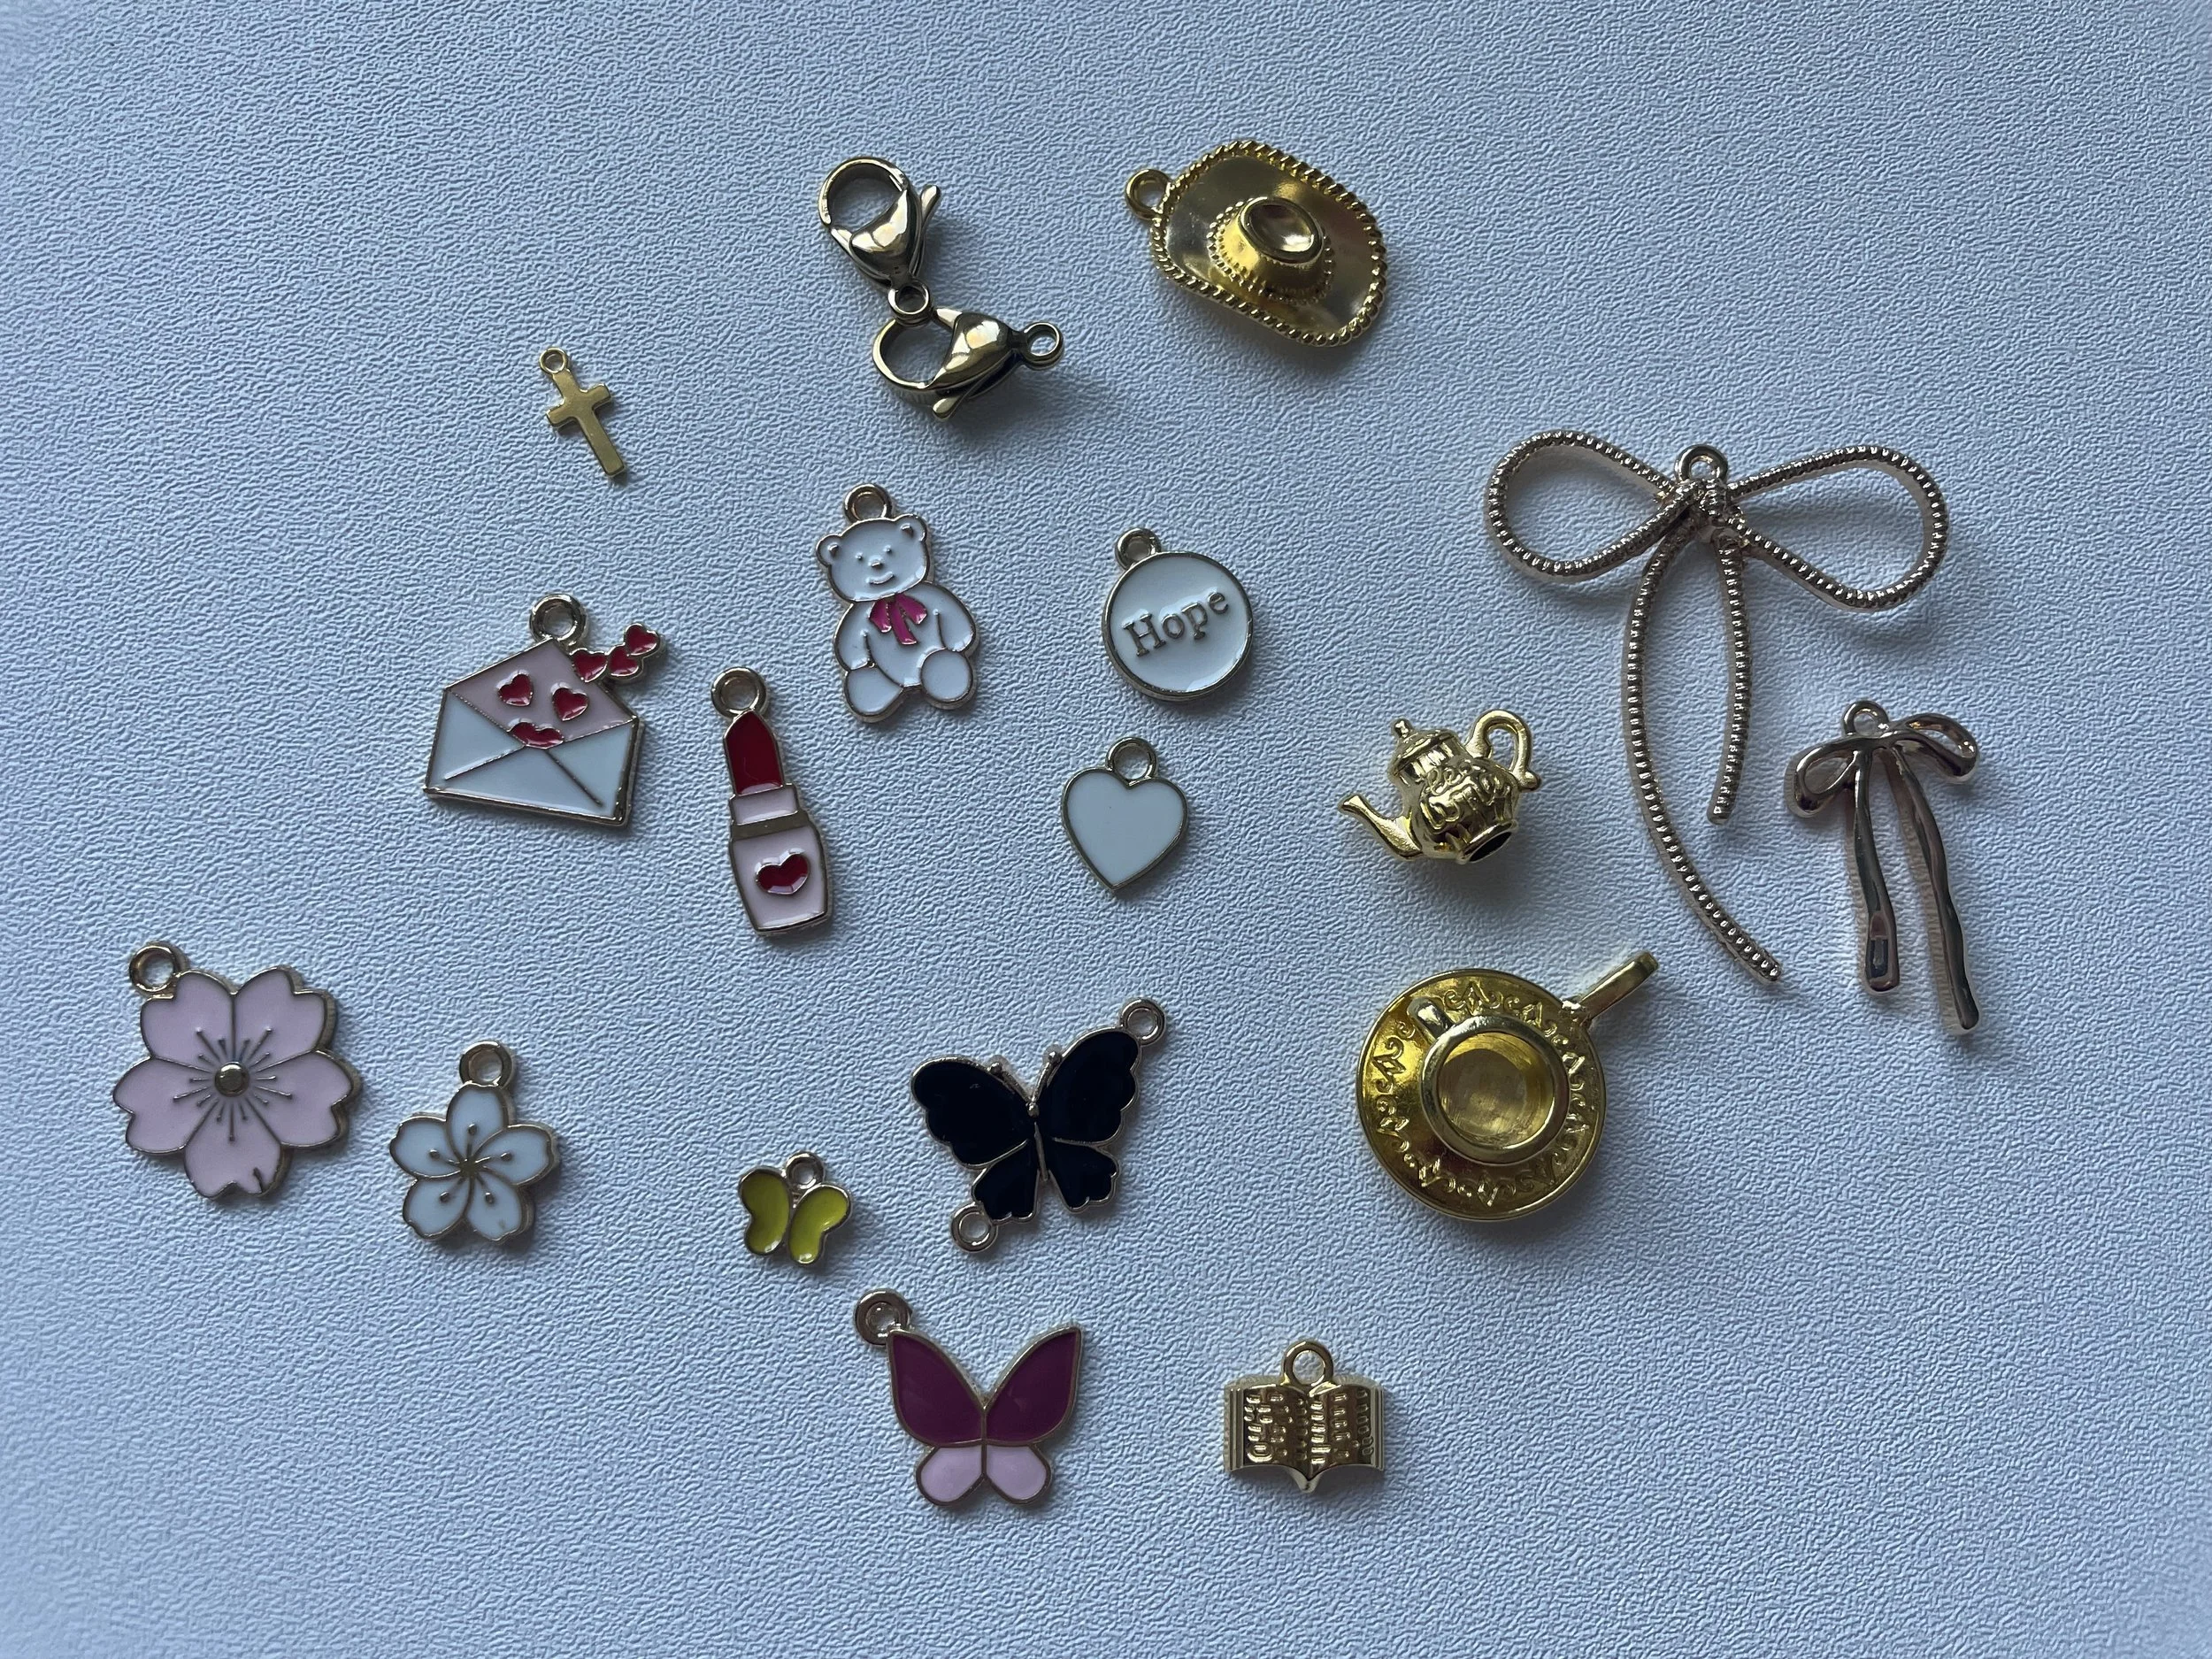
Charms (You can get these from Hobby Lobby, Michaels, and Amazon. I started by purchasing charms from Hobby Lobby and Michaels, but I realized how EXPENSIVE they were. The charms on Amazon come in sets of 50-100. The average person does not need to have 100 heart charms. I had the idea to make DIY charm kits for my Etsy shop. These kits come with 17 different styles of charms and 2 lobster claw clasps for you to make your own journal charms. You can click here to check out the DIY journal charm kits in my Etsy shop. They come with 3 Valentine’s/love themed charms, 3 butterflies, 2 bows, 1 cowboy themed charm, 1 book/Bible, 1 white heart, 1 colored hope, 1 tea kettle, 1 teacup, 1 cross, 2 flowers. I like to use 3-5 charms on each journal charm bundle I make, so this set in my Etsy shop gives you plenty of charms to use to get creative.)
Jump rings (4 mm is too small for me to use. I love 5 mm & 6 mm for making chains. I love 9-10 mm for a larger ring to attach the charms to. I also use 8 mm quite often. I got a set from Hobby Lobby that came with a variety of jump rings. It is nice to see these in store to know the size and thickness. You don’t want the jump rings to be too thick because then the charms won’t fit on them.)
Lobster claw clasps (15 mm is my favorite size for journal charms. They are slightly larger, which makes it easier to attach to the elastic on journals. This is the link to the exact set I got on Amazon.)
More advanced journal charm making - supplies:
Beads
Shrink plastic sheets for printing printables on, baking, and making your own charms
Please watch the video below for better instructions on how to make the journal charms!
Instructions for basic journal charms:
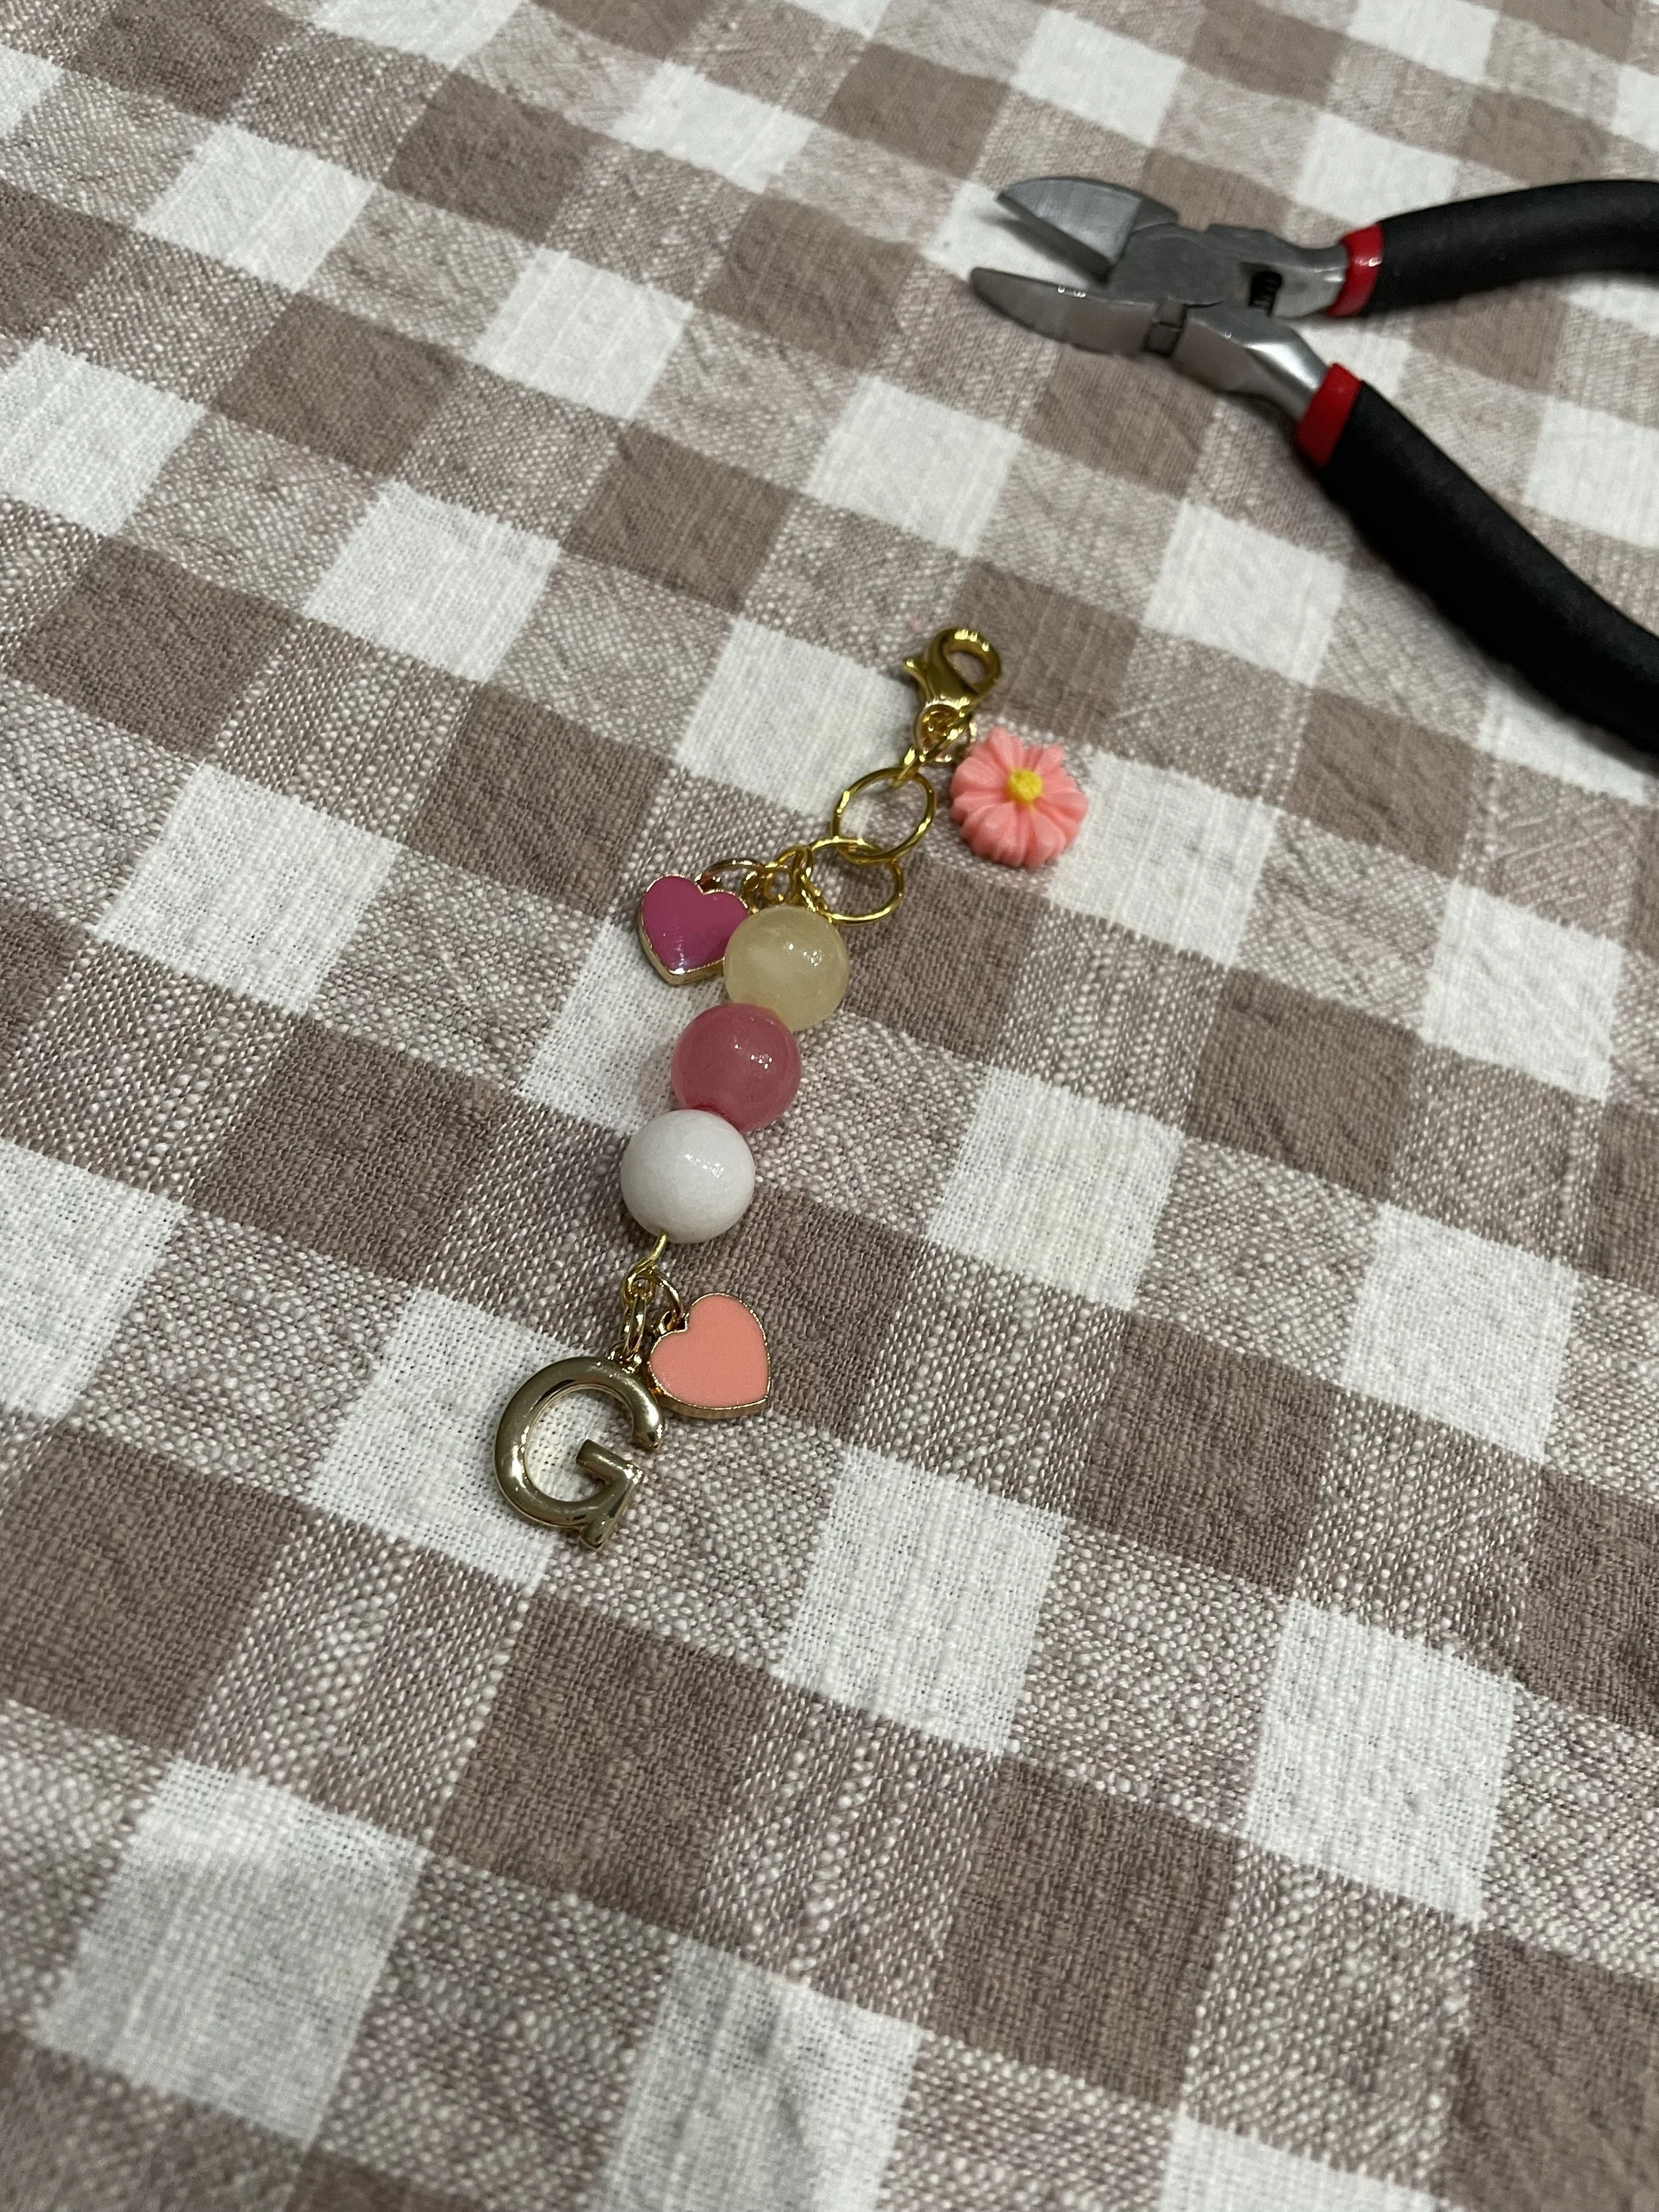
Here’s a sample of a journal charm I made for my planner this year using charms that come in the DIY kits in my Etsy shop. The only additional supplies you need are jump rings and jewelry pliers.
Start with the lobster claw clasp. Then, build the journal charm down. The great part is if you do something you do not like, you can easily pull apart the jump rings and redo it!
After you have your lobster claw clasp, take a jump ring and attach it to the bottom of the clasp. Use your small pliers to open the jump ring and slide the clasp inside. Close the jump ring.
Gather the charms you are going to add. I like to add 3-5 icon charms to make 1 journal charm. Open the small jump rings and slide a charm onto one, and then close it. You can also link multiple jump rings together to make a short chain. I like to link 4-6 of the 5 mm or 6 mm jump rings together to make a chain to put a charm on the end. Having various levels/lengths allows the charms to be seen easier once they are on your journal.
Make sure the jump rings are fully closed. Attach to your traveler’s notebook and enjoy!
Instructions for more advanced journal charms:
If you want to invest in a few more tools, I love adding beads to my journal charms. I got a great set of beads from Walmart, actually. Hobby Lobby and Michaels also have beads, but again, they are rather expensive. You could also try ordering on Amazon, but I did not feel like I needed as many as the sets from Amazon contained.
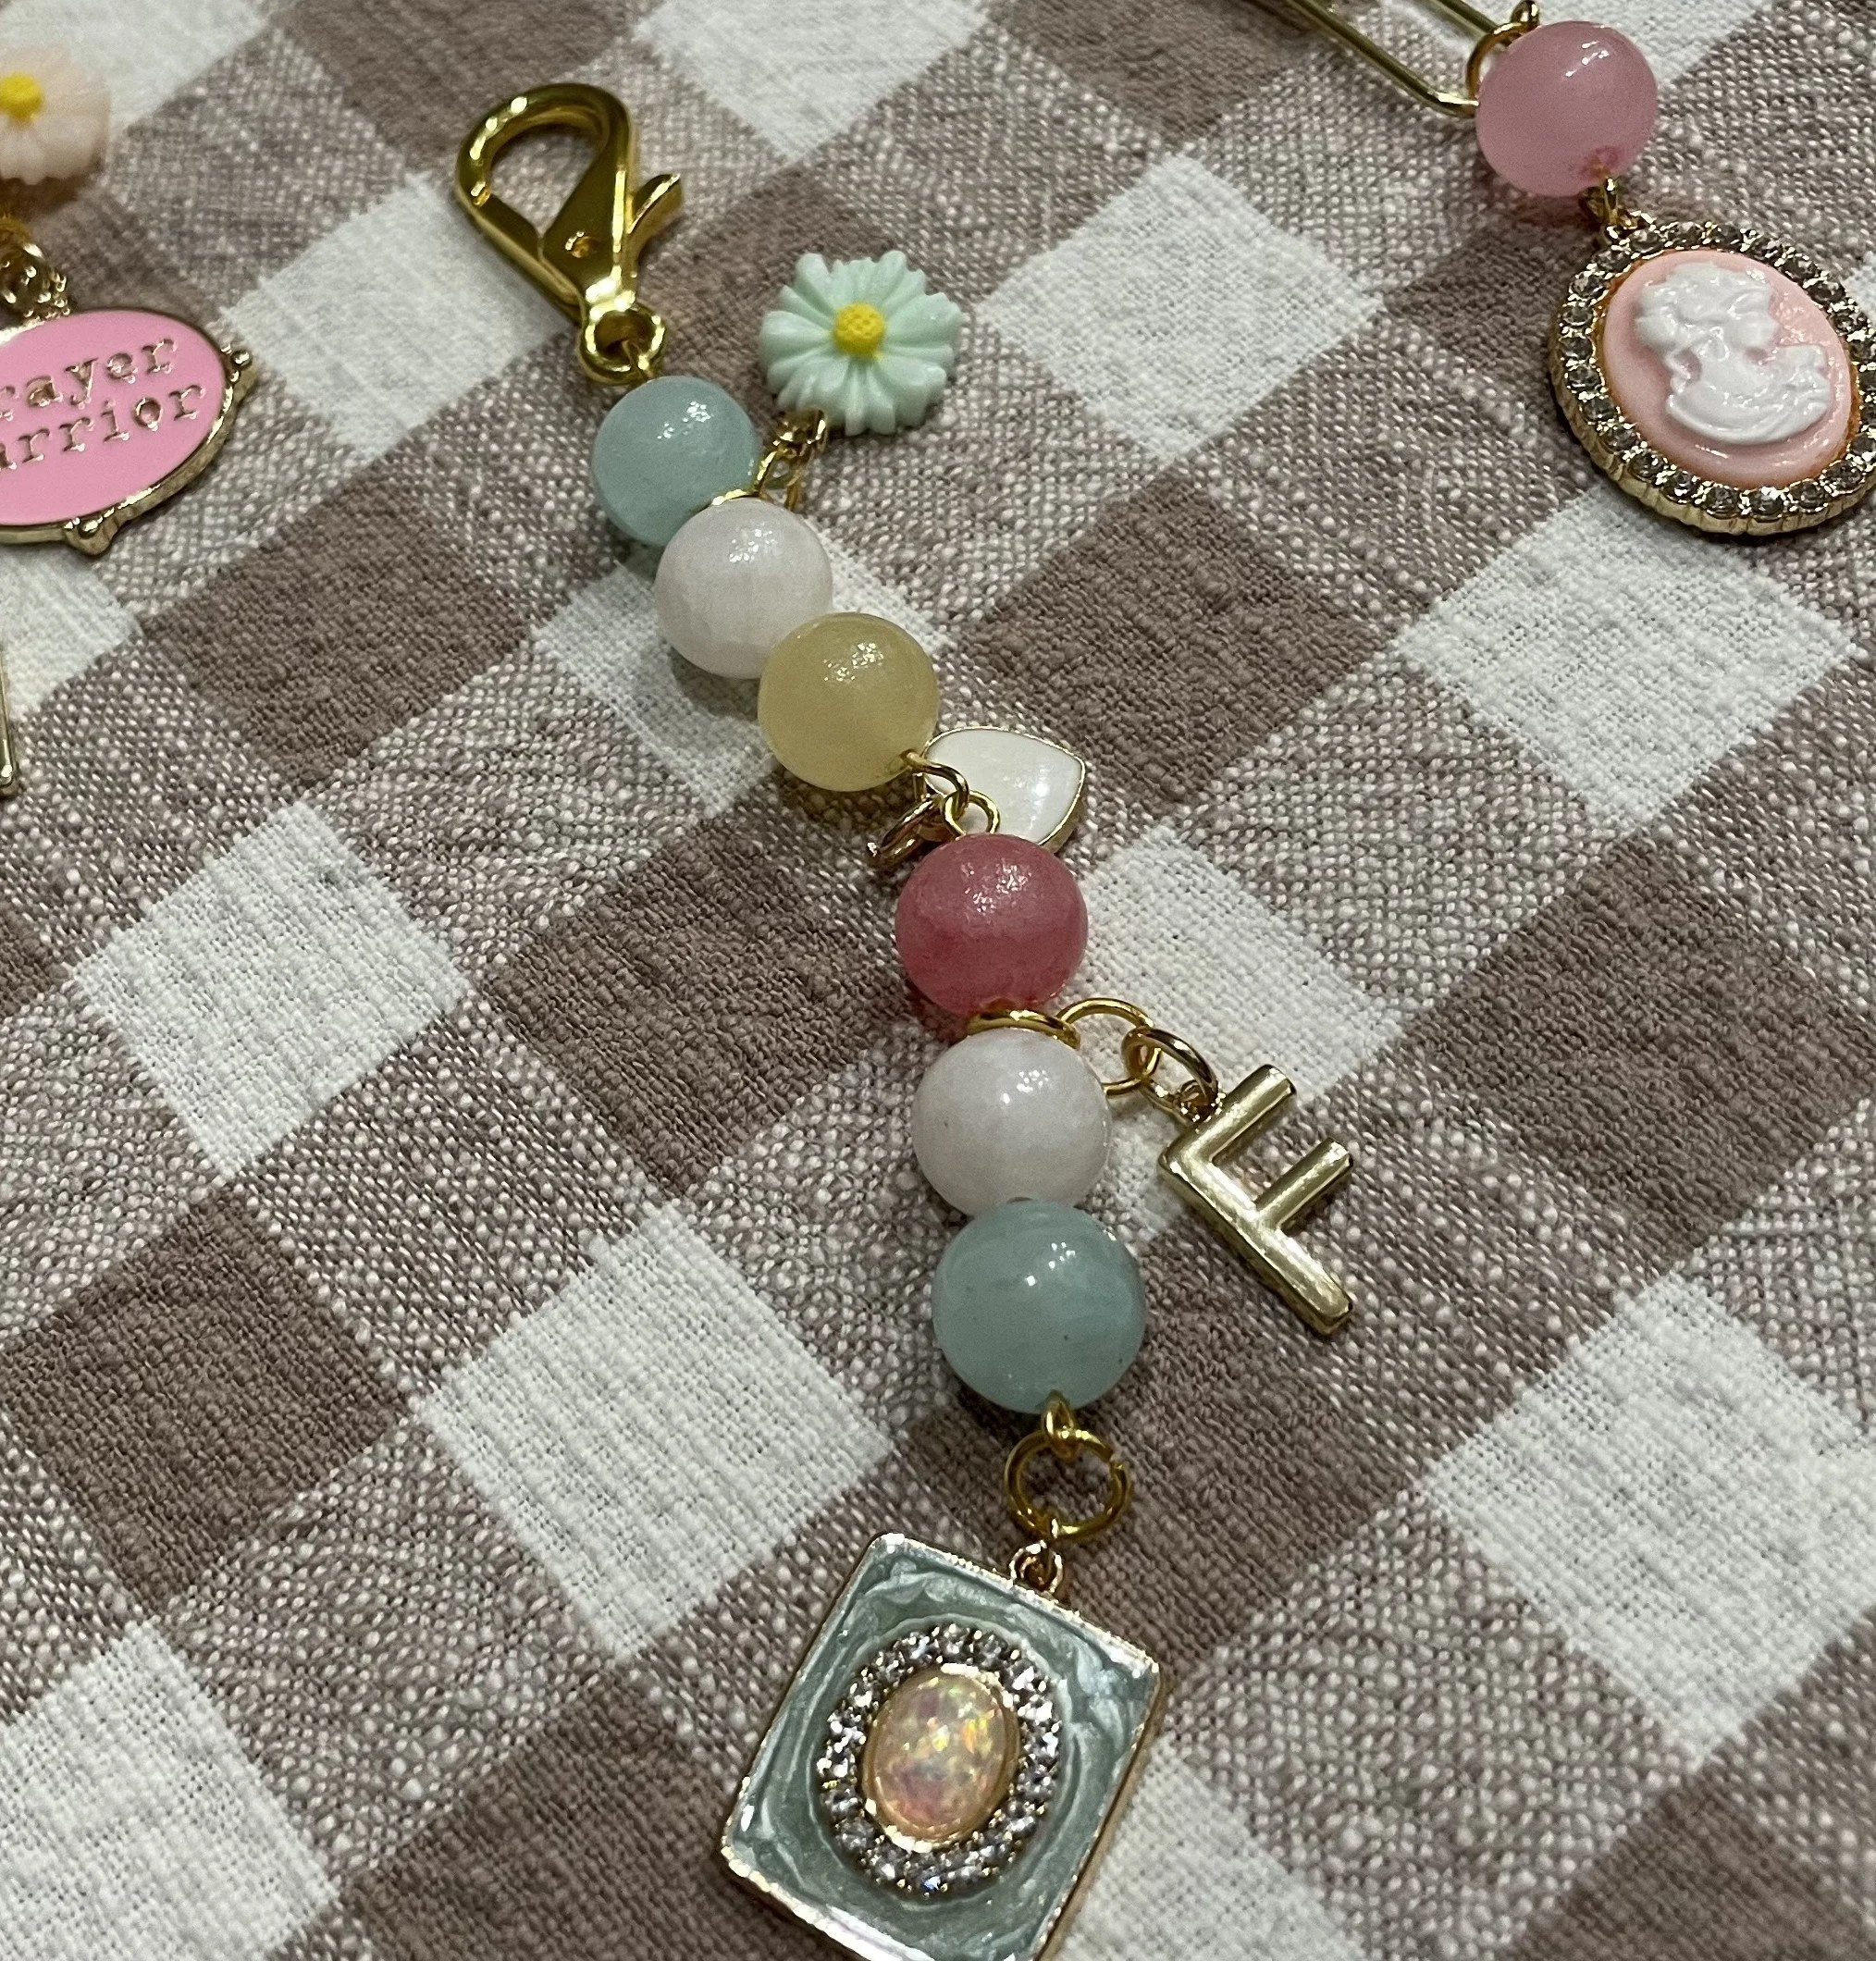
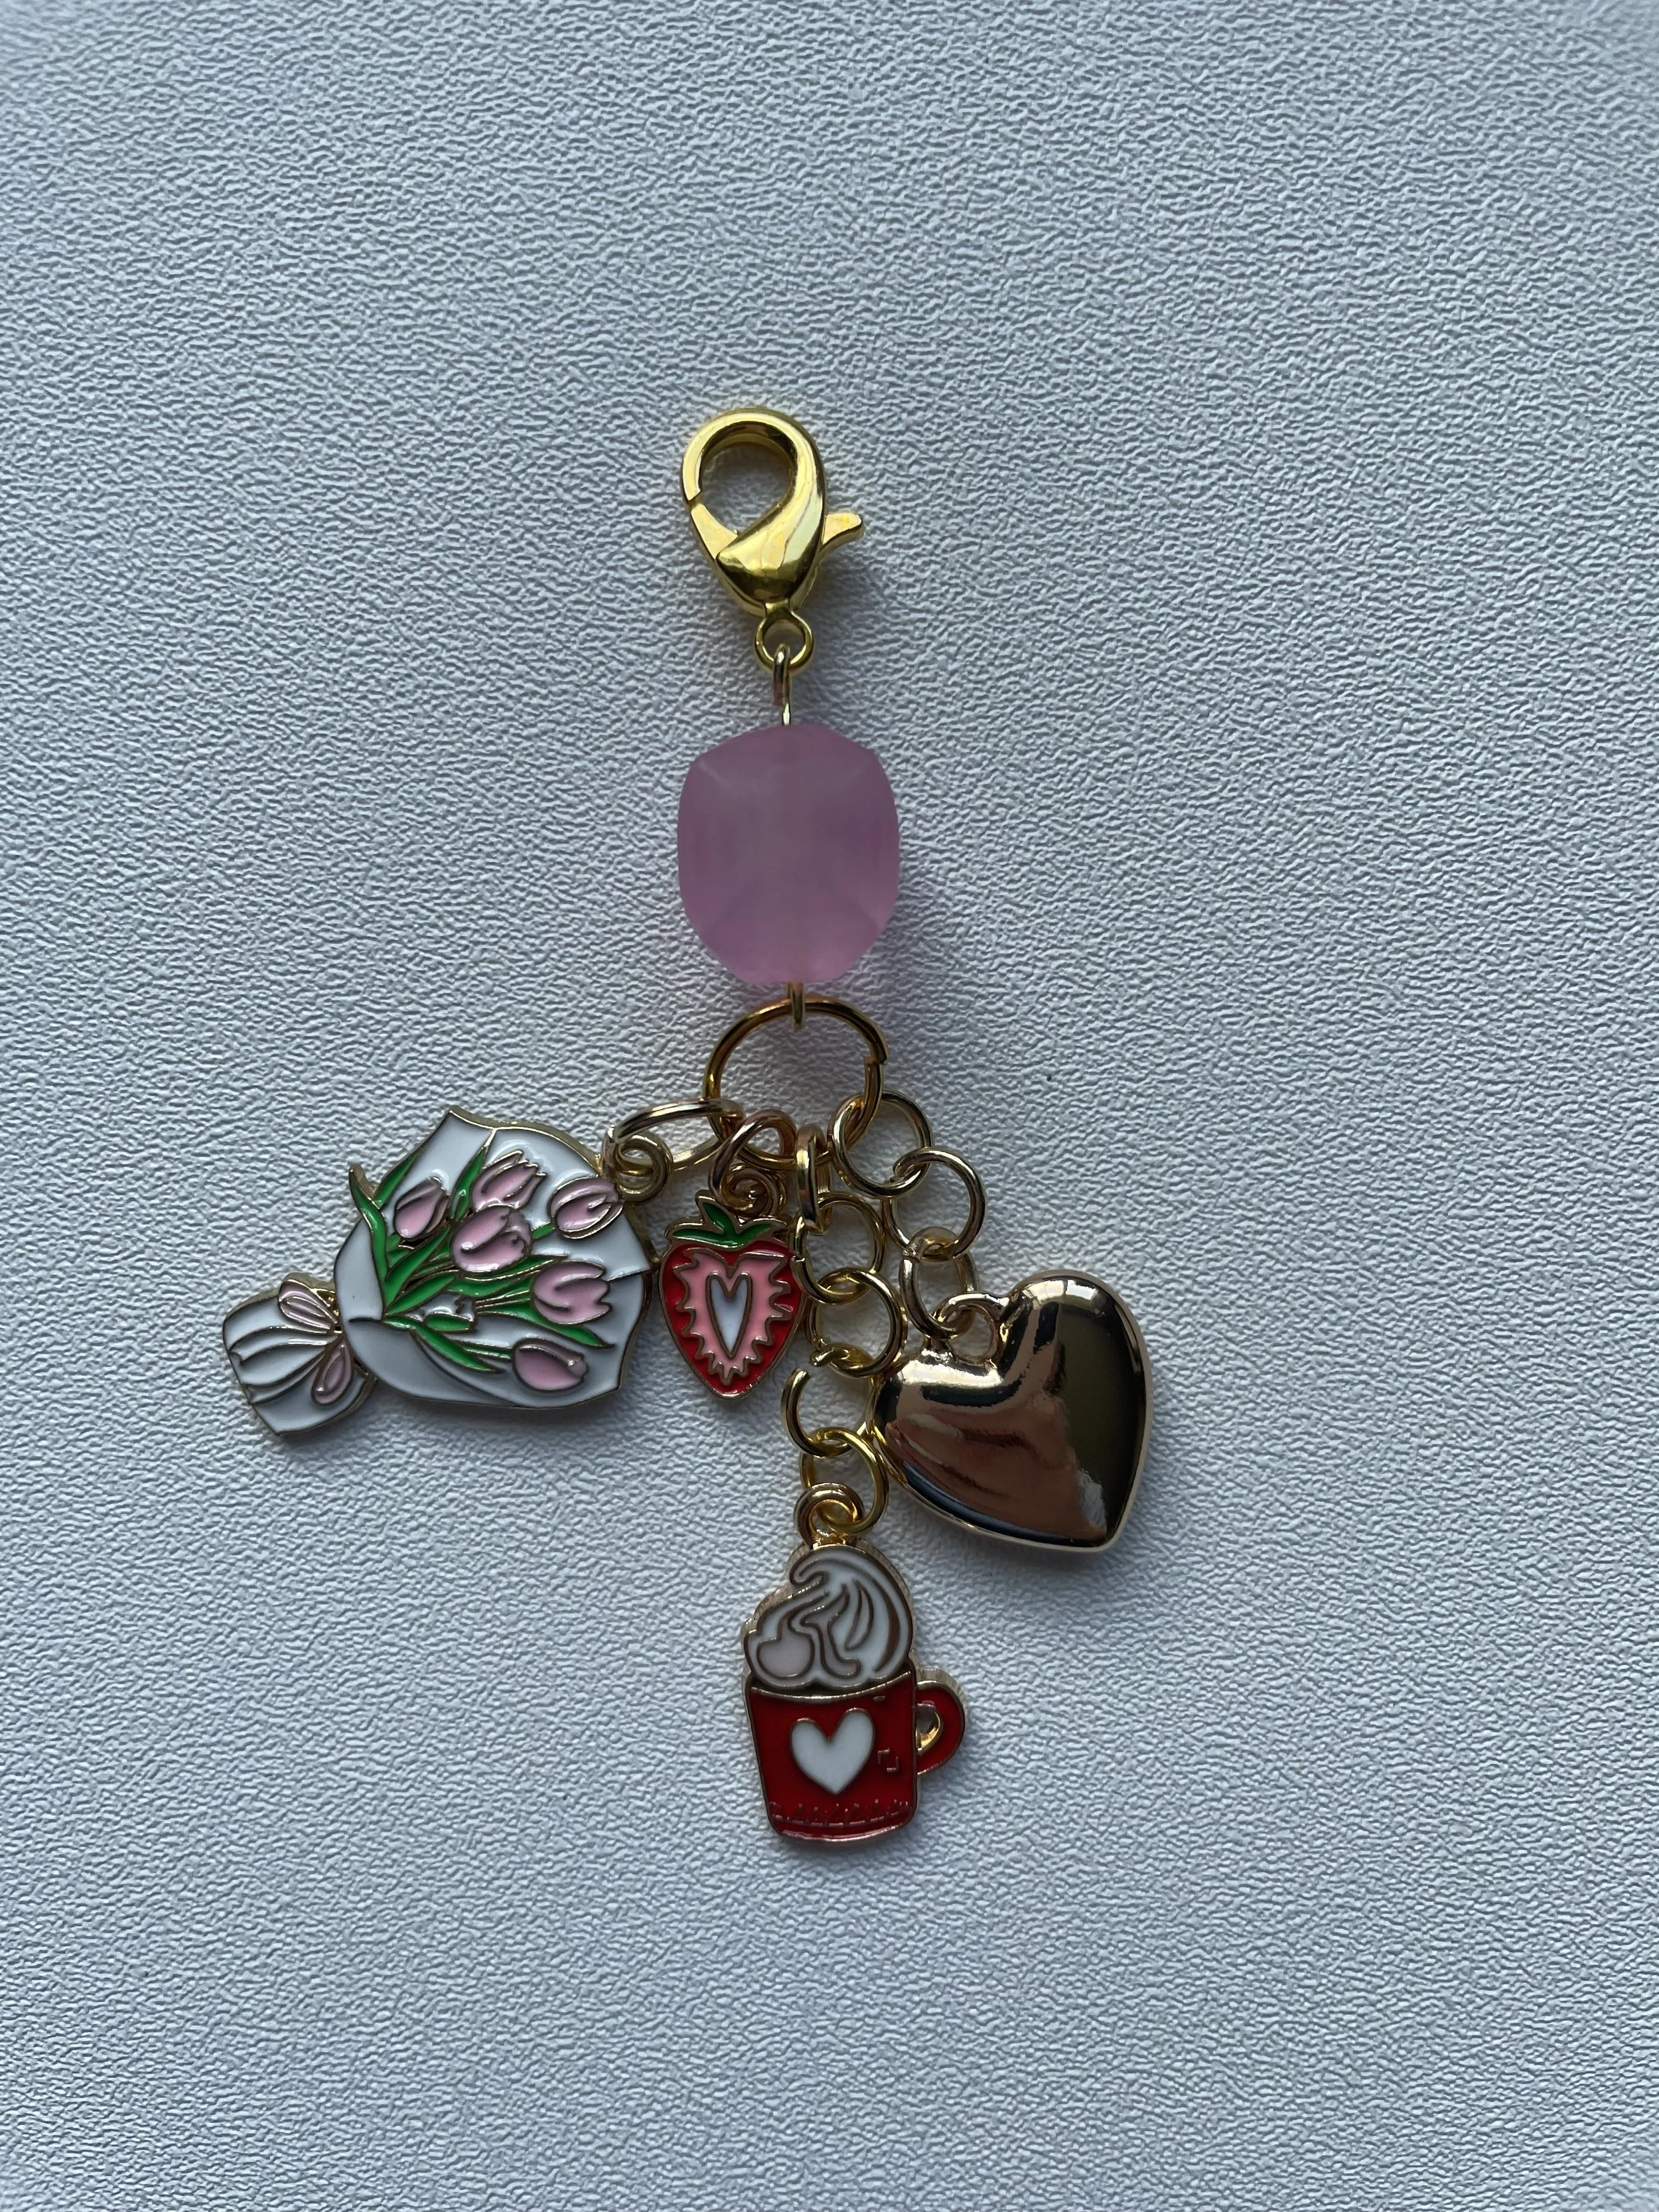
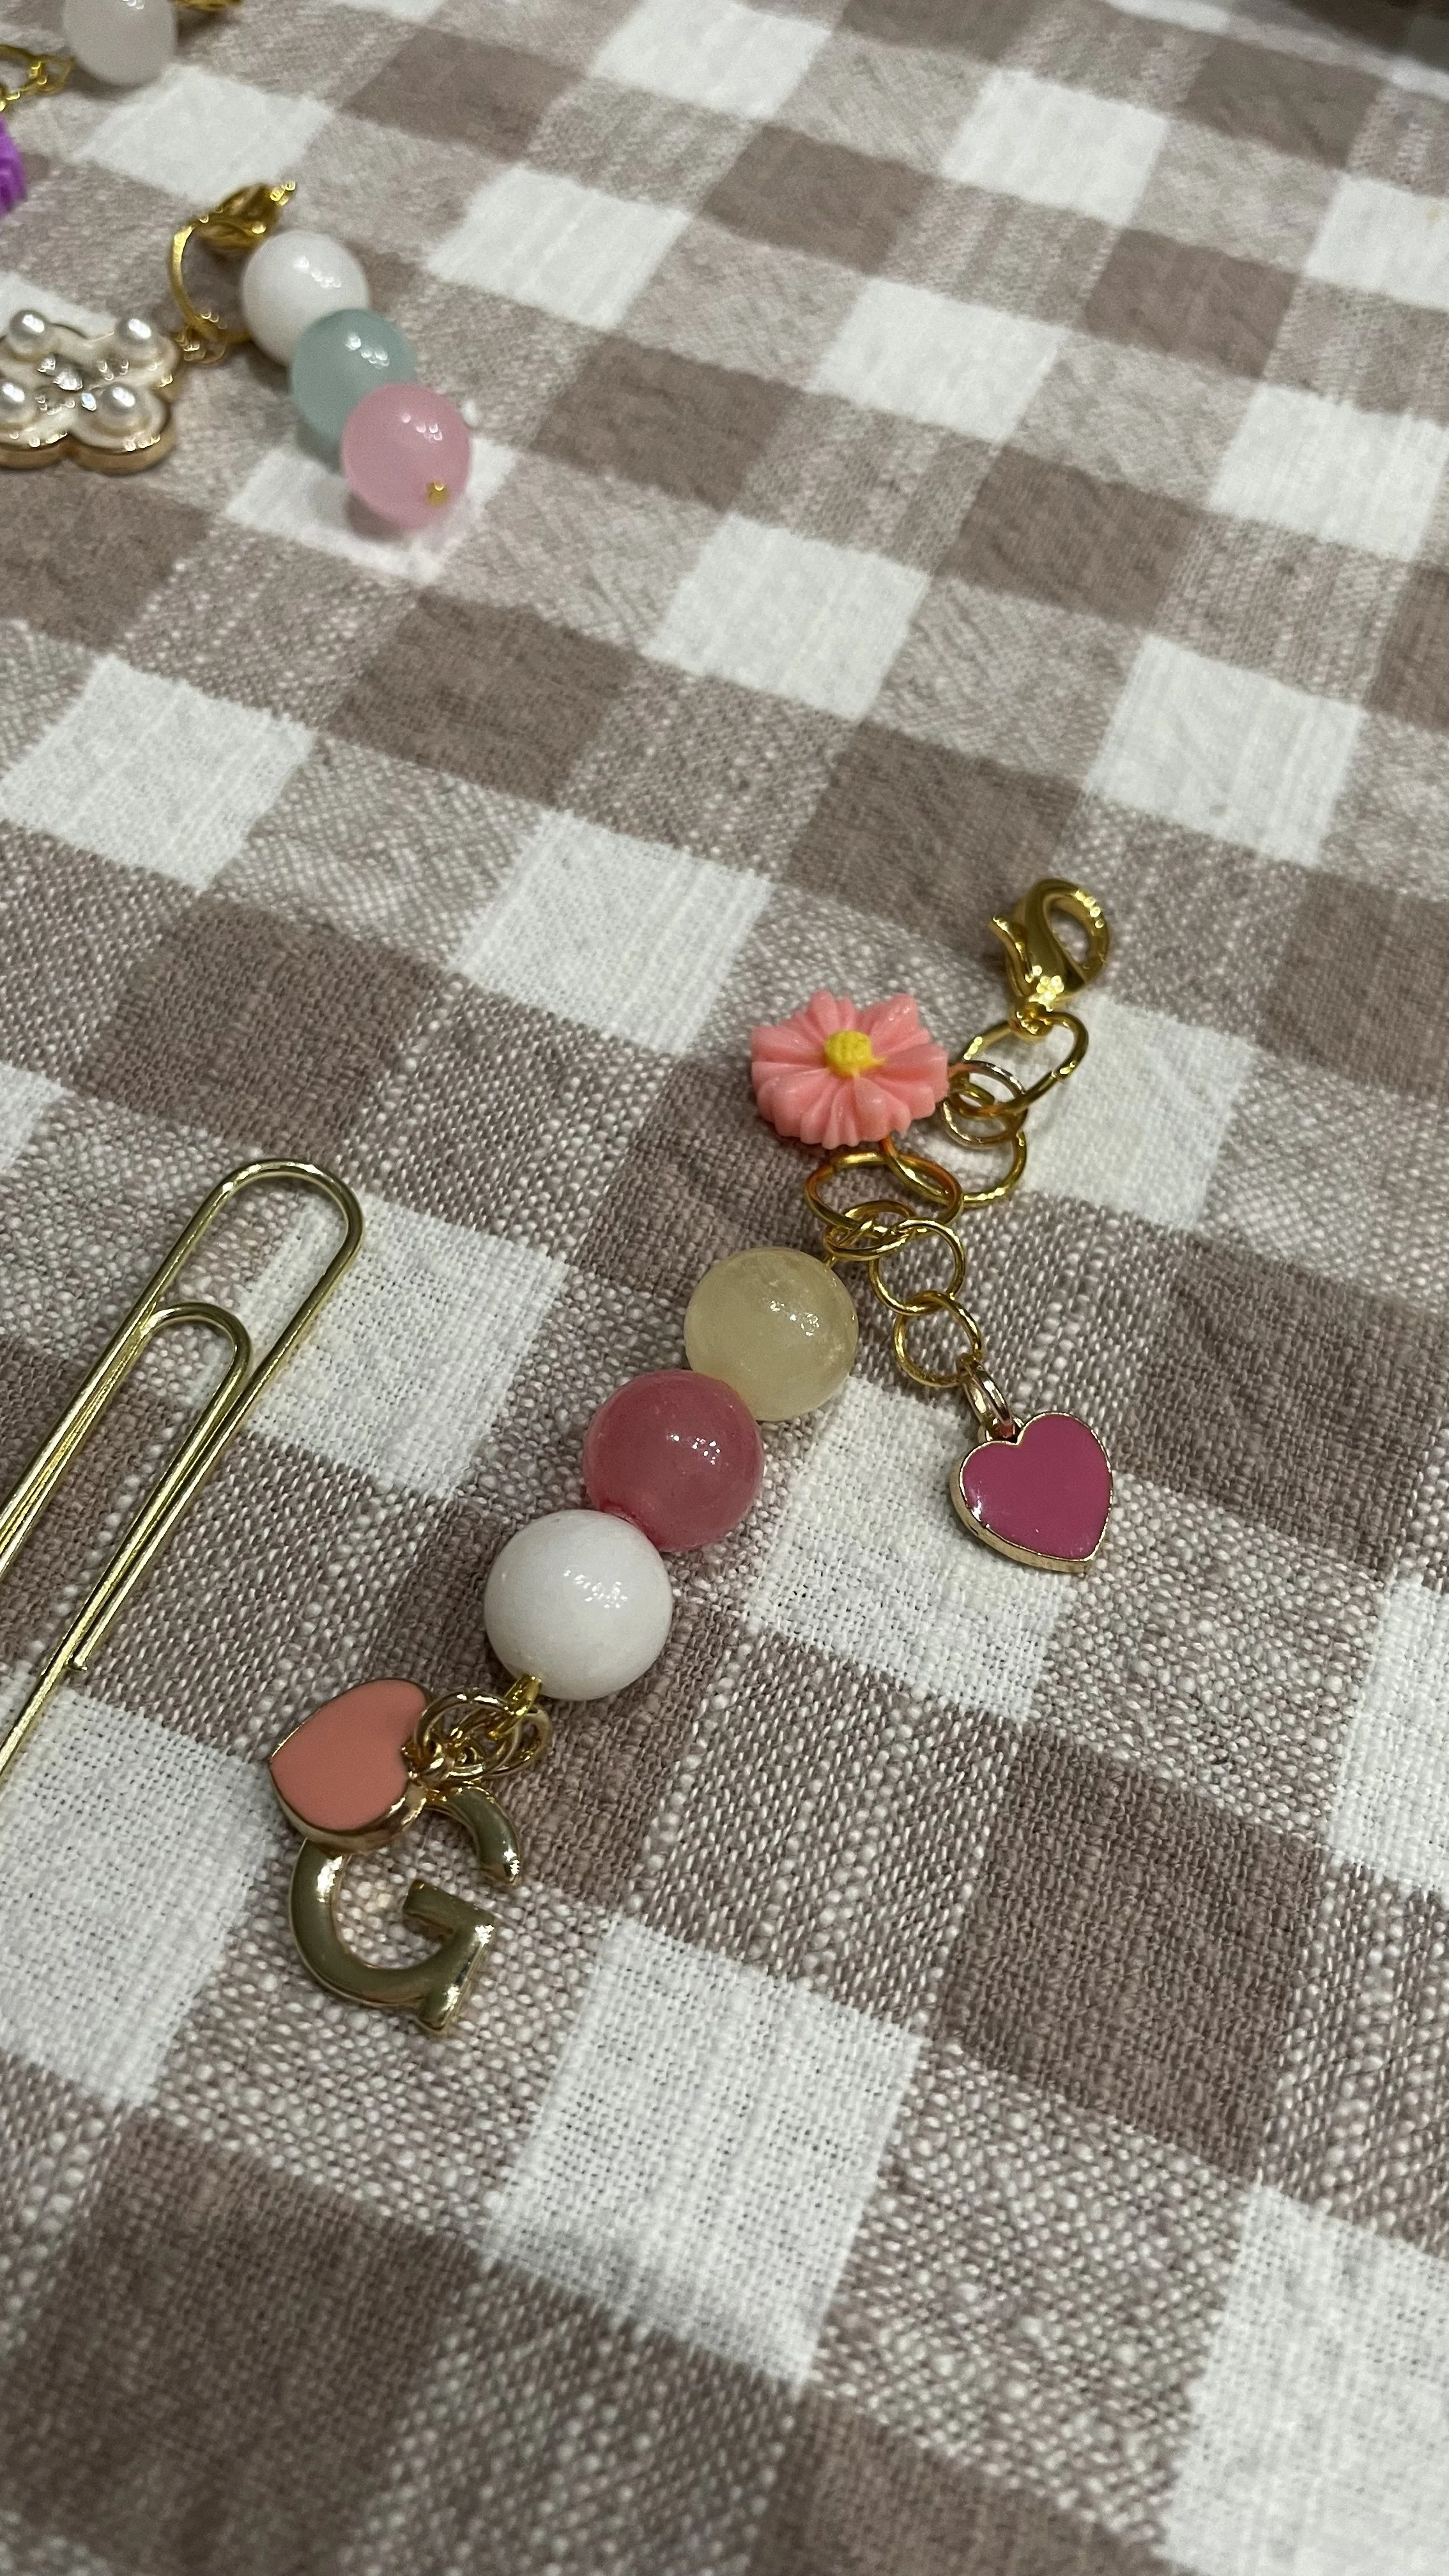
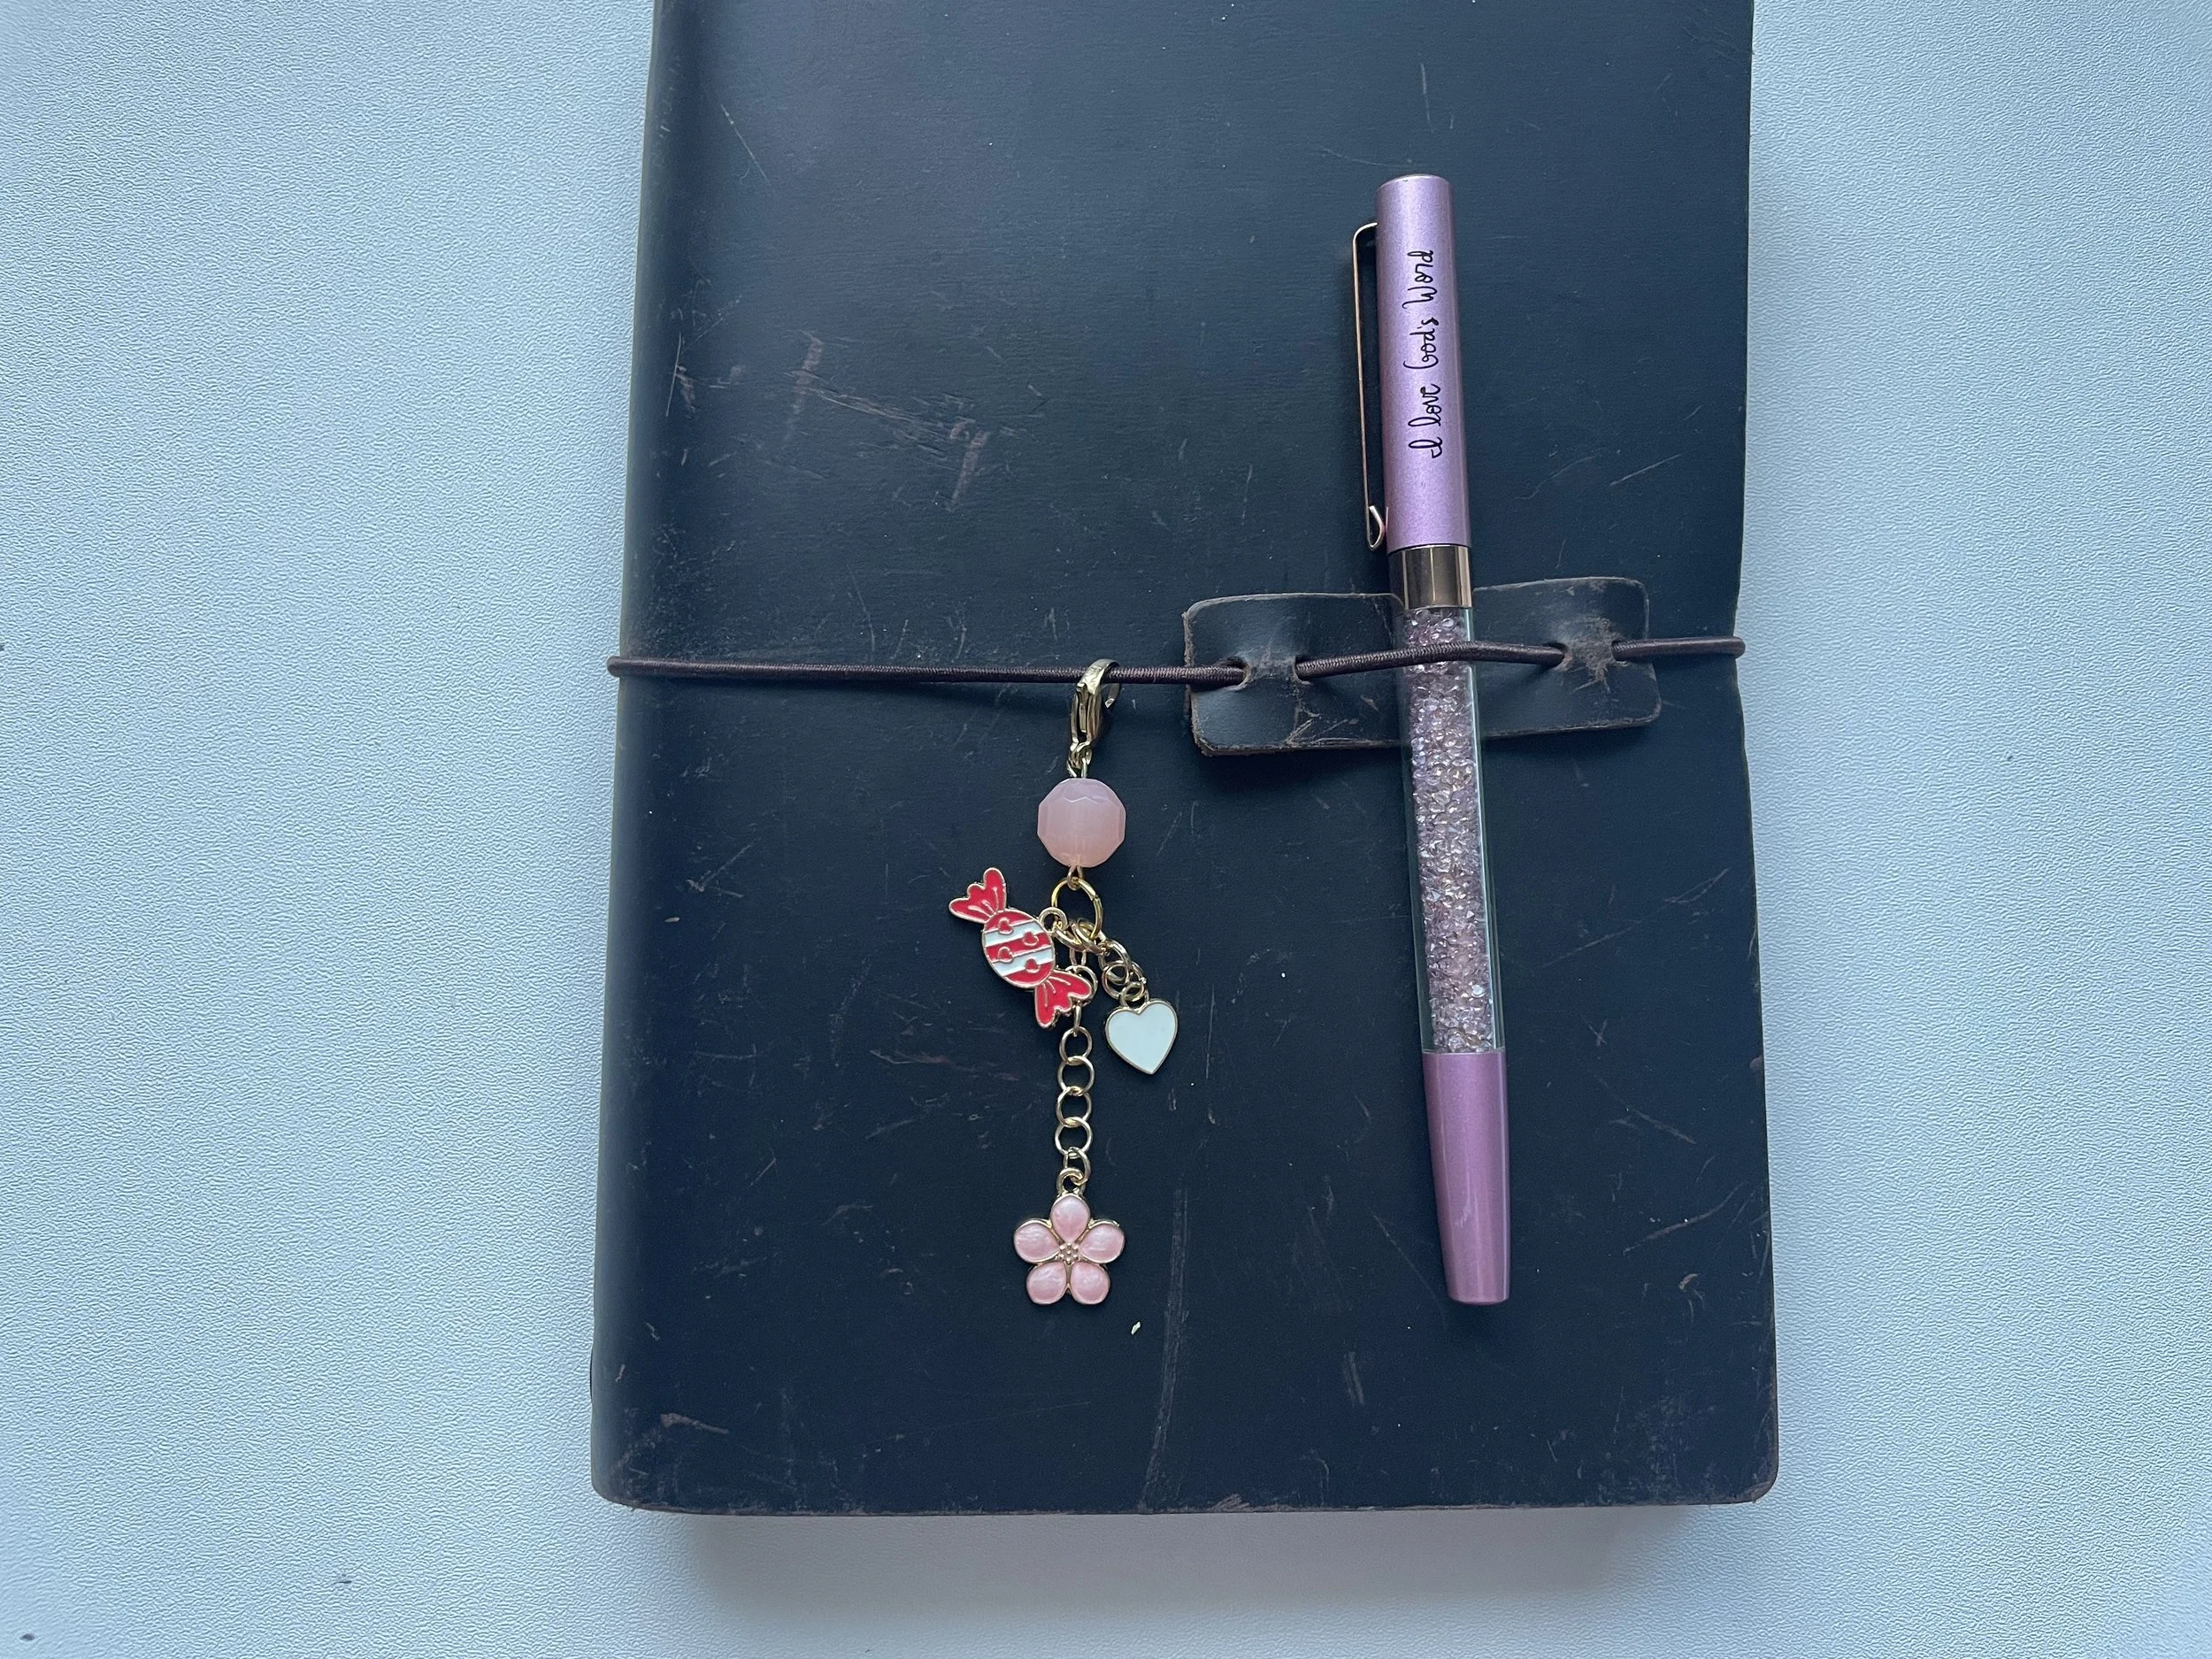
The first bead idea is to use one bead at the top of the journal charm by the lobster claw. Beneath the bead I will add a 9 or 10 mm jump ring, and dangle the charms off that jump ring under the bead. I think this looks so neat. (First picture below this chunk of text shows this example.)
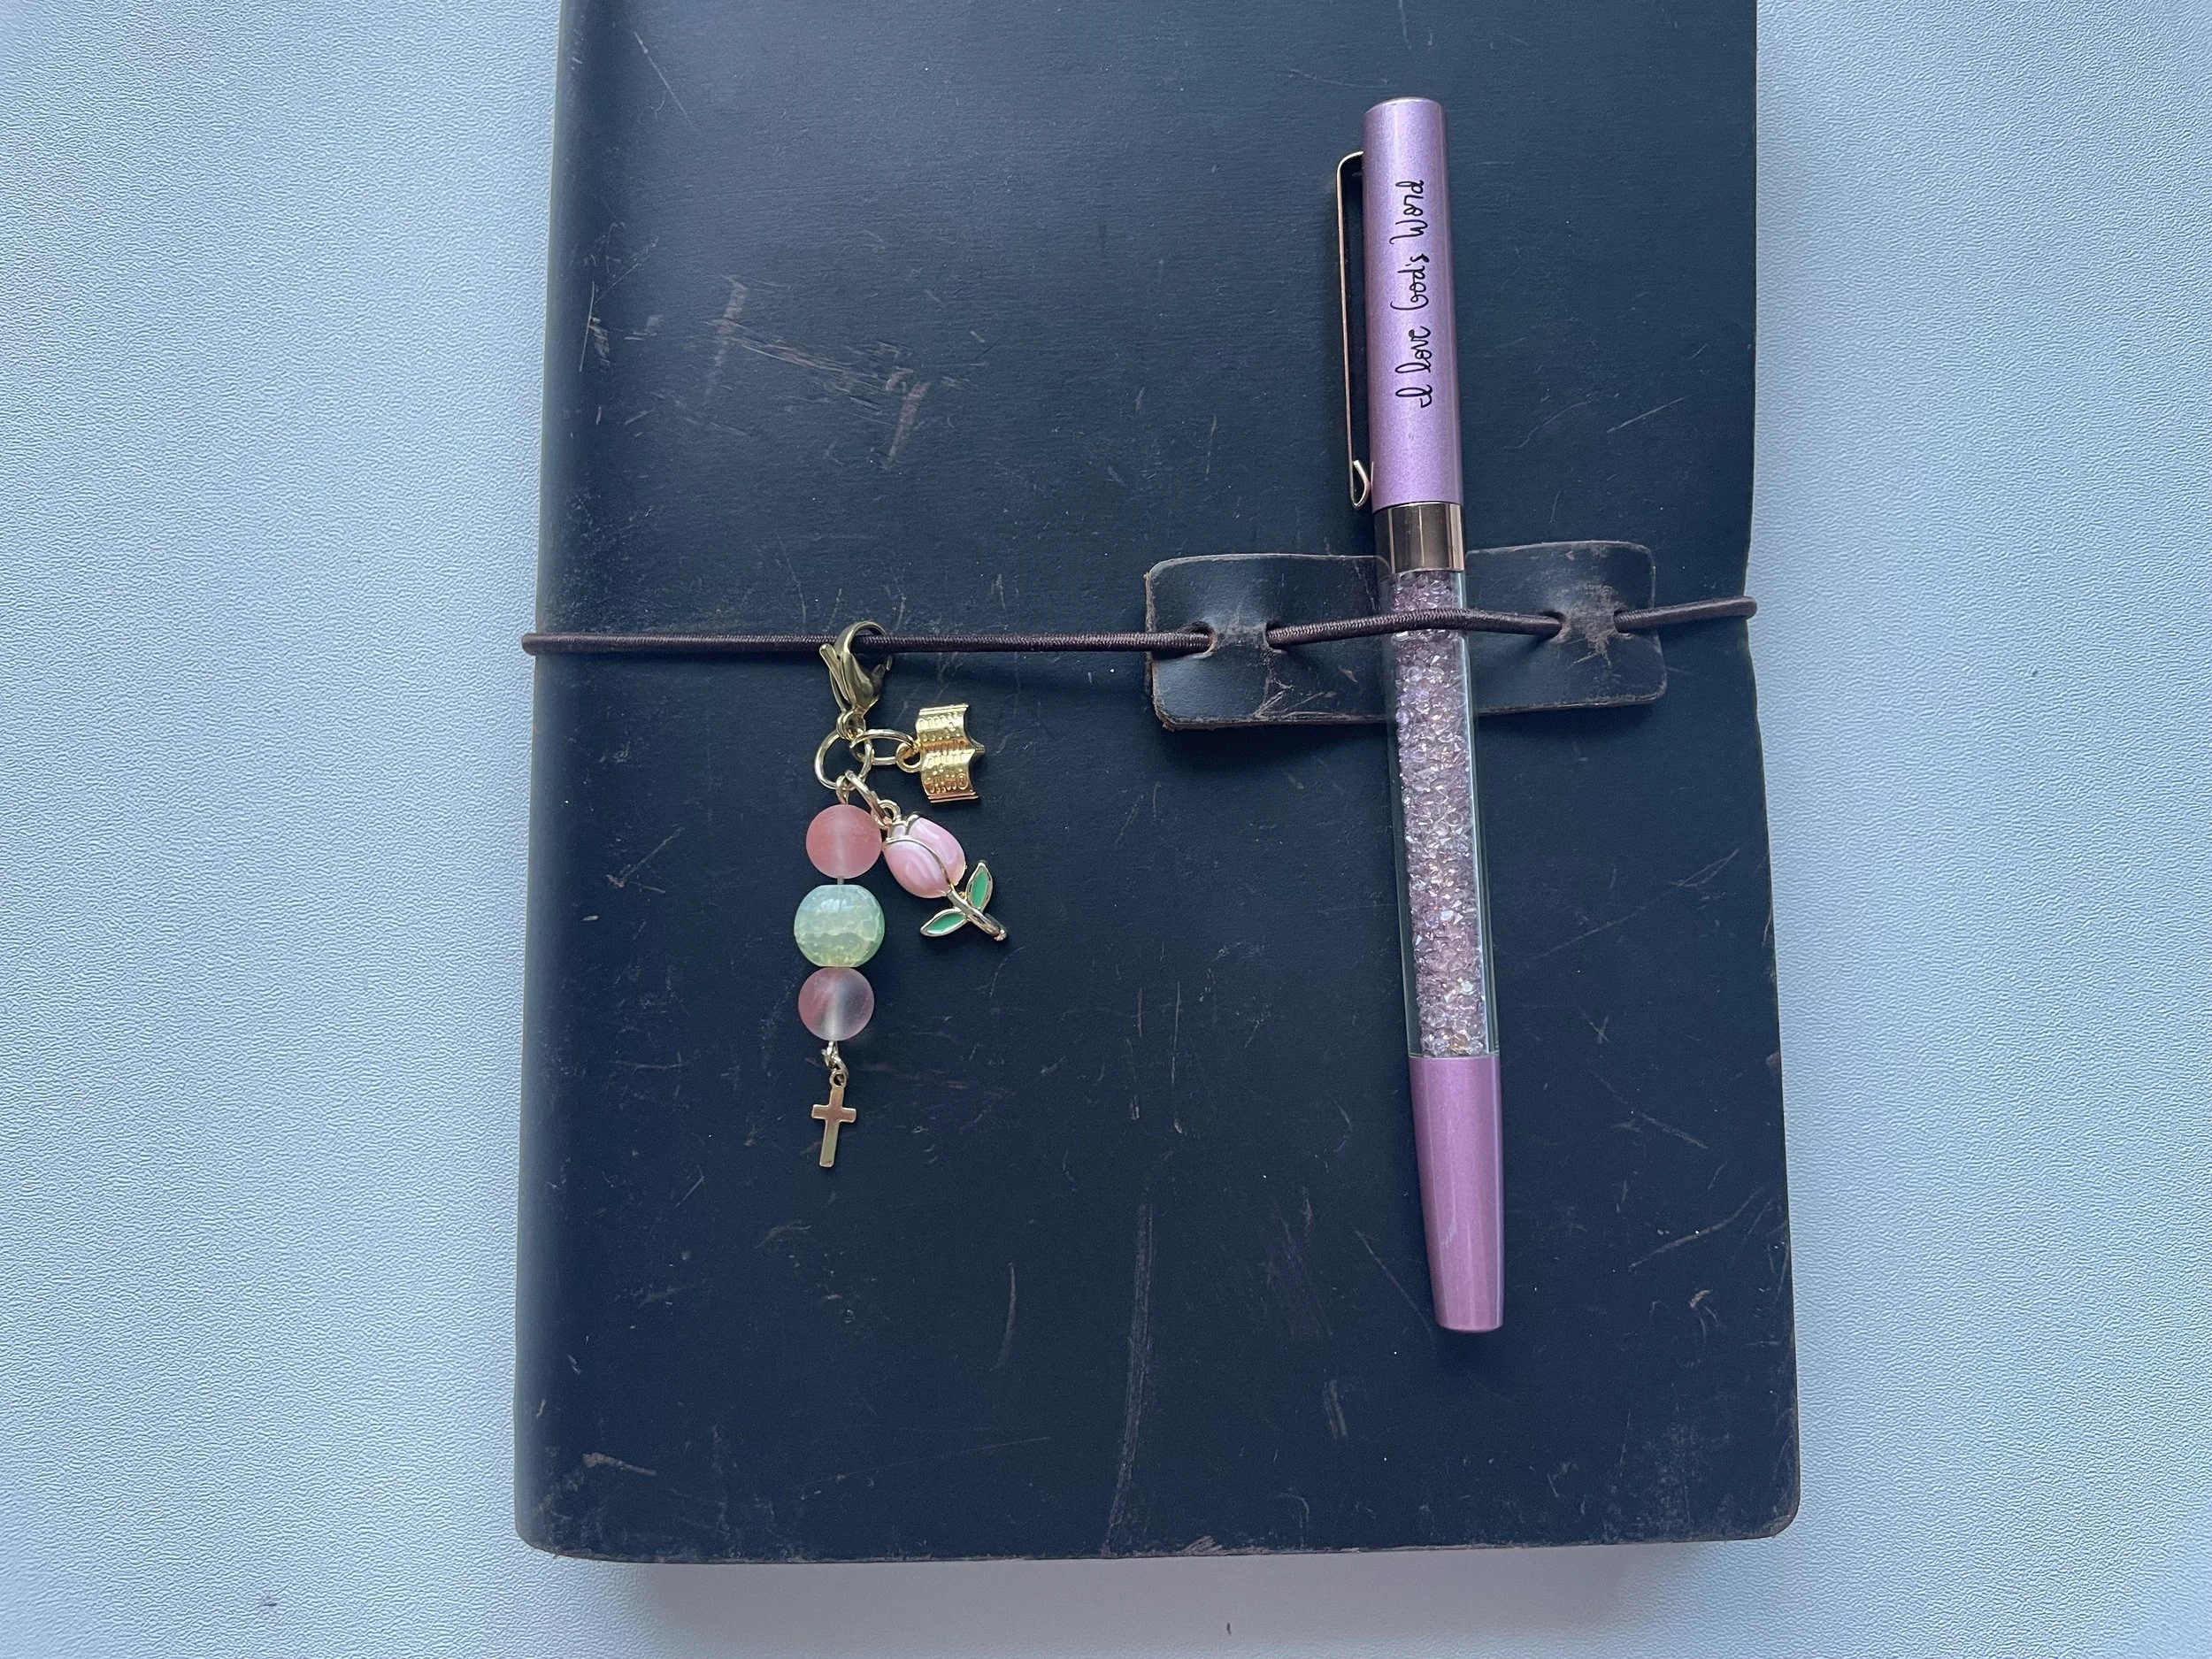
The second bead idea is to string 2-5 beads on an eye pin. Then, I use the 1 step looper to add another loop at the opposite end. You can add 1-2 charms at the end of the strand of beads. And you can add more charms layered at the top, too. (Second picture below this chunk of text shows this example.)
You can also use Shrinky Dink paper to print Creative Faith printables and turn them into charms. You can only do this if you have an ink jet printer. This will NOT work with a laser printer. I still need to try to do this myself. Stay tuned for another video where I walk through this process. Click here to read a blog post I plan to follow.
Here’s an example of some different charms I made with one bead on them at the top.
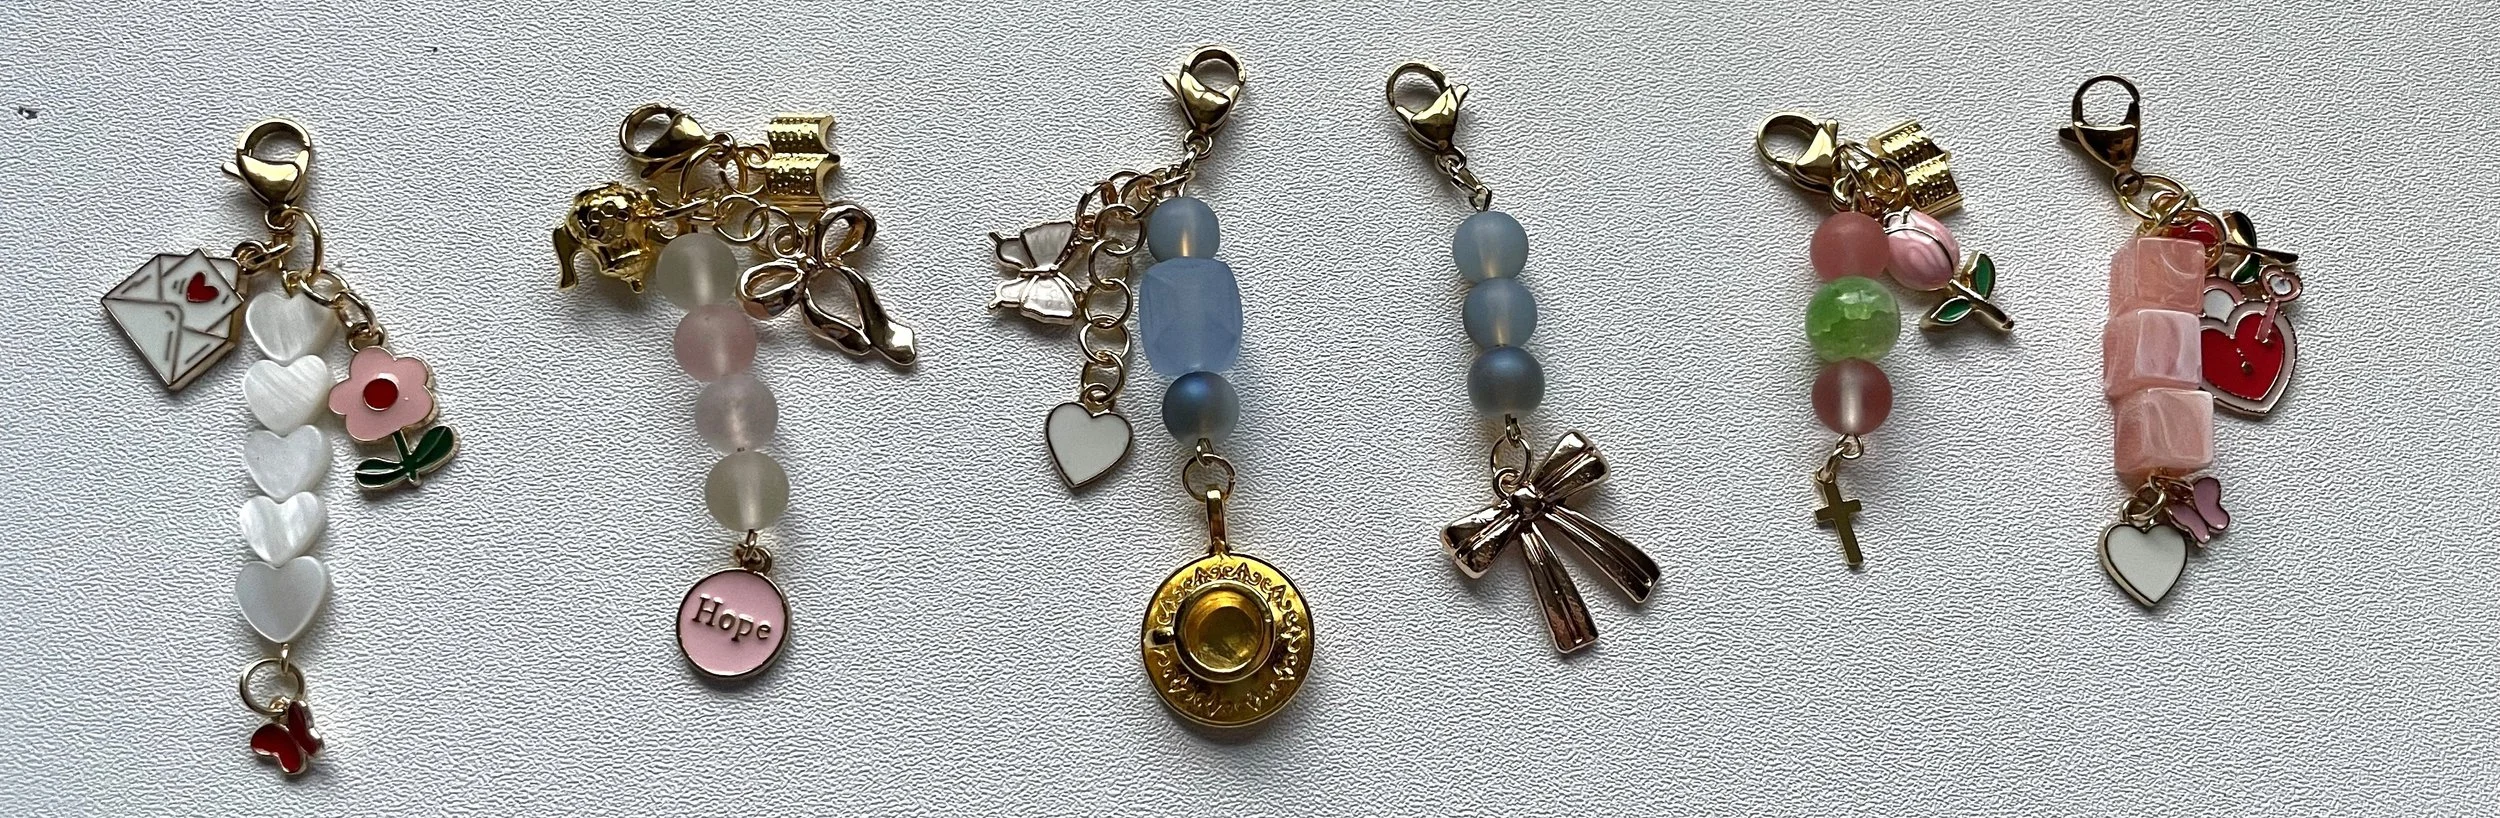
Here are some examples using beads where I added more than one bead to a 2-inch eye pin. I love adding charms to the bottom of the bead line.
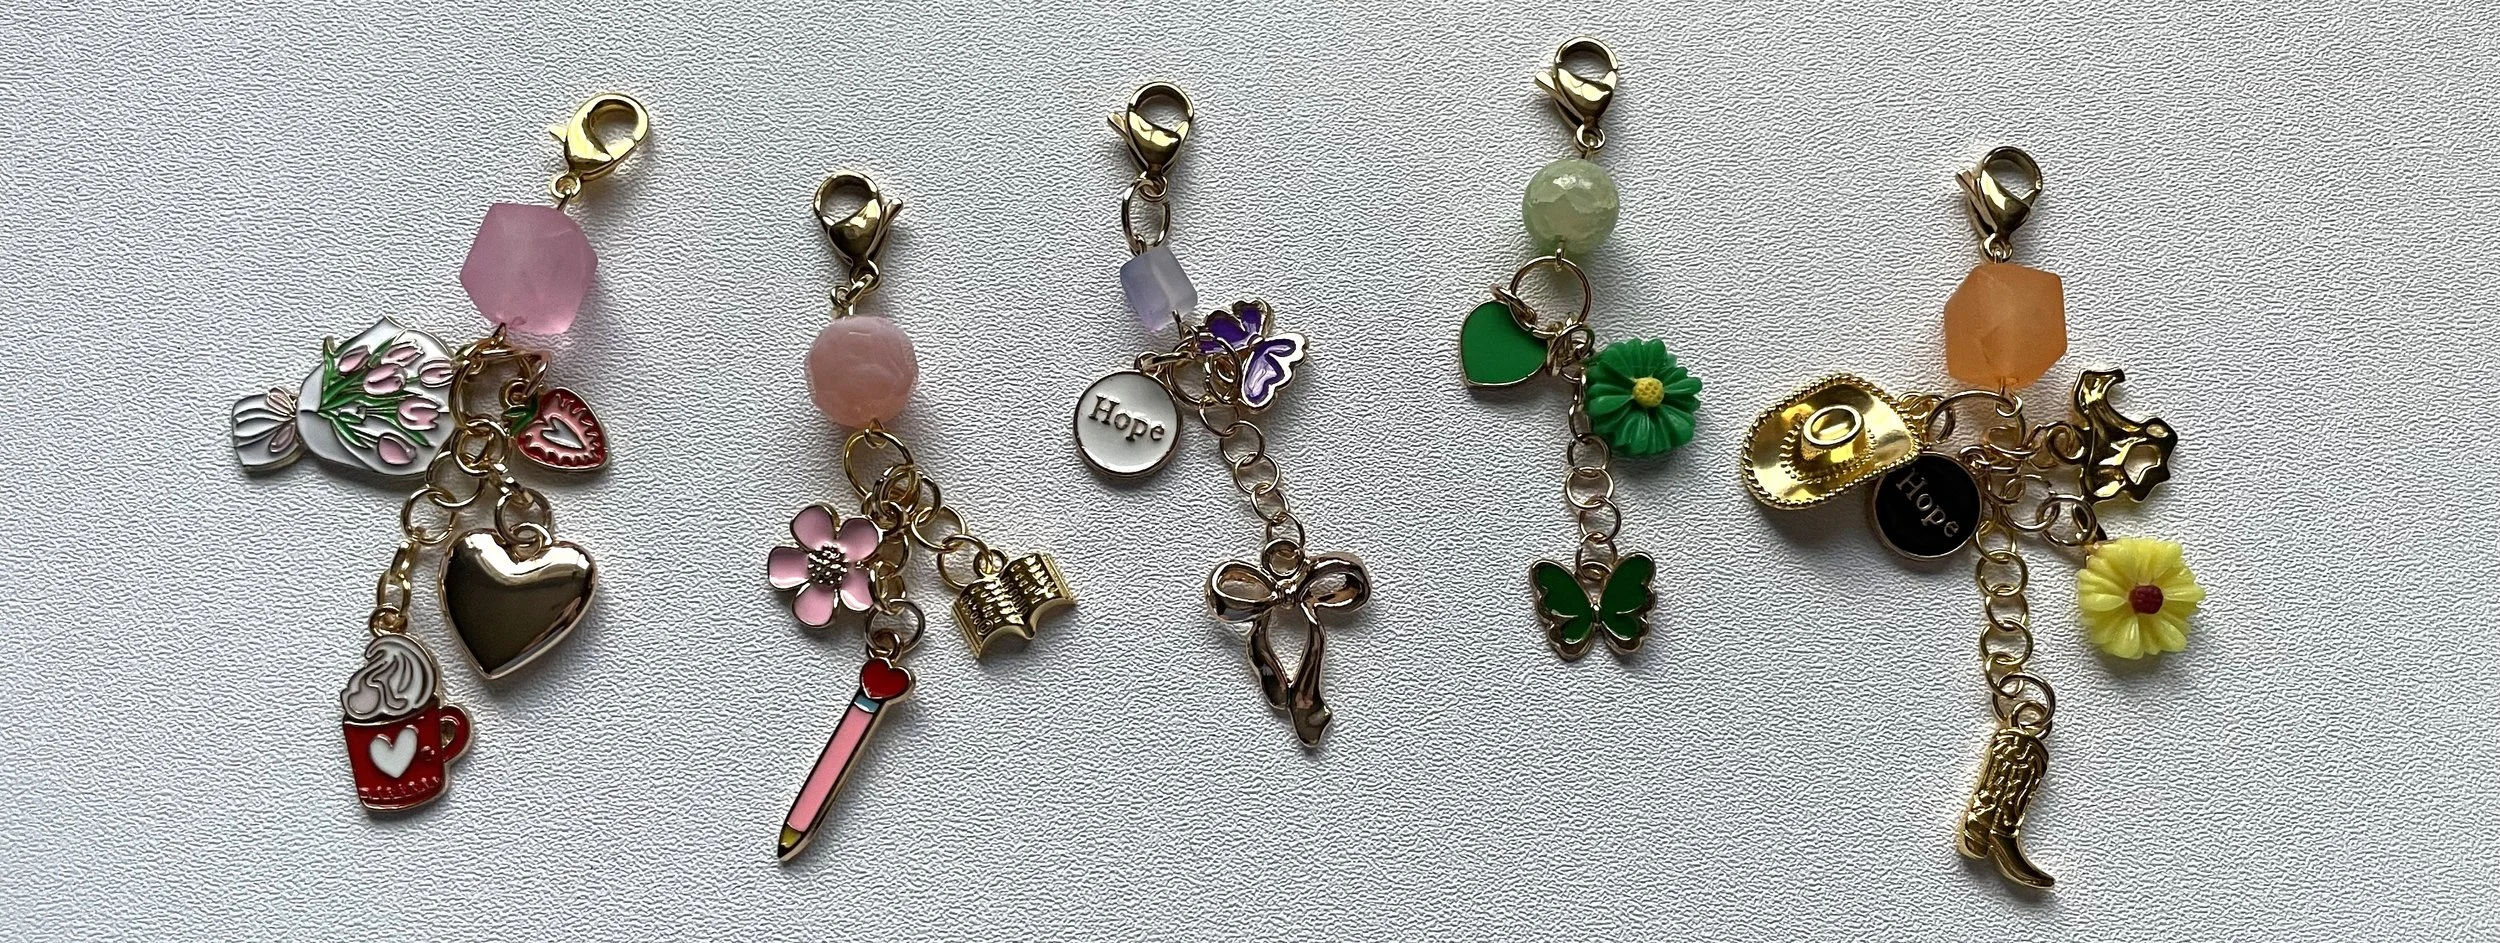
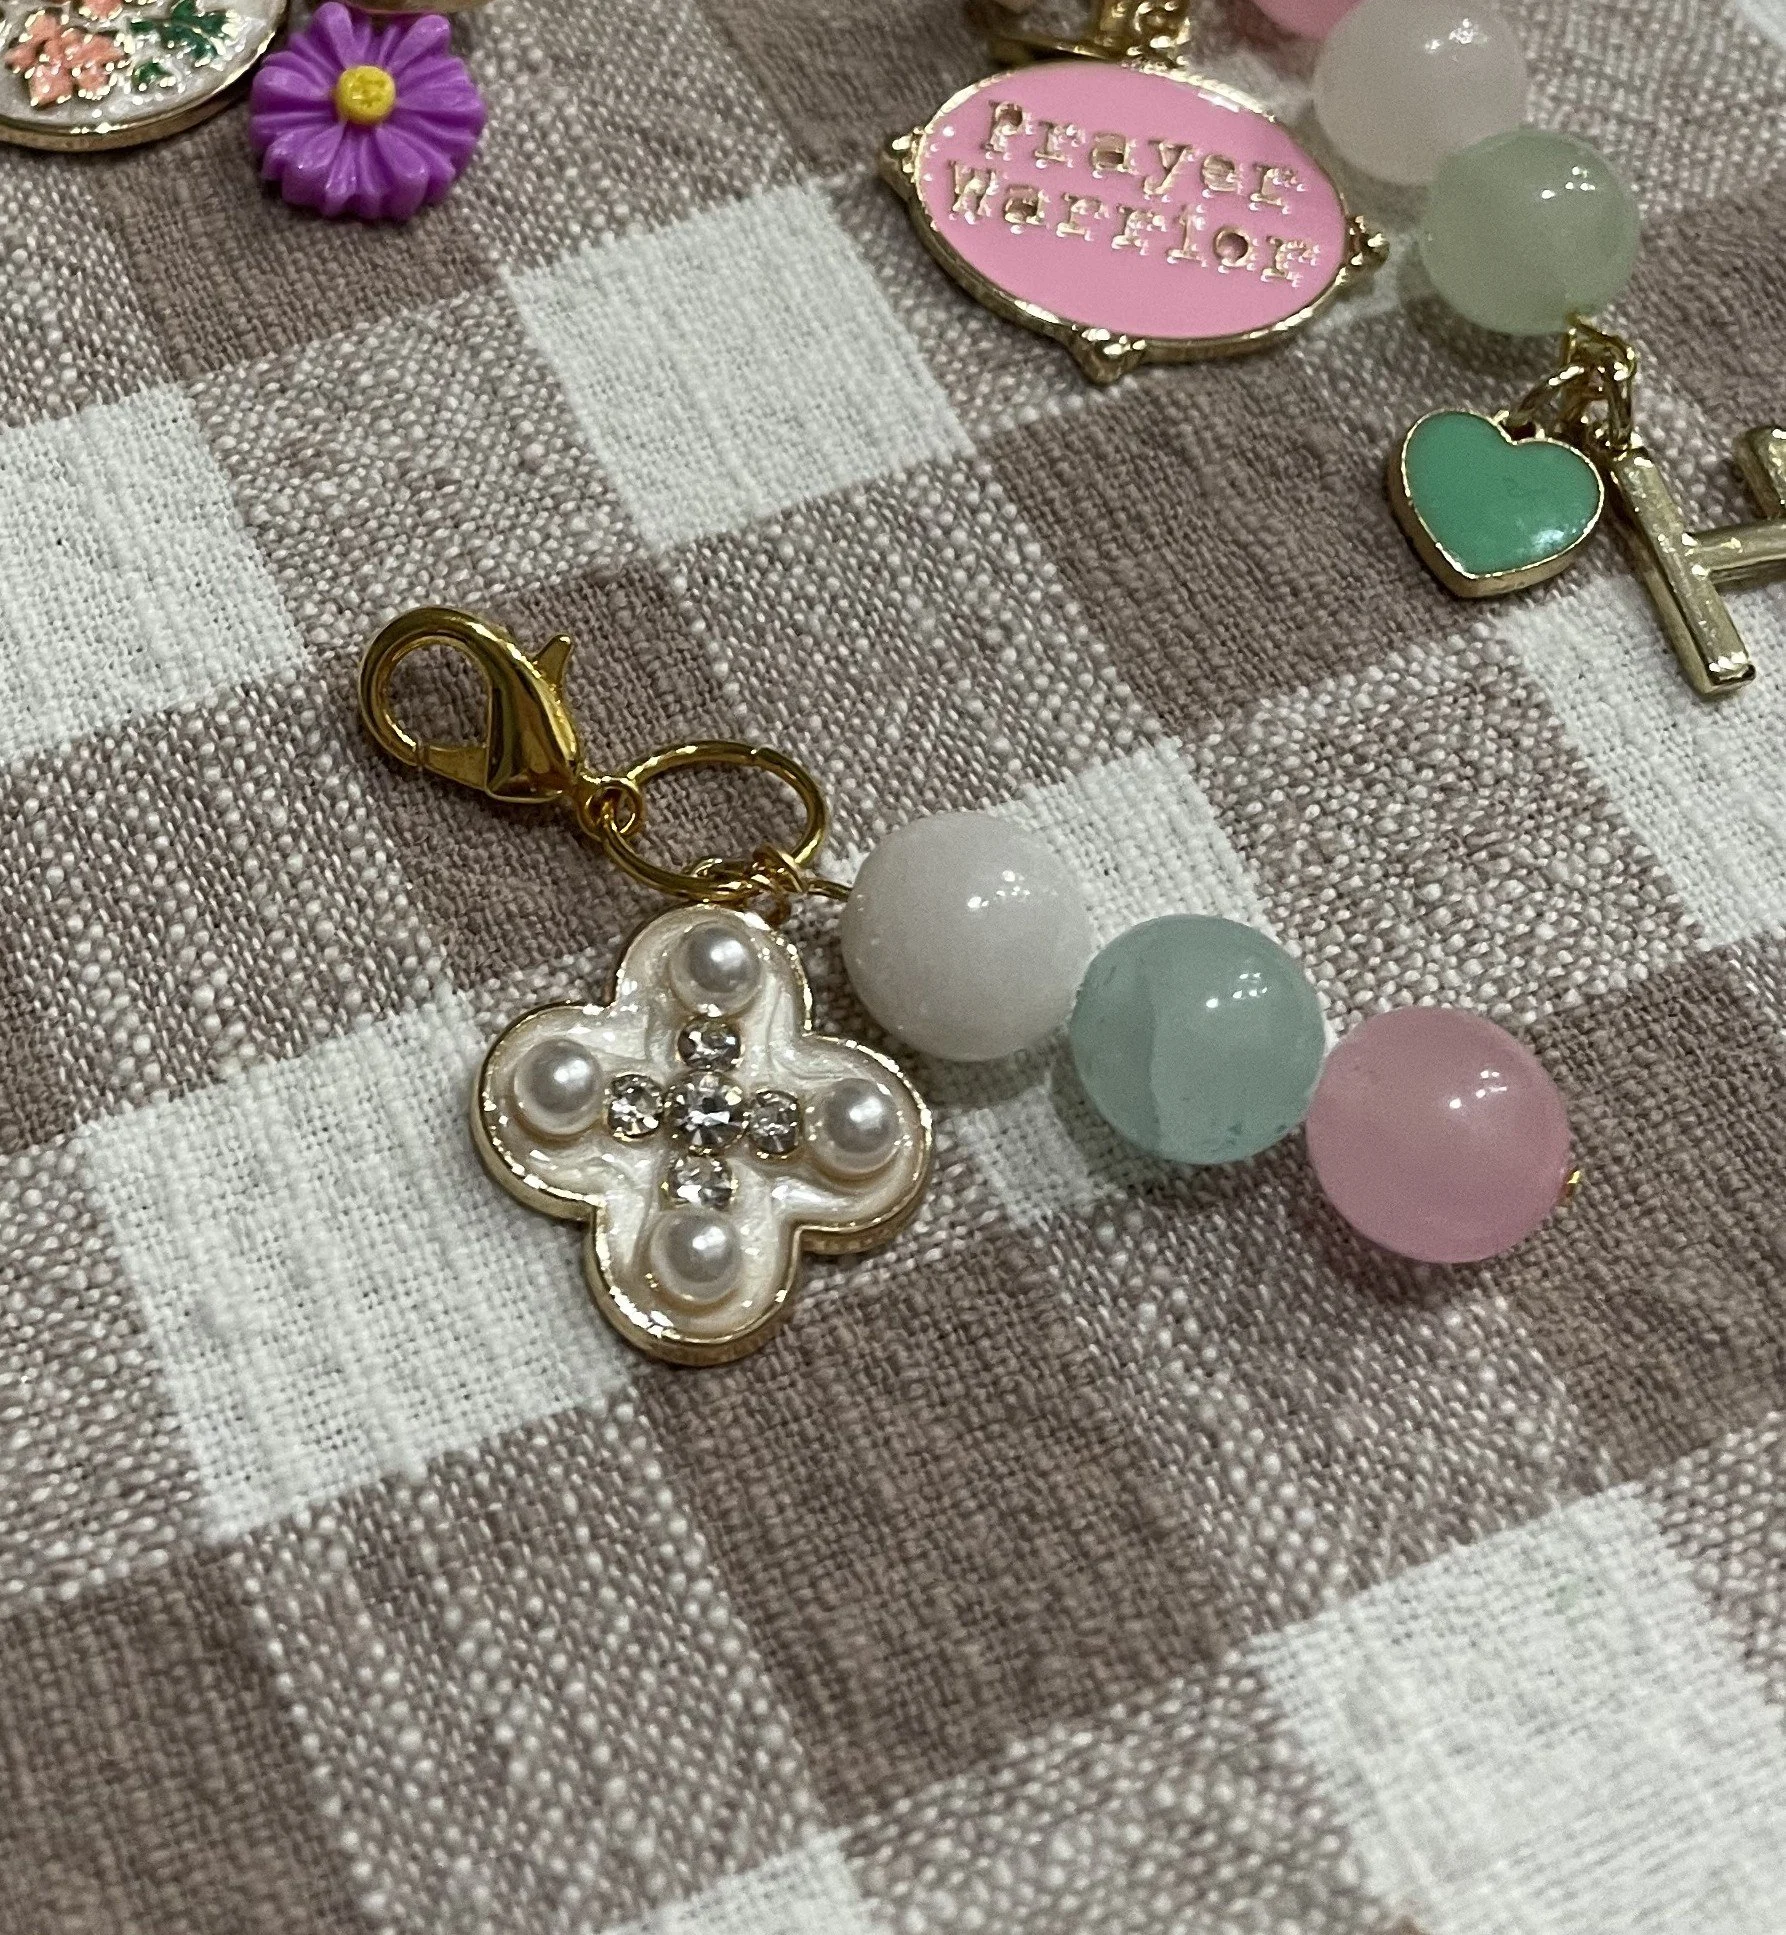
Here are a bunch of pictures of different journal charms I have made so far for inspiration for you.
If you have any questions, please don’t hestitate to email: hillary@creativefaithco.com and I’ll try to answer them! I am not an expert at this, since I have only been doing it for a few weeks. :) But I will try to answer your questions!


Links in this article are Amazon affiliate links, which means I get a small commission if you use my link to make a purchase. Thank you for supporting Creative Faith & Co. this way!